In some cases, it was seen that certain applications require Hyper-V to be disabled in order to be run. In this article, we will teach you the easiest ways to disable Hyper-V in Windows 10. Make sure to follow the steps carefully in order to avoid further complications.
How to Disable Hyper-V in Windows 10?
There are many ways to disable an application in Windows 10. Some are specific to each program while others can be applied to all of them. Below are listed two of the easiest methods to disable Hyper-V on your computer.
Method 1: Using DISM Commands
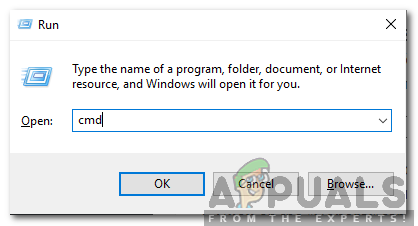
Command Prompt can be used to execute an infinite amount of commands. This shortens the process and allows for convenient execution of a particular function. Therefore, in this step, we will be using Command Prompt to disable Hyper-V on Windows 10. In order to do that:
Method 2: Using BCDEDIT Commands
The above method does disable Hyper-V but it requires numerous reboots and although it is effective, it is a lengthy process. Therefore, in this step, we will be using a more convenient method to disable Hyper-V using a different set of commands. In order to do that:
Fix: Error Applying Hyper-V Virtual Switch Properties in Windows 10How to Create a Windows 11 Virtual Machine using Hyper-VCan’t Boot Windows 11 After Enabling Hyper-V Virtualization? Try these fixesHow to Fix Error Code 0x80070057 When Trying to Enable Hyper-V on Windows 10