In this article, we will teach you the easiest methods to enable the application on Windows 10. Make sure to follow the steps carefully in order to avoid conflict.
How to Enable Telnet in Windows 10?
The Telnet client is included in Windows 10 as a new feature but it is disabled by default. It is quite common for Windows to disable certain features that the average consumer doesn’t use to reduce resource usage. There are many methods to enable the client but we will be focusing on two of the easiest ones in this article.
Method 1: Through PowerShell
The Telnet feature can easily be updated through Powershell using a simple command line. In order to enable the feature through PowerShell:
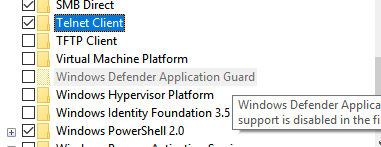
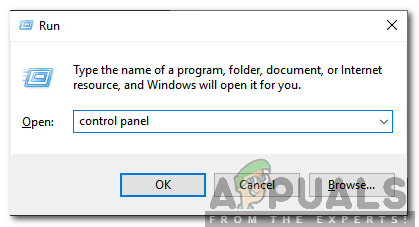
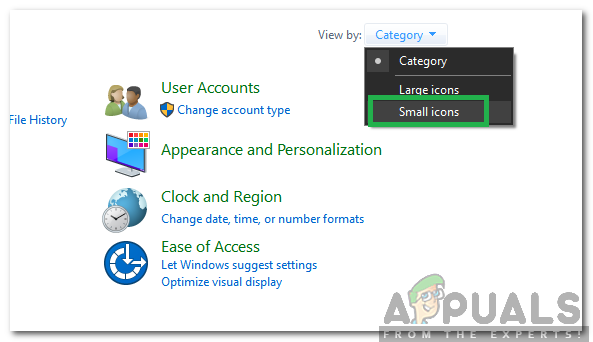
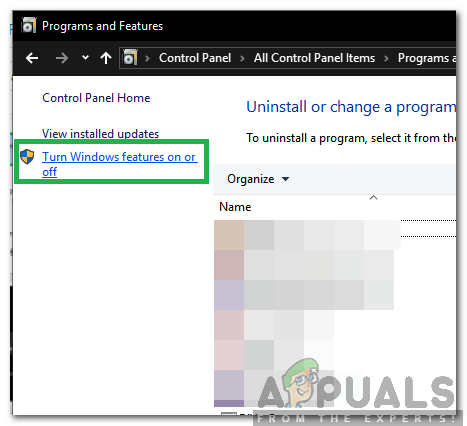
Method 2: Through Control Panel
If the above process doesn’t work for you, you can try a different approach as the feature can also be enabled through the Control Panel. For that:
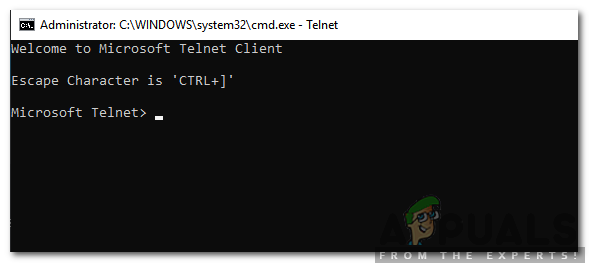
Checking if the Client has been Enabled:
After performing one of the two methods listed above the Telnet client has probably been enabled. In order to verify that:
How to Fix Telnet is not RecognizedHow to Disable / Enable Windows Recovery Environment on Windows 10?Fix: Can’t Able to Enable Windows Firewall Service in Windows 10/11How to Enable Windows Sonic on Windows 10