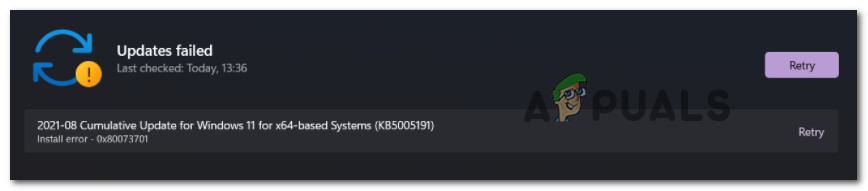
After investigating this particular issue thoroughly, it turns out that there are several different underlying problems that might contribute to this particular install error on Windows 11: Now that you are aware of every potential reason why you might end seeing the 0x80073701 install error on Windows 11, let’s get to a series of verified fixes that other affected users have successfully used to get to the bottom of this issue.
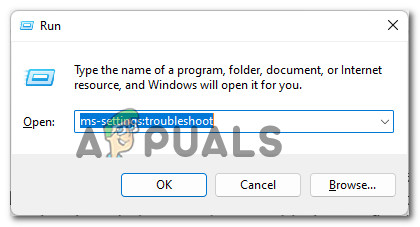
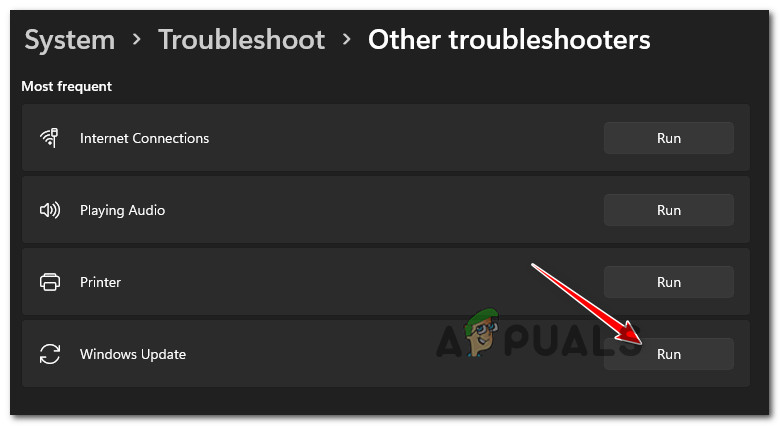
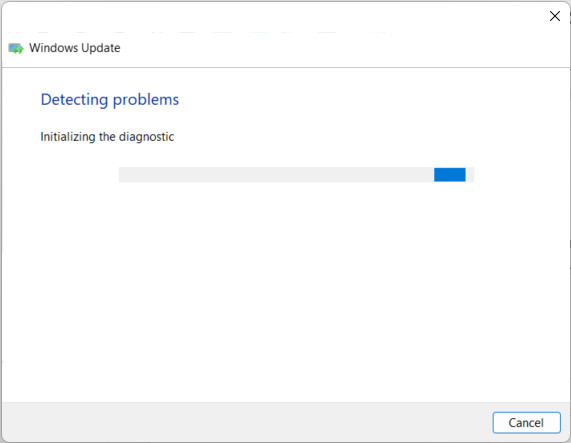
Run the Windows Update Troubleshooter
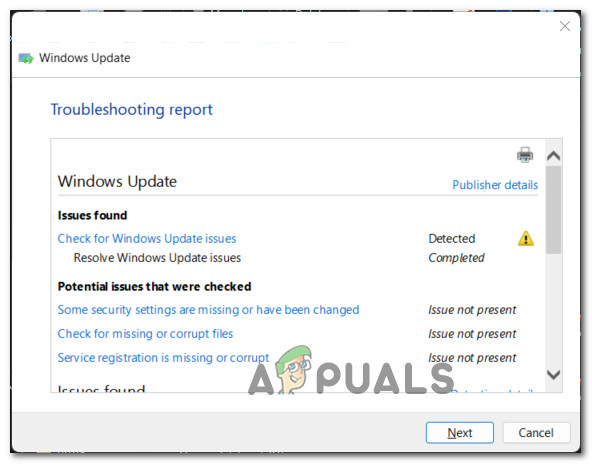
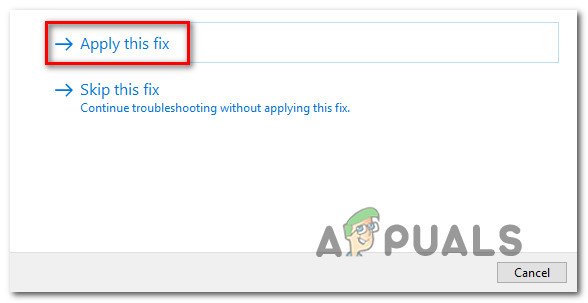
Keep in mind that if you’re dealing with a glitch that Microsoft is already aware of, there’s a chance the built-in troubleshooter (Windows Update Troubleshooter), is already equipped to handle this issue automatically. Note: As Windows 11 is approaching the official release Window, new repair strategies are added to every troubleshooter, so don’t skip this method if you didn’t try it already. The Windows Update Troubleshooter will auto scan for common glitches that might affect the installation of new cumulative and feature updates (including the 0x80073701 error) and see if any of the repair strategies available are a fit to fix the issue. If you didn’t run this tool already, follow the instructions below to run the Windows Update troubleshooter and apply the recommended fix: In case the issue is still not fixed, move down to the next potential fix below.
Perform an SFC and DISM scan
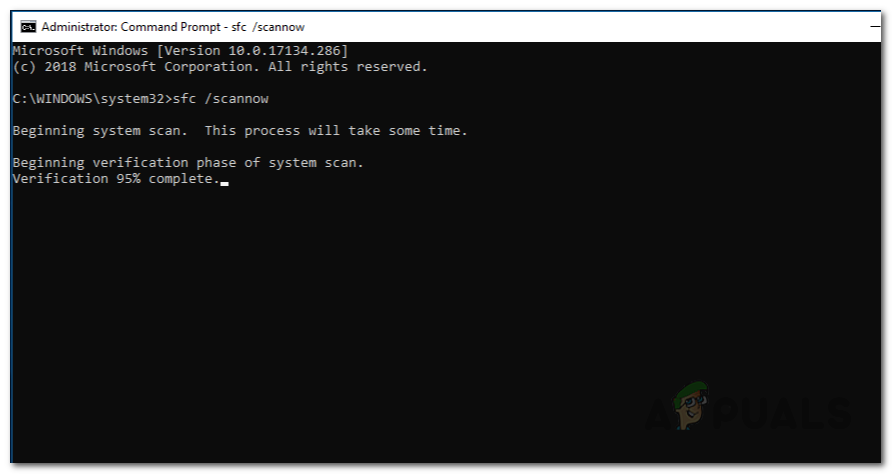
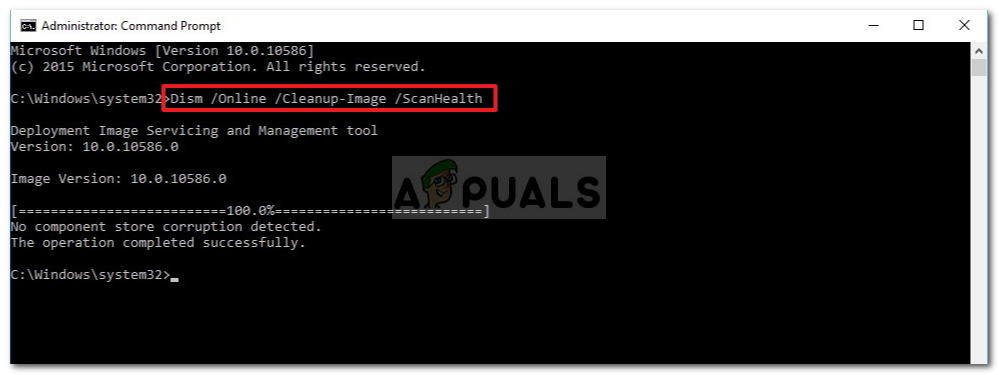
If you’re dealing with some kind of system file corruption, simply running the troubleshooter will likely not resolve the issue. Fortunately, Windows 11 has gotten a lot better at dealing with system file corruption and comes equipped with two built-in tools capable of resolving the vast majority of superficial corruption instances (where the kernel is not affected). If you find yourself in this scenario, initiating two SFC (System File Checker) and DISM (Deployment and Image Servicing and Deployment) in quick succession should allow you to fix the vast majority of corrupted system components (including Windows Update and Windows Installer). When you get started with these types of scans, our advice is to start with a simple SFC scan. Note: An SFC scan will not require you to maintain a reliable Internet connection since the utility will just replace the corrupted system files with locally stored equivalents. Once the operation is finally complete, restart your computer and wait for the next startup to complete. After your computer boots back up, proceed by deploying a DISM scan. But instead of the ScanHealth procedure, deploy the following command: Note: Unlike an SFC scan, this tool will require an internet connection. This is a mandatory requirement since DISM uses a sub-component of WU to download healthy equivalents for the files that need to be replaced. Once the second scan (DISM) is finished, restart your Windows 11 computer once again and see if the 0x80073701 error is now fixed.
Install the problematic update via ISO file
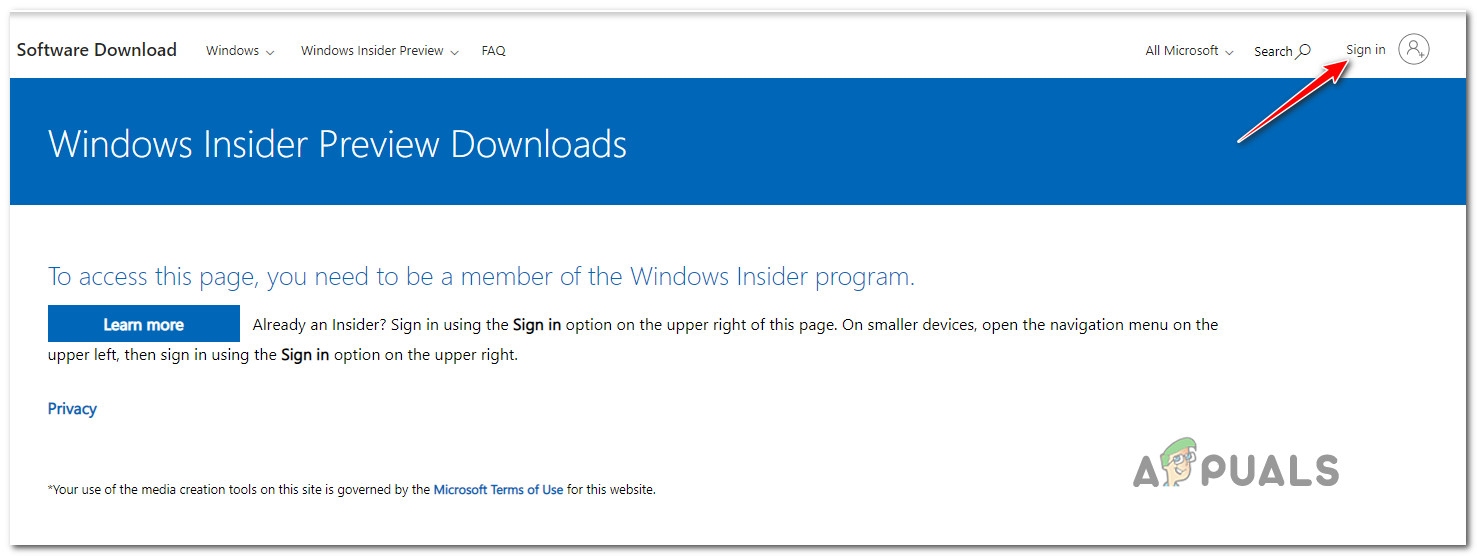
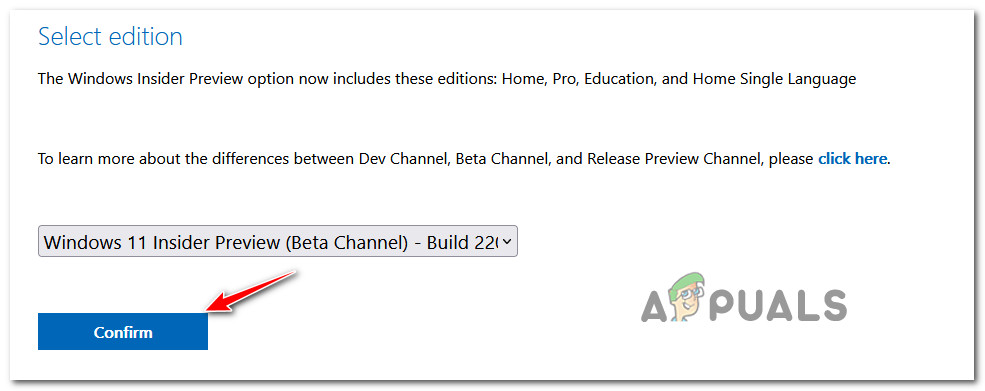
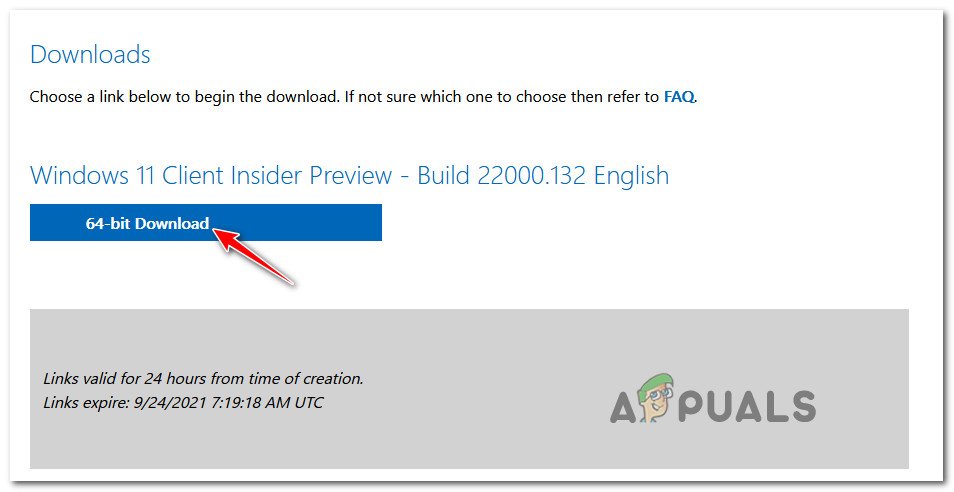
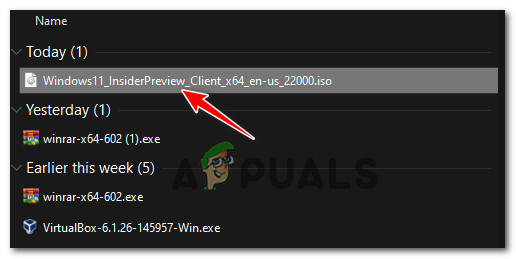
If the first methods above didn’t work in your case, your only option at this point is to update your Windows 11 build via an ISO file. This particular method was confirmed to be effective by a lot of users that we’re getting the 0x80073701 install error. This will bypass any corruption instance that is causing the error since the installation will be handled by the mounted ISO file. Important: In order to be able to deploy this method, you will need to be a part of the Insider Program. If you meet this requirement, follow the instructions below for step by step instructions on installing the problematic update via the ISO file available through the Insider Program: In case this attempt fails with the same install error, move down to the final potential fix below.
Perform an in-place upgrade or clean install
In case you’ve already followed every other method recommended above and you’re still dealing with the same kind of issue, chances are you’re dealing with some kind of system file corruption that requires a more radical fix. If you find yourself in this particular scenario, the best course of action would be to go for a repair install procedure. Note: This procedure will allow you to replace every system file (that’s potentially corrupted) without losing any personal files. You get to keep personal media (photos, videos), window settings, documents, and even applications and games. If you want a fresh start, you can also go for a clean install procedure.
Fix: Windows Update Error Code 0x80073701Windows 10 20H1 2004 Blocked By Windows Security App? Here’s A Solution To…[FIX] Windows Failed to Install the following Update with Error 0x800F0986[FIX] Skype Update Failed to Install (Error Code 666/667)