After looking into this issue thoroughly, it turns out that there are several different underlying causes that might be triggering this particular error code. Here’s the complete list of potential culprits: Now that you know every potential culprit that might be causing this issue, here’s a list of methods that other affected users have successfully used to get to the bottom of this issue:
Method 1: Disabling Smart Network Switch (if applicable)
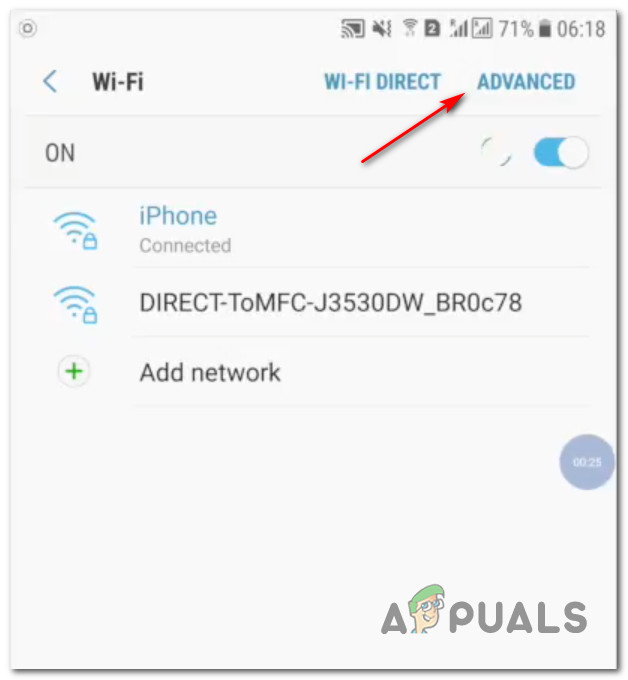
One of the most common instances that will spawn this issue is network congestion facilitated by an android feature called Smart Network Switch. Smart Network Switch is an Android feature that will allow your mobile device to make the switch from an unstable Wi-Fi Network to Mobile data. This sounds good in theory, but a lot of IoT devices are experiencing issues when this feature is enabled on the Android Device that they use for the Alexa app. Note: This is even more likely if you have the Aggressive Smart Network Switch version enabled on your device – This enables your device to make the switch to mobile data even when your network is only slightly unstable. This creates a lot of issues with data plans from tier 2 ISPs. If this scenario is applicable, you can fix the issue by effectively disabling the Smart Network from your Android device. To make matters easier for you, we’ve put together a series of instructions that will walk you through the entire process of disabling Smart Network Switch: Important: Due to the heavily fragmented nature of Android, the screens you’ll end up seeing might be different than in the examples below. If the instructions below don’t help you disable Smart Network Switch, search online for specific instructions on how to do this according to your custom ROM. In case you’re still dealing with the same 7.3.0.0.1 error code, move down to the next potential fix below.
Method 2: Restarting or Resetting your Router
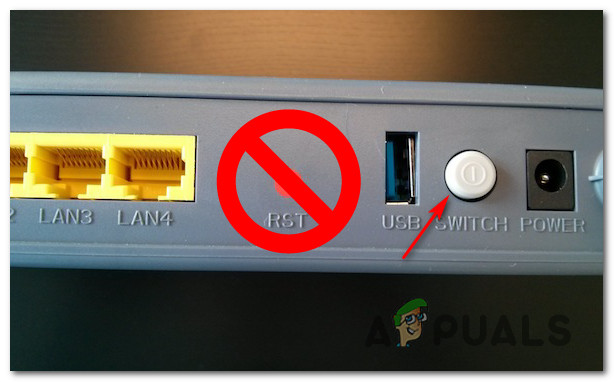
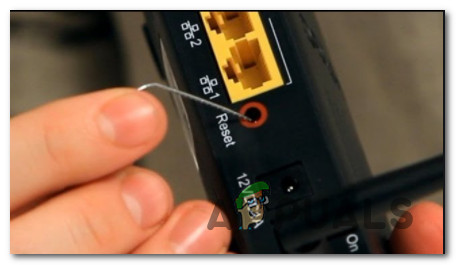
Note: In more serious circumstances, you might need to reset the network entirely in order to fix the issue. To perform a simple network reboot on your router, press and hold the dedicated power button once to turn it off, then wait for a full minute before turning it back on. While you wait, we recommend physically unplugging the power cable from the device in order to allow the power capacitors enough time to discharge themselves. If the same problem is still occurring, you should move forward with a router reset. But before you initiate this operation, it’s important to understand that this procedure will end up resetting every custom setting that your router is currently storing – A reset is the equivalent of returning your router settings to the factory defaults. But on top of doing this, it will also clear the TCP and IP temp data that might be responsible for the network congestion. To perform a router reset, you will likely need a sharp object (small screwdriver, toothpick, or needle) to press and hold on the reset button that’s typically located on the back of the router. This button is typically built-in in order to prevent accidental presses, so don’t expect to be able to press it with just your finger. If the same problem is still occurring, move down to the next potential fix below.
Method 3: Changing router’s Security Type to WPA or WPA 2 Only
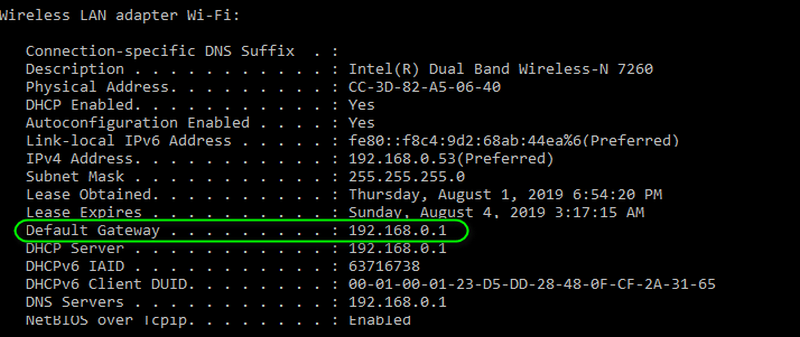
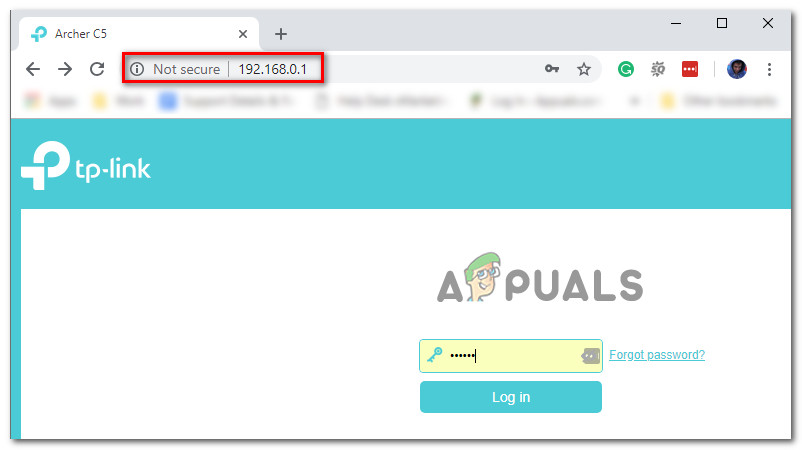
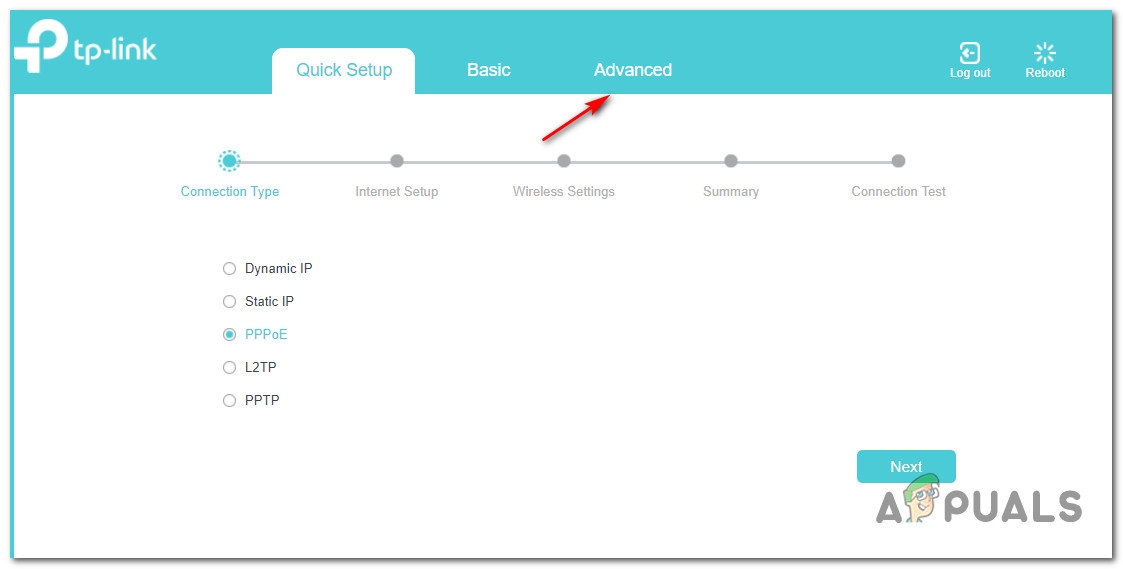
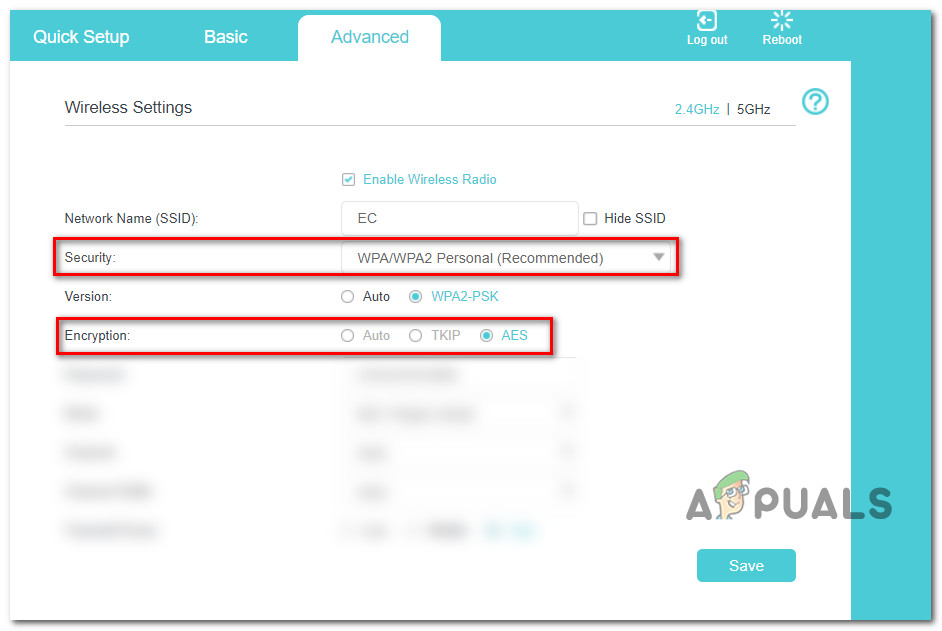
Fortunately, you can fix the issue easily by accessing your router settings and modifying the default router security so that it only uses WPA or WPA2, not both. Note: Also, it’s recommended that the encryption type is set to AES if your route supports it. If you’re looking for step by step instructions on accessing your router and making this change, follow the instructions below: If this issue is still occurring, move down to the next potential fix below.
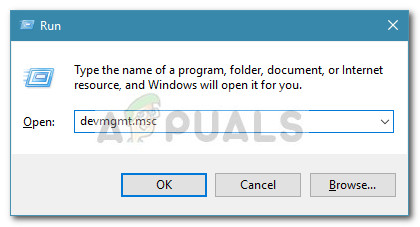
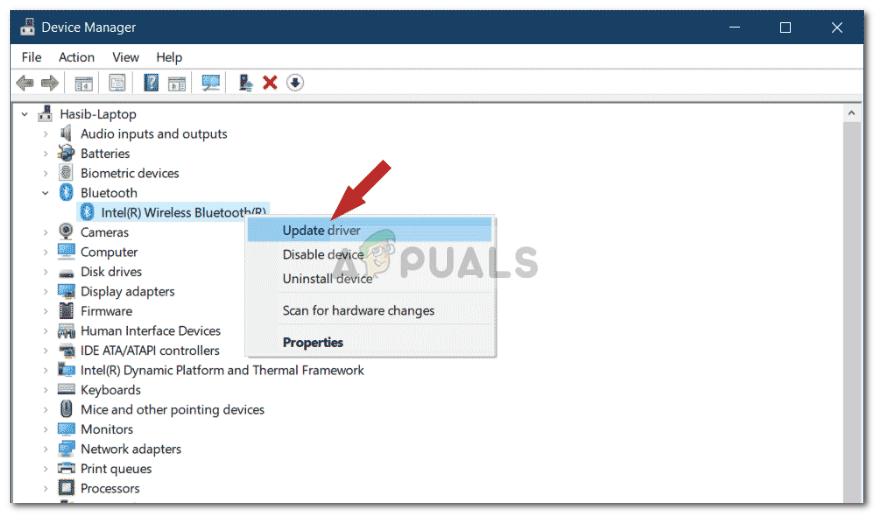
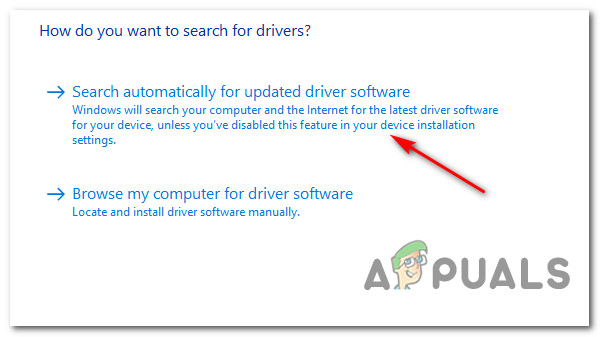
Method 4: Updating your Bluetooth Driver (if applicable)
Several affected users that were dealing with the same issues have confirmed that the problem was finally resolved after they’ve used device Manager to update their Bluetooth driver to the latest version available. If this scenario looks like it could be applicable and you haven’t tried updating our Bluetooth driver yet, follow the instructions below to learn how to do so: If the issue is still not resolved, move down to the next method below and see if it’s applicable.
Method 5: Connect Echo to a 2.4 GHz Network (if applicable)
If this method was not applicable in your particular scenario, move down to the next potential fix below.
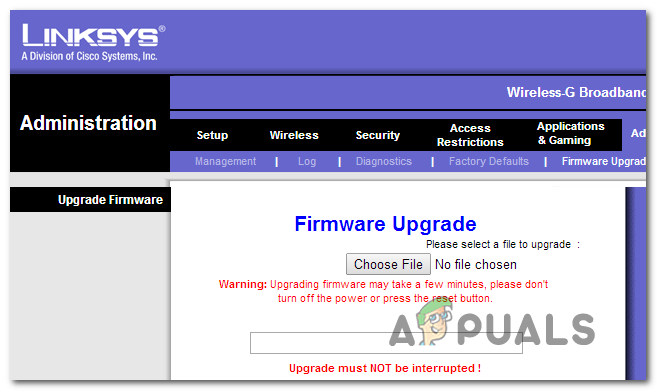
Method 6: Updating router firmware
In this case, you should be able to fix your problem by updating your router firmware to the latest version available. But keep in mind that this operation will be different from router to router depending on its manufacturer. Since the procedure of updating the firmware of your router will be different from manufacturer to manufacturer, consulting the official documentation is a must. Here’s a list of links to the official documentation of the most popular router manufacturers out there:
TP-LinkNetgearASUS Linksys
If your router’s manufacturer is not on this list, search online for the specific steps on updating the firmware of your router’s model.