After investigating this issue thoroughly, it turns out that there are several possible culprits that might trigger the apparition of this weird symbol display. Here’s a shortlist of instances that are known to cause this problem:
Method 1: Restore Default Font Settings via GUI
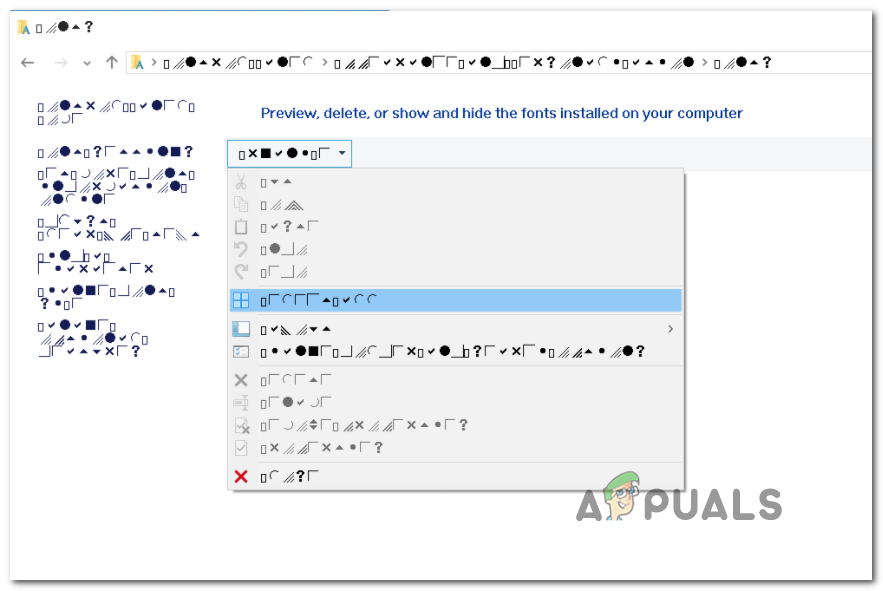
If you haven’t tried this already, you should start this troubleshooting guide by restoring every font setting back to their defaults. As long as there isn’t any underlying corruption issue or glitch that might cause this type of behavior, restoring the default font settings back to the default values should take care of the issue. Here’s a quick guide on resetting your current font settings from the Control Panel menu: Note: The instructions below should work regardless of your Windows version. If the same problem is still occurring, move down to the next potential fix below.
Method 2: Reset Default Font Settings via Registry Editor
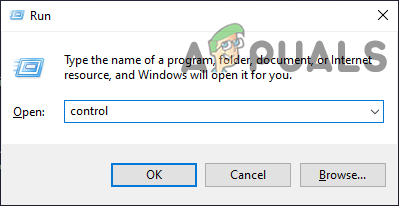
If your font issues are so bad that you possibly follow the instructions above (in Method 1) to reset the font settings to their default values (or you already did this but the same problem remains), you should be able to fix the font corruption issue by created a .reg file capable of resetting the font settings back to their default values. Some affected users have confirmed that this method finally allowed them to take care of the weird issue that was making their OS display weird characters and symbols. If you want to follow this guide, follow the instructions below to create a .reg file capable of resetting the fond settings back to their default values:
Method 3: Manually Rebuild Font Cache in Windows 10
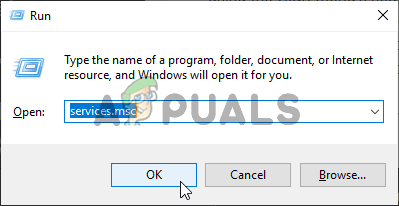
As it turns out, one of the most common instances that will end up triggering this kind of issue is some kind of corruption inside the fond cache of your Windows version. If you’re noticing that the fonts aren’t displaying properly or you’re seeing weird characters instead of letters, you should be able to fix this problem by rebuilding the font cache manually. This operation was confirmed to be successful by a lot of affected users. You should be able to follow the instructions below whether you’re on Windows 10 or on Windows 8.1. Keep in mind that by default, the font cache file is stored in the following location: If you’ll try to access this folder directly, you’ll most likely be able to do it directly as it’s protected by default. However, you should be able to access the folder and manually rebuild the font cache on your Windows installation by following the instructions below: Note: Before you start rebuilding your font cache, you might want to create a new system restore point just in case something goes wrong. If you’re looking for a different approach to rebuilding your font cache, follow the instructions below.
Method 4: Rebuilding the Font Cache via BAT File
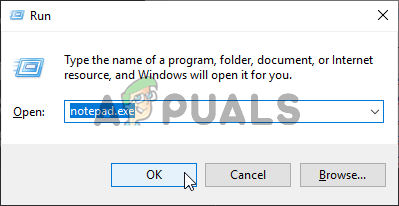
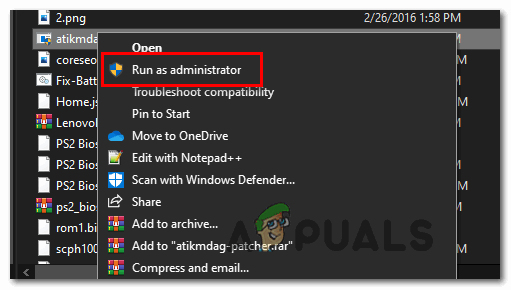
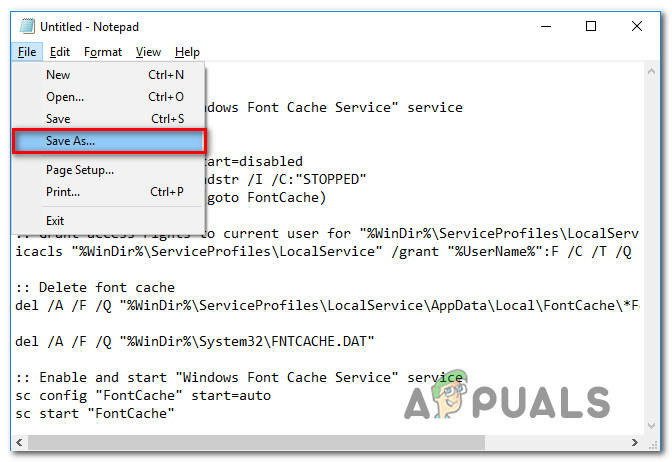
If the method above looks like a lot of work and you’re familiar with creating and running BAT scripts, you can speed up the process of rebuilding your font cache considerably by using Notepad to create a BAT script and run it in order to essentially perform the steps from Method 1 automatically. This method is confirmed to work on Windows 10 and Windows 8.1. If you want to try and repair your font cache via a BAT script, follow the instructions below to create & run one: If the same problem is still occurring, move down to the next method below.
Method 5: Performing an SFC and DISM Scan
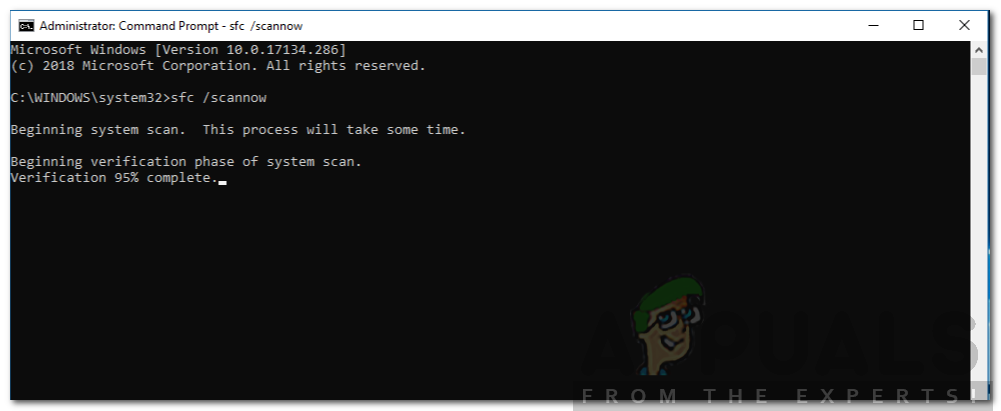
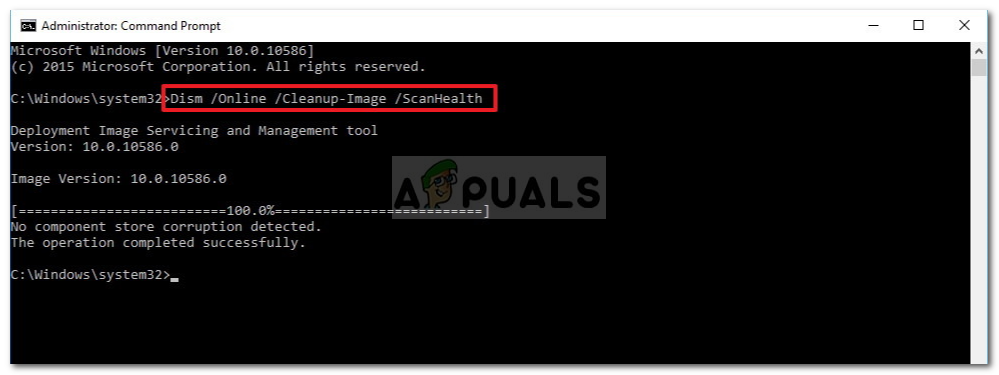
If resetting your font settings and clearing your font cache didn’t fix the problem, chances are you a corrupted Windows file (most likely a font dependency). In this case, you might be able to pinpoint and replace the corrupted files by using a couple of built-in utilities that are known to fix corruption instances – Deployment Image Servicing and Management (DISM) and System File Checker (SFC). When dealing with corrupted data, you should start with a thorough System File Checker Scan. Note: This tool is capable of functioning without an internet connection – It uses a locally stored archive to compare potentially corrupted Windows files with healthy equivalents and replace them when necessary. Once you start this operation, don’t interrupt it until it’s complete as you run the risk of producing other underlying corrupted instances. Once the SFC scan is finished, reboot your computer and see if the same font issue is still persisting after the next startup is complete. If the font issue is still ongoing, it’s time to perform a DISM scan. Note: This type of system file repair will require your computer to maintain a stable Internet connection. This is necessary because it uses a sub-component of Windows Update to find and replace corrupted file instances. Because of this, it’s important to maintain internet access throughout this entire operation. Once the DISM scan is finally complete, restart your computer once again and see if the font display is fixed once the next startup is complete. If the same problem is still occurring, move down to the next potential fix below.
Method 6: Performing a Repair install or Clean install
If none of the potential fixes above have worked for you, chances are you’re dealing with some kind of system corruption that cannot be resolved conventionally. If this scenario is applicable, you should be able to fix this problem by resetting every OS-related file. Several users that were also experiencing font issues on Windows 10 and Windows 8.1 have reported that they managed to fix the problem by repair installing or clean installing their Windows installation:
Clean install – A clean install procedure will allow you to reset every OS file without the need to use a compatible installation media. Another advantage of this method is that you can start the procedure directly from the GUI menu of your windows installation. The main drawback is that unless you back up your data in advance, you’ll lose any valuable data from the OS drive.Repair install (in-place repair) – If you’re looking for a focused approach that will only touch your OS files, you should go for a repair install (also known as an in-place repair/upgrade). You will need to use a compatible Windows installation media, but you will be able to keep valuable data from your OS drive (apps, games, personal media, and even user preferences).
How to Install Fonts with SkyFonts on WindowsHow to Block Untrusted Fonts on Windows 10?Fix: GIMP not Showing Newly Installed FontsHow to Add Fonts to Photoshop