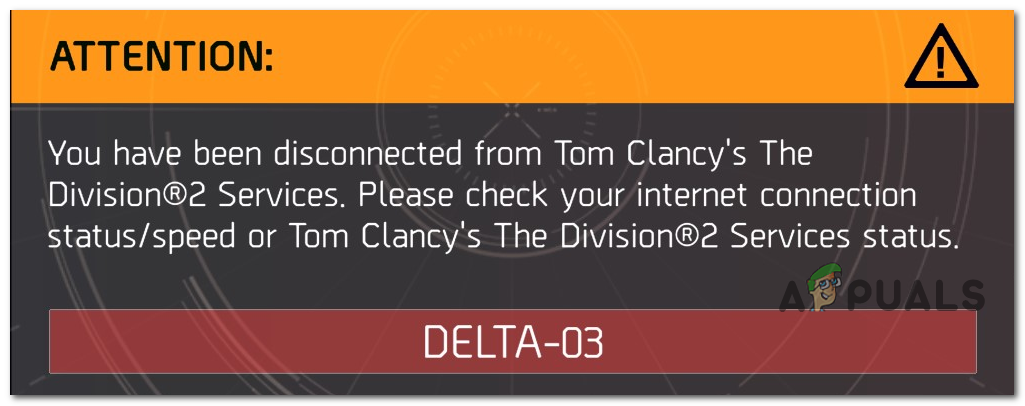
As it turns out, there are several different causes that might be causing this particular issue on PCs and consoles:
Method 1: Reboot or Reset Router
One of the most common instances that will trigger this error is network inconsistency. And after investigating this particular issue, it turns out that the vast majority of network inconsistencies related to Division 2 are in actuality caused by routers. In most cases, affected users are actually dealing with some type of TCP / IP inconsistency that ends up breaking the connection with the Destiny 2 server. This problem is much more common with low-tier routers with a limited bandwidth that is tasked with maintaining a connection where multiple devices are connected to the same network at the same time. In case this scenario seems like it could be applicable, start this troubleshooting guide by disconnecting every non-essential device (to the game connection) and see if the random Delta 3 disconnects stop. In case the problem is still not resolved, consider following one of the two sub-guides below to either reboot or reset your router connection. Note: If you want to avoid any data loss, our recommendation is to start with a simple router restart and then move forward with the restart procedure in case the problem is still not resolved.
A. Restarting your Router
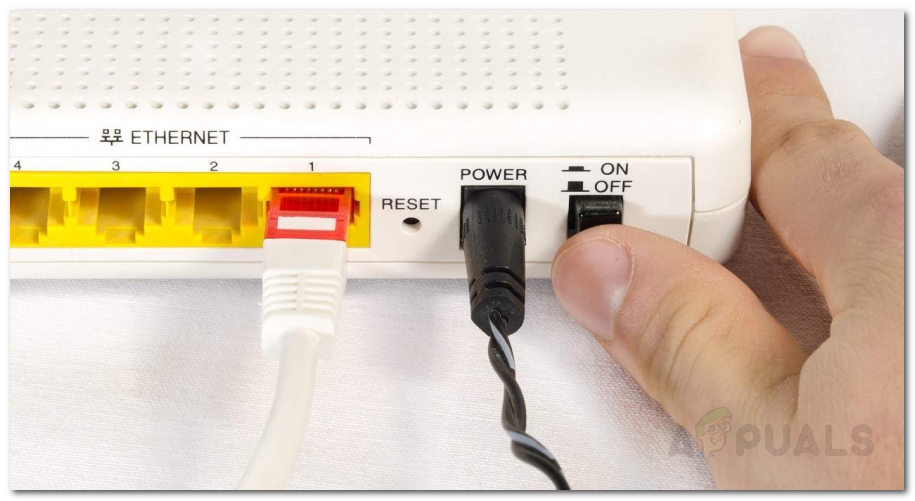
A quick router restart will clear almost every inconsistency that is being facilitated by some type of temporary data affecting the TCP / IP connection. This fix has been confirmed to work by a lot of users that were previously encountering the Delta-03 error code. To perform a router restart, look to the rear of your router and press the On-Off button once to cut off power. Next, press the power button once to cut off the power to your router, then physically disconnect the power cable and wait for a full minute or so to ensure that the power capacitors of your router are completely drained. Once you have successfully restarted your router and re-initiated your network, wait until internet access is re-established and then repeat the action in Division 2 that was previously causing the Delta-03 error code. If the problem is still occurring, move down to the next sub-guide below to perform a router reset.
B. Resetting your Router
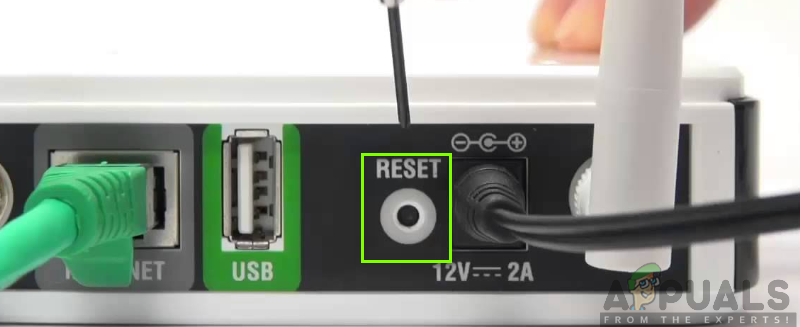
If the simple router reboot didn’t work for you, chances are you’re dealing with a more serious network inconsistency that cannot be resolved by a simple network reset. But since there are a lot of different causes that might be responsible for the apparition of this error, the most efficient way of fixing the majority of persisting network problems is to reset your router back to its factory values. This will end up fixing the issue in instances where the problem is being caused by some type of modification that you previously operated from your router settings. Important: Keep in mind that going forward with this method also means that you will clear any custom settings that you have previously established. This includes any previously forwarded ports, whitelisted devices, blocked devices, custom login credentials, and everything else that you adjusted in your router settings since you set the network up. If you understand the consequences and you want to move forward with this method, you can initiate this operation by pressing and holding on the reset button for 10 seconds or more, or until you see every front LED flashing at the same time. You will be able to find the reset button on the back of your router, but in most cases, you will need a sharp object like a small screwdriver or a toothpick in order to reach the button. If the connection provided by your ISP is PPoE (Point-to-Point Protocol over Internet), you’ll need to keep your ISP credentials at the ready since you’ll likely need to set up the connection again once the reset procedure is complete. Once you manage to reset your router successfully and Internet access is established, repeat the action inside Division 2 and see if the problem is now resolved. If the same problem is still occurring, move down to the next potential fix below.
Method 2: Disabling / Uninstalling 3rd party Security Suite
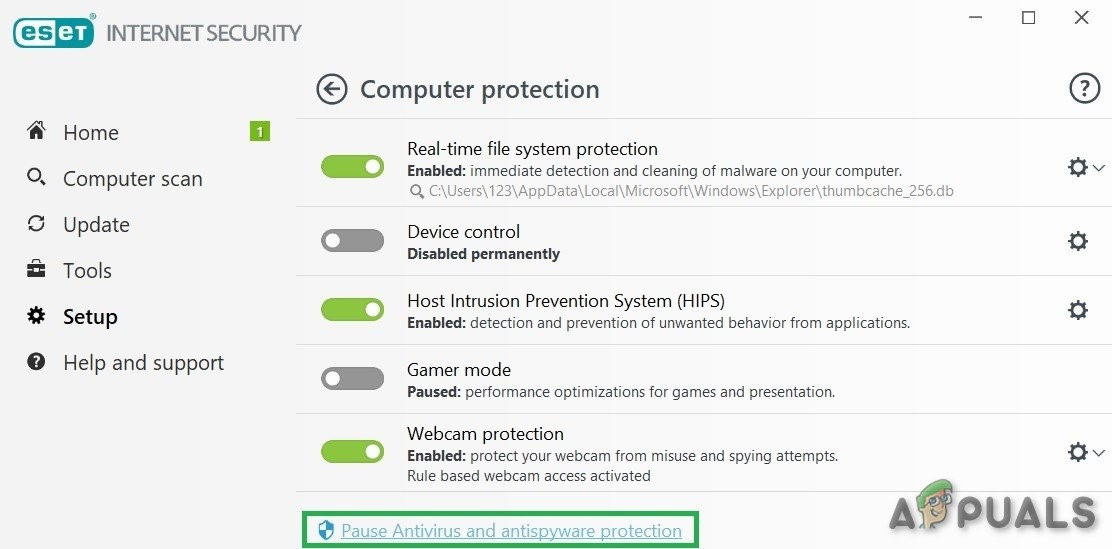
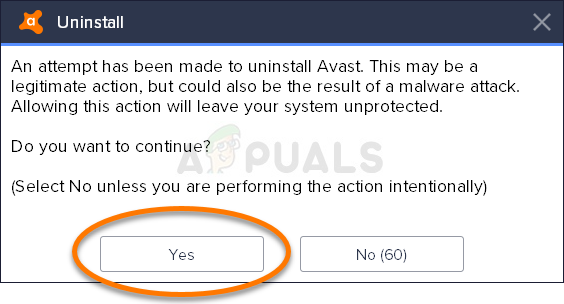
If you’re using a 3rd party security suite or firewall, it’s possible then a false positive is actually making it terminating the connection with the game server. This problem is confirmed to occur by affected users with both 3rd party firewalls and 3rd party security suites. In case you’re using a 3rd party firewall, the fix is as simple as ensuring that the security suite is disabled whenever you’re actively playing the game. Most 3rd party suites will allow you to do this directly from the tray-icon of the security suite. Simply right-click on it and look for an option that allows you to disable the real-time protection. However, in case you’re using a 3rd party firewall, disabling the 3rd party suite will likely not be enough since the same security suite will remain in place even after you disable the security measure. In this case, the only viable fix is to uninstall the allegedly overprotective firewall to determine whether it’s interfering with the game or not. If this turned out to be true, you can then look for specific instructions on whitelisting executables and ports used by Division 2 in your antivirus. If this scenario is applicable, follow the instructions below to uninstall the 3rd party firewall and see if this fixes the problem in your case: In case the same issue is still occurring, move down to the next potential fix below.
Method 3: Flushing / Changing DNS
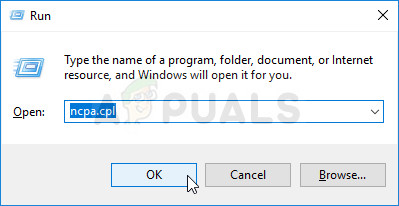
As it’s been confirmed by several affected users, this problem can also occur due to a Domain Name Address (DNS) inconsistency. This scenario is even more likely if you’re encountering similar errors with other multiplayer games. If this scenario is applicable, there’s a chance that your ISP has assigned a bad DNS address that makes it hard for your computer to maintain connections with certain multiplayer games. In this case, you can resolve the issue in 2 different ways – you can either flush the DNS and then fore an IP / TCP renewal from an elevated CMD prompt or you can make the switch to the DNS provided by Google to hopefully improved your network reliability. Start with sub guide A (Flushing and Renewing your DNS) and see if it ends up fixing the Delta-03 error in Division 2. If the same problem is still appearing, move over to sub guide B (making the switch to the DNS provided by Google.
A. Flushing & Renewing the DNS
B. Switching to Google DNS
In case the same problem is still occurring, move down to the next potential fix below.
Method 4: Forwarding the Ports used by Division 2
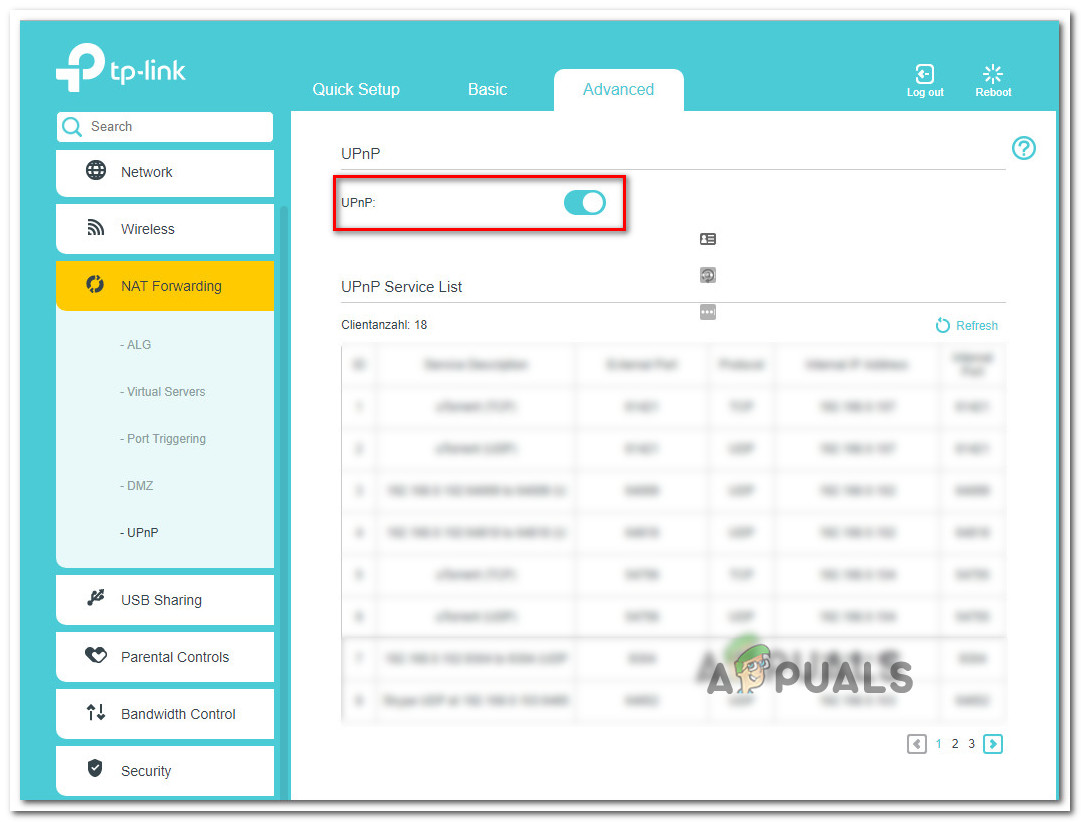
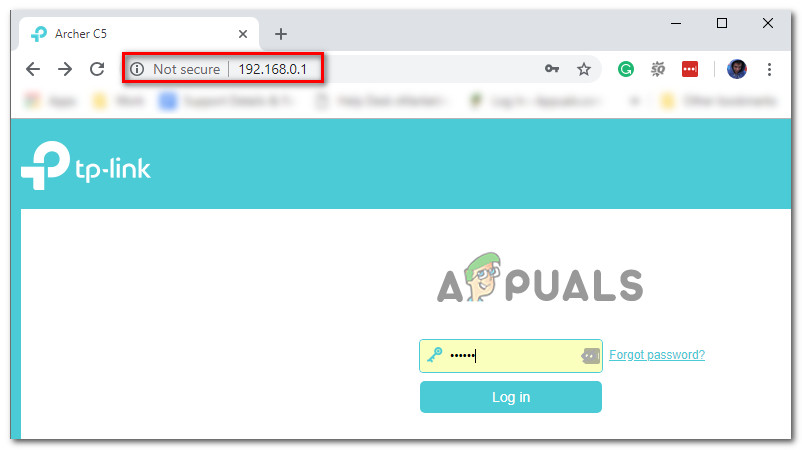
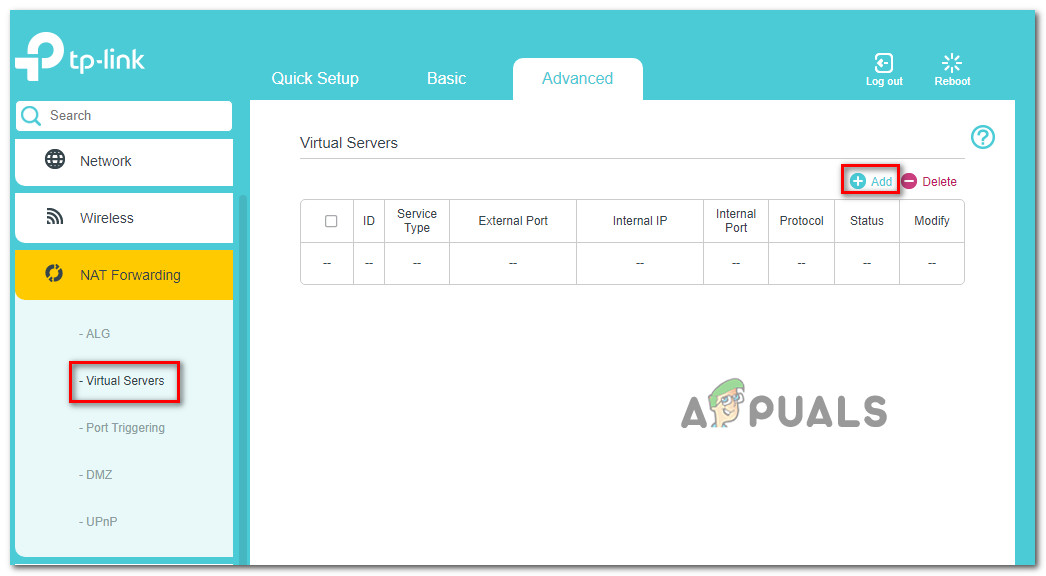
If none of the methods above have worked for you, chances are you’re dealing with a closed NAT (Name Address Translation) that is preventing your endpoint computer from connecting to the game server. In this case, you have two ways forward – You can either enable UPnP (Universal Plug and Play) or you can forward the ports used by Division 2 manually. What this essentially does is allowed your router to automatically forward the ports that are being used by trusted games and applications that your devices are attempting to connect to. This is certainly the preferred approach, but not every router model will support this feature. In case you’re using an older router that doesn’t support UPNP, the only way of getting this issue resolved is to forward the required ports manually. Here’s a quick guide on how to do this: Note: These steps are only for orientation purposes as the exact screens you’ll see will vary depending on your router manufacturer. But generally, the steps of reaching the Port forwarding screen are very similar across the majority of manufacturers.
