After investigating this particular issue thoroughly, it turns out that there are several different causes that might end up triggering this particular error code. Here’s a shortlist of potential culprits:
Method 1: Checking for Server Issues
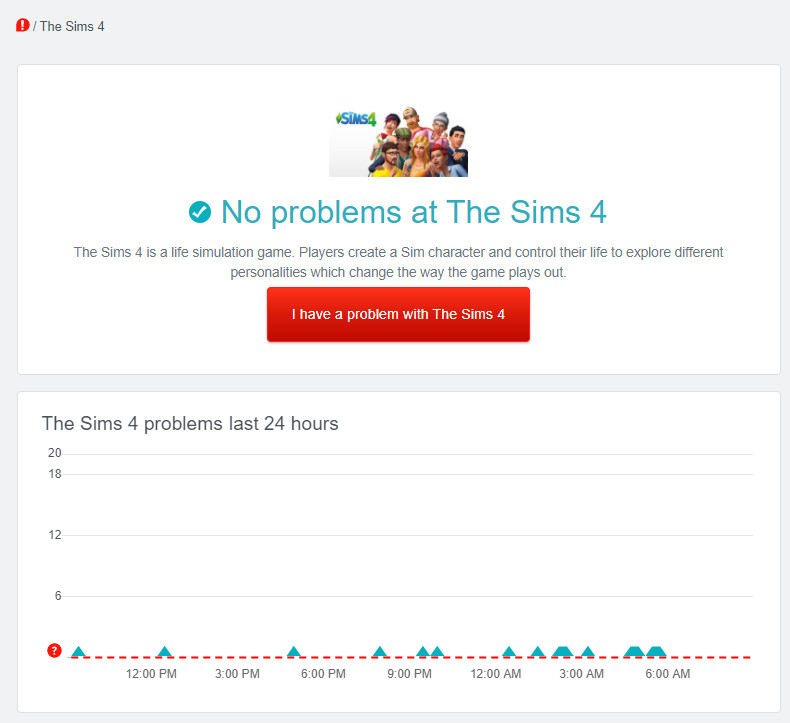
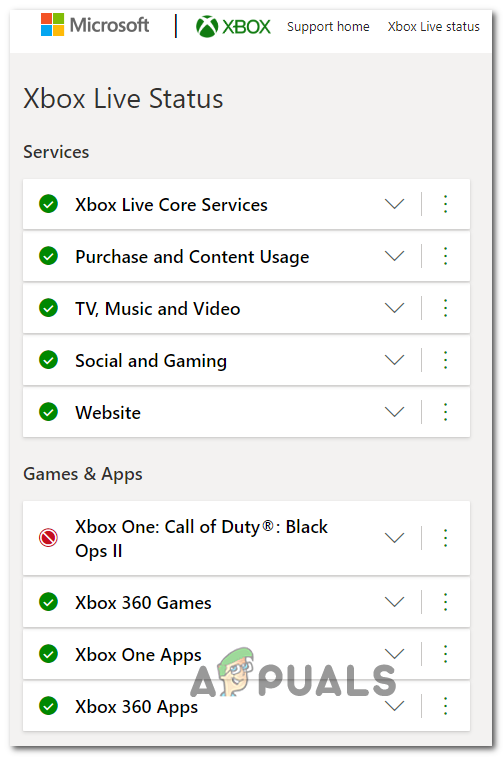
Before you attempt to fix the issue in any of the other fixes below, you should start by ensuring that the issue is not actually caused by a server issue that ends up affecting your game’s ability to validate the connection. Keep in mind that unlike many other games, Sims 4 requires a permanent Internet connection in order for some features to work, so starting this troubleshooting guide with a server check is the be a way to go. First things first, start by checking if other users in your area are reporting the same kind of issue by visiting the Sims 4 page on DownDetector. If the 3rd party outage service didn’t reveal any underlying server issues, you should also take the time to check the status page of Playstation Network and Xbox Live if you’re playing your console. Note: If you’re facing the problem on PC while using Steam, you should check out the status page of Steam to see if there are any underlying problems that might hinder the launching of Sims 4. If the investigations you just did have made it clear that there’s no server issue to speak of, move down to the next potential fix below where we attempt to fix the most common type of problem that will cause the problem to occur locally.
Method 2: Update game to the Latest Version
If you previously confirmed that you’re not dealing with a server issue, the most likely culprit, in this case, is a bad update that’s causing the game to crash. This has happened at least 3 times in the past with Sims 4 and every time the problem was fixed with an ulterior update that took care of the issue. So whether you’re playing the game on Playstation 4, Xbox One, or PC, simply force the game to update to the latest version and see if this ends up fixing the issue. If you force your game launcher/console to update and a new version is found, follow the on-screen prompts to update, then reboot your machine and see if the game is now able to launch without seeing the same 109 error code. In case you already tried this and you’re already using the latest version, move down to the next potential fix below.
Method 3: Deleting the localthumbcache.package file (PC Only)
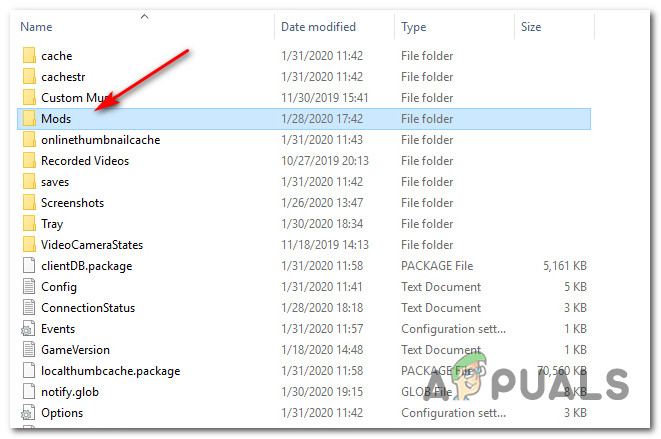
According to some affected users, this problem is often reported to occur in instances where a corrupted or outdated mod will cause the game to crash with the 109 error code – This problem is mainly caused by inconsistency with the Origin version of Sims 4. Fortunately, if the issue is caused by a mod, you should be able to fix the problem by deleting the localthumbcache.package file before forcing Origin to replace the recently deleted file by forcing Origin to rename the game. Note: Before you delete the localthumbcache.package file, we highly recommend that you move your mods folder to a safe location like outside the game files in order to prevent the repair function from overriding the folder. If you want to tackle the 109 error code by deleting the localthumbcache.package file, follow the instructions below:
Fix: Error Code 12 on Sims 3Fix: Sims 4 Error Code 102How to Fix Sims 4 Error Code 140:645fba83 228eaf9b?Fix: There was an Error during Startup on Sims 3