After investigating various user reports and attempting to replicate the issue on our machines, it turns out that there are several different underlying causes that might lead to the apparition of this error code. Here’s a shortlist of potential culprits that might be responsible for this error code: Now that you are familiar with every potential reason that might cause the error occurred while downloading the updates message pop-up when you attempt to update your macOS to the latest version available, let’s take a look at a couple of fixes that other dealing with the same issue have successfully used:
Check for a Server Issue
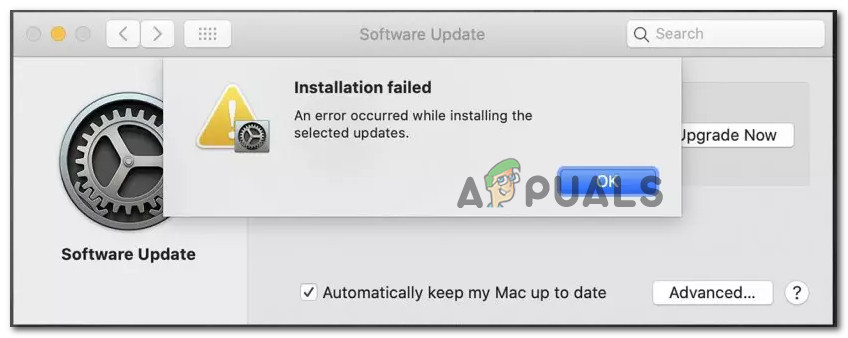
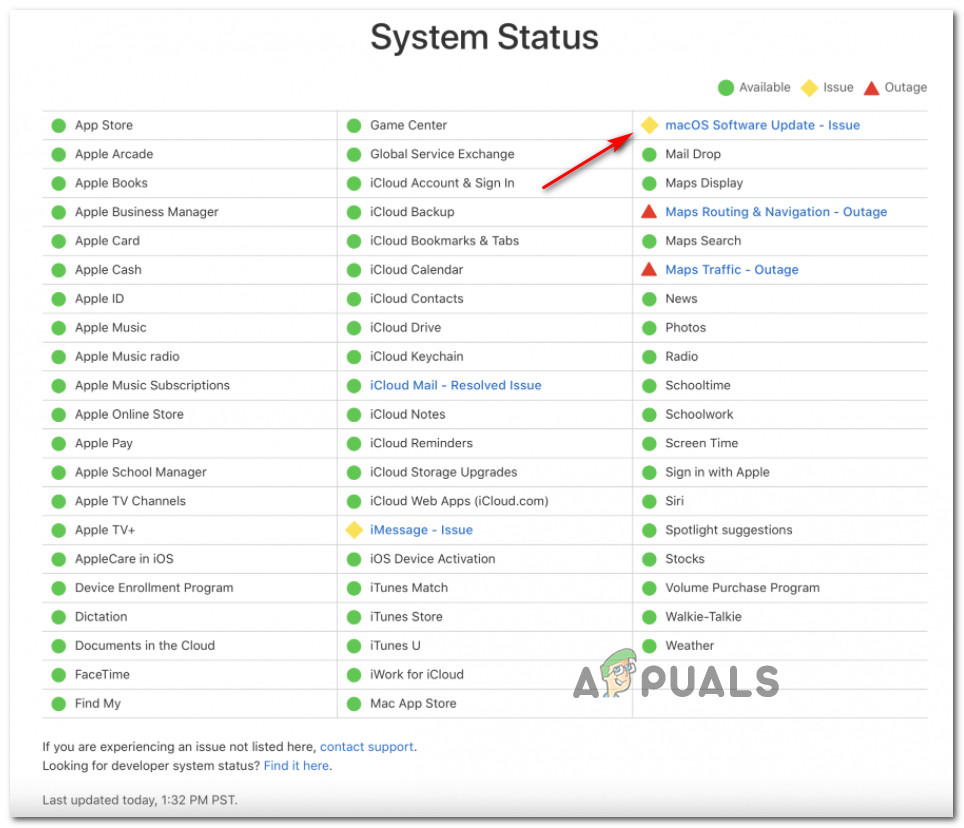
Before you go ahead and follow the other methods below to troubleshoot a local issue that’s causing the update failed error, you should start by ensuring that Apple is not currently experiencing issues with their Software Update delivery function. In the past (when the Big Sur update was officially released), there was a surge of “An error occurred while downloading the updates (Update Failed)” reports as the Software Update component of Apple effectively broke. If you are encountering this issue due to a server issue, none of the methods below will work in your case, so take the time to investigate if this is true or not. Fortunately, there is an easy way of checking if Apple is currently experiencing issues with the macOS Software update component – Simply access Apple’s System Status page and check if there’s an Issue or Outage revolving around macOS Software Update. If this investigation has allowed you to discover an underlying server issue, there’s nothing you can really do to fix the problem – All you can do is wait for Apple’s engineers to resolve their server issue. On the other hand, if the status page is reporting no underlying issues or outages with the macOS Software Update component, you can conclude the problem is not server-related – In this case, start following the next potential fixes below.
Restart or Reset your Router
If you see this error occurring every time you attempt to download the pending system update for macOS, there’s a very big chance you’re dealing with a networking glitch that has affected a lot of Mac users in the past. In case you are dealing with this problem, you’ll end up seeing the update failed error regardless if you’re performing the update from the System Preferences tab or downloading it from the official download page. Fortunately, the problem is most likely occurring due to a generic case of badly cached IP / TCP data that is forcing the Apple server to reject the connection due to a security concern. If this scenario is applicable, you should be able to fix the issue by performing a router restart or reset procedure. Note: If you can get the issue fixed with a simple router restart, do that instead of resetting your network
Restart your Router
A simple router reboot procedure will achieve the purpose of clearing the currently cached data for Internet Protocol and Transmission Control Protocol data. To go for a router reboot on your network device, start by identifying the power button (it’s typically located on the back of the device). When you see it, press it once to cut off power. As soon as power is cut off from the device, go ahead and disconnect the power cable from the power outlet and wait for 1 minute or more before plugging it back in in order to allow the power capacitors enough time to drain themselves. Once the time period has passed, start your router once again, attempt to install the same update that was previously failing with the ‘An error occurred while downloading the updates (Update Failed)’ error prompt and see if the problem is now fixed. If the problem is still not fixed, move down to the next potential fix below.
Reset your Router Configuration
If the simple router restart didn’t fix the issue for you, the next logical step is to go for a complete network device reset to ensure that no network-related setting or cached data is currently preventing your macOS system from updating itself. Important: Prior to resetting your network device, it’s important to understand that this operation will affect your current network setup. Any forwarded ports, blocked items, and any other type of custom settings will be lost once you go through with this procedure. Even more, if you’re using PPPoE, you will need to re-do the credentials before you can restore Internet access. If you understand the consequences, you can initiate a router reset by locating the reset button on the back of your router. Note: Typically, this is a built-in button that can only be reached with a sharp object (needle, toothpick, etc.) in order to prevent the accidental process. Once you manage to locate the reset button, press and hold it for 10 seconds or more or until you notice that the front LEDs all flash at the same time. After the router is successfully reset, go ahead and re-establish the connection by re-inserting your PPPoE credentials and see if the problem is now fixed. If you’re still unable to complete the update on your macOS, move down to the next potential fix below.
Get rid of Kernel Extension Software (if applicable)
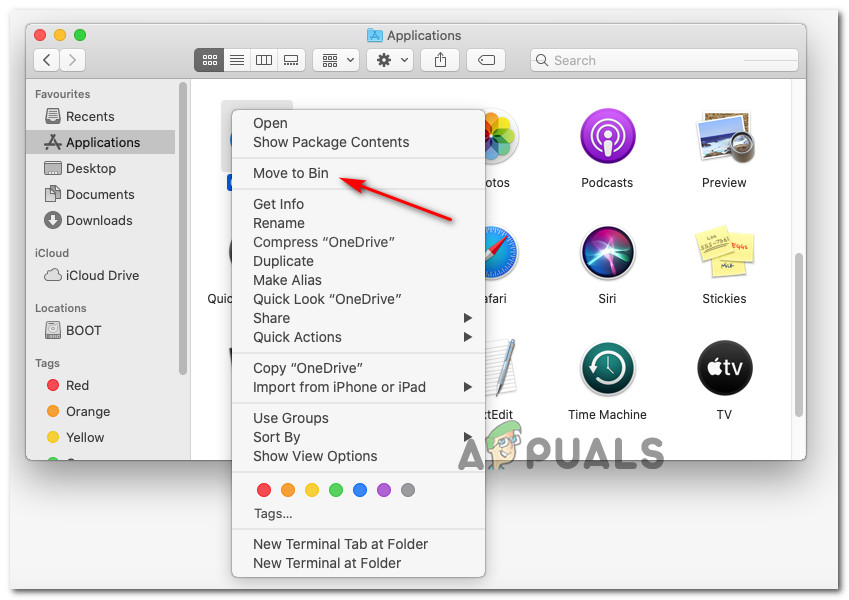
If you’re seeing the ‘An error occurred while downloading the updates (Update Failed)’ while attempting to install the Big Sur update, one fairly common culprit is 3rd party software that works by installing kernel extensions. Common culprits in this particular case are software like Parallels, CPU Gadget, and Little Snitch. If any of the 3rd party software mentioned above is currently installed on your Mac (or a similar tool), the only thing you have to do to bypass the error is to temporarily uninstall them from your macOS in order to ensure that the Big Sur update can be installed with no roadblocks. If you’re looking for specific instructions on how to do this, follow the steps below: If the problem is still not fixed, move down to the next method below.
Reset PRAM & NVRAM Caches
If none of the other fixes above have worked in your case, it’s very likely that you’re dealing with an NVRAM (Non-Volatile Random-Access Memory) or PRAM (Parameter Random-Access Memory) issue that is preventing your system from properly dealing with temporary files. Info: macOS computers will use NVRAM to store certain settings data that can be accessed quickly, while PRAM is used to store information related to some core components of your MAC. If you’re indeed dealing with an issue cause by either of these caches (NVRAM or PRAM), you should be able to fix the problem by resetting both the PRAM and NVRAM caches. If you’re looking for specific step by step instructions on doing this, here’s what you need to do: If the problem is still not fixed, move down to the next potential fix below
Remove iTunes entries from the /hosts File
According to some affected users, you can expect to see this particular error code due to a bad /etc/hosts file that is interfering with the updating process. Most likely, the problematic key that is effectively blocking the update to the Big Sur iteration is 127.0.0.1 osxapps.itunes.apple.com. Several affected users that were previously dealing with the same kind of issue have confirmed that the problem was resolved once they accessed the /hosts file and removed the problematic entries that we’re interfering within the updating process. If you’re looking for specific instructions on accessing and modifying the hosts file on macOS, follow the instructions below: If the problem is still not fixed, move down to the next potential fix below.
Clean the Caches folder of macOS
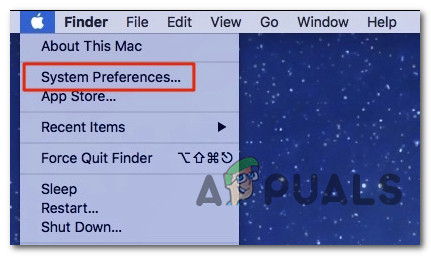
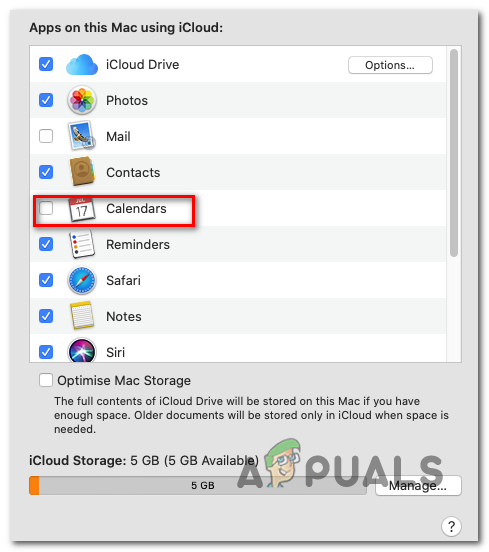
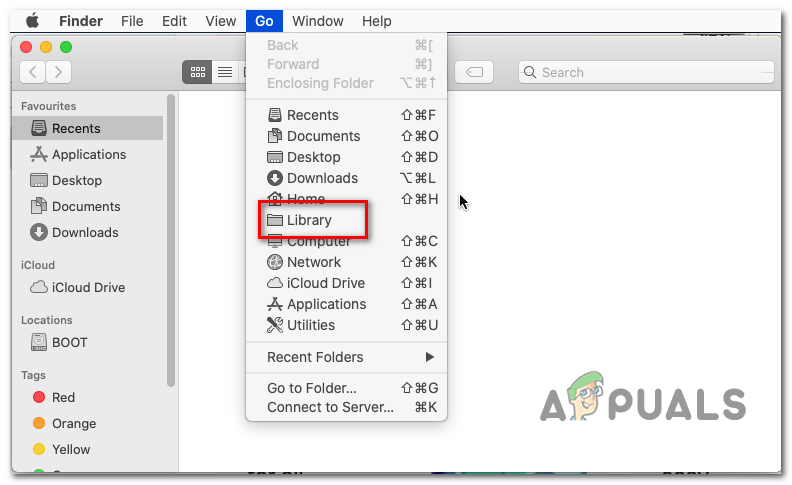
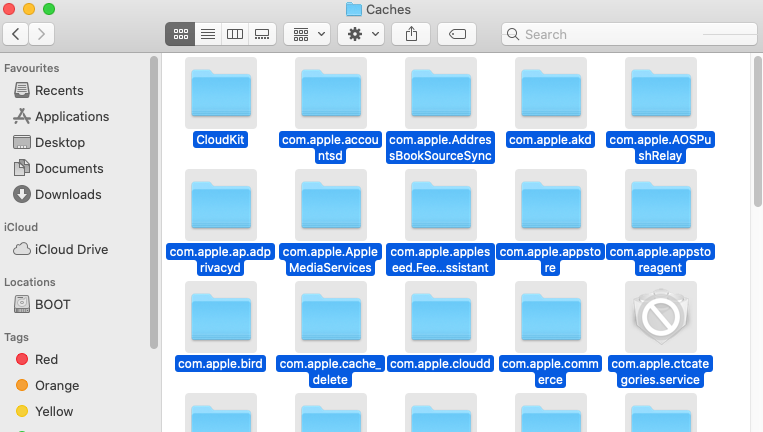
As it turns out, this particular issue can occur due to a series of corrupted temp files that might reside in the Caches folder. Under certain circumstances, corrupted cache files can interfere with the installation of new pending system updates and cause the Update Failed error. Several affected users that were also dealing with this problem have managed to fix it by accessing the Library folder and clean the contents of this folder. Note: This procedure is perfectly safe and will not cause any issues with your macOS installation. Keep in mind that in order to do that, you will need to start by accessing the System Preferences menu and disable the iCloud integration with Calendar in order to be able to remove the files from the Caches folder. Important: If you want to ensure that you don’t end up doing any collateral damage, we recommend that you start by doing Time Machine Backup before starting with the steps below. Once you are ready to get started, begin following the steps below: If the same kind of issue is still occurring, move down to the final potential fix below. Note: Keep in mind that the Cache folder will only contain temporary files that various applications installed in your macOS ecosystem use. Deleting them might prompt you to sign in again with some applications, but it won’t break any applications.
Clear the Software Update Catalog
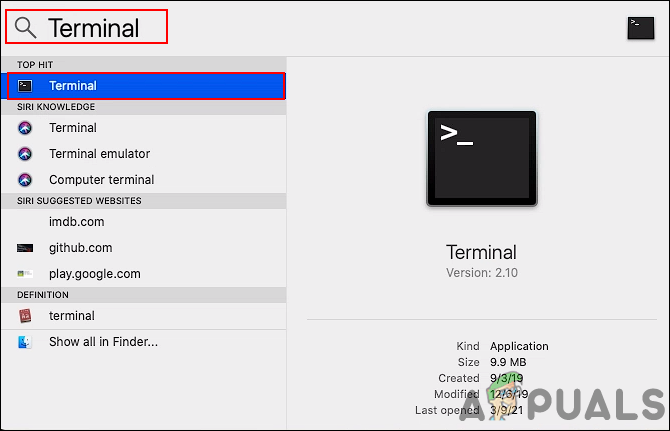
If none of the fixes above have proven to be effective in your case, you should start considering a scenario in which there’s a glitch affecting the Software Update Catalog of your macOS computer. Several macOS users facing the same kind of issue have confirmed that they were finally able to bypass the ‘An error occurred while downloading the updates (Update Failed)’ error by opening the Terminal app and deploying a command that cleared the Software Update Catalog. This operation will effectively re-generate the Software catalog and eliminate any type of glitch that is currently causing the error message. If you find yourself in this particular situation, follow the instructions below to open a Terminal app and clear the software update catalog using a sudo command:
Fix: “The Selected Boot Device Failed” Error on Windows?Failed to Format the Selected Partition (Error 0x8004242d)Fix: INF file you selected does not support this method of installationFix: The Selected Disk is not a Fixed MBR Disk