After investigating this particular issue, it turns out that this problem can occur due to a few potential causes. Here’s a shortlist of potential culprits:
Method 1: Reconnect the problematic drive
If you’re using an external drive and you have the habit of disconnecting it frequently, you should start by disconnecting and reconnecting the problematic external drive. This operation will force your OS to reassign a letter to the external drive which might resolve the problem automatically. After you reconnect the external drive via the correct cable, reboot your torrent client and see if the problem is now resolved. If the same ‘former volume not mounted‘ error is still occurring, move down to the next method below.
Method 2: Setting the correct download location
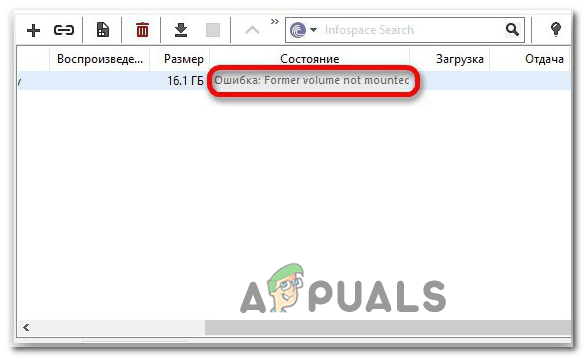
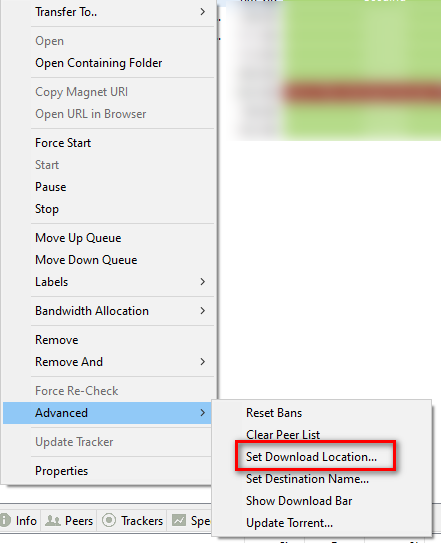
As it turns out, one of the most common instances that will trigger this error is when one (or more) of your torrents is referencing a download path that no longer exists. This typically occurs when users initiate downloads on removable drives and then decide to remove them (while the file is downloading or seeding). If this scenario is applicable, you can easily fix this problem by identifying the problematic torrent and setting the correct download location from the torrent settings. To make things easier for you, we’ve put together a step-by-step guide on setting up the correct download location: In case the same problem is still occurring, move down to the next potential fix below.
Method 3: Match the drive letter to the computer allocated drive (uTorrent Only)
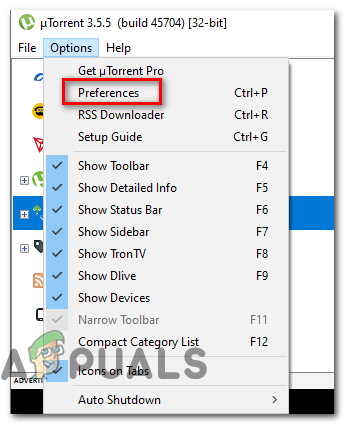
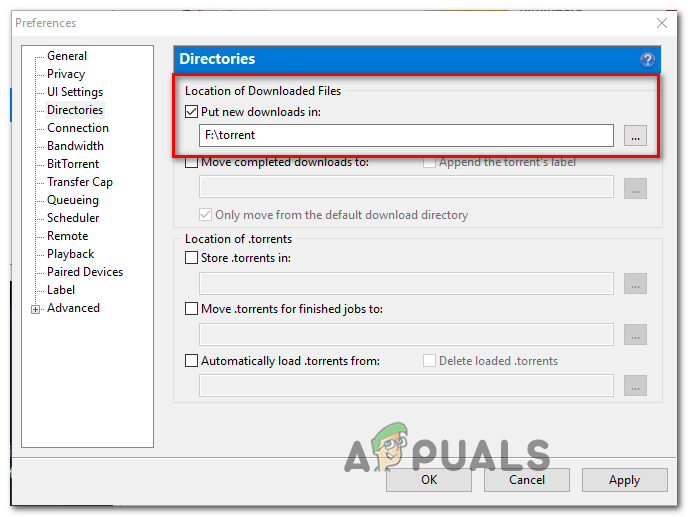
If you’re using an external drive and you regularly disconnect it from your computer, it’s possible that when you connect it back, the drive letter allotted by your PC will change. On Utorrent, this is will most likely occur due to a setting in the Preferences tab. This is way more common than you might think. Fortunately, this is very easy to fix – You just need to modify the directories in the Preferences screen so they match the drive letter to computer allocated drive. Here’s a quick step-by-step guide that will walk you through the steps of doing so: In case you still see the same ‘former volume not mounted‘ error, move down to the next potential fix below.
Method 4: Change drive letter from Disk Management
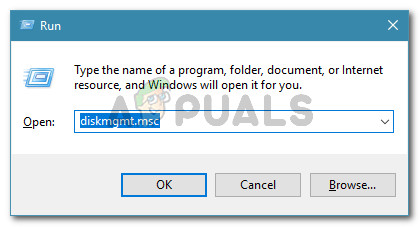
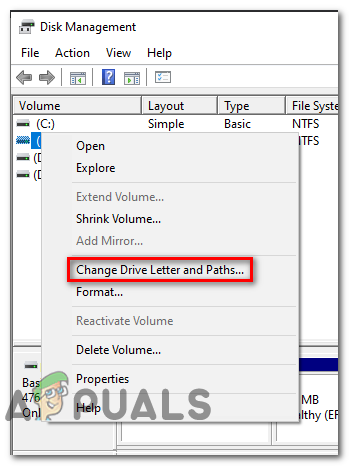
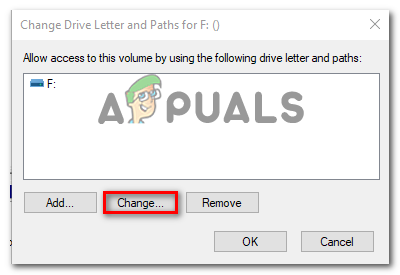
If you have a lot of different torrents affected by this error or you don’t want to change anything from your torrent client, you can go the other way around fixing this problem. A different way of fixing the ‘former volume not mounted‘ error is to find out which drive letter your torrent client is expected and change the drive letter containing the torrent file to match using Disk Management. If you’re looking for step by step clarifications, follow the instructions below to change the drive letter via Disk Management: If you’re still encountering the same ‘former volume not mounted‘ error, move down to the next potential fix below.
Method 5: Re-checking the problematic torrents
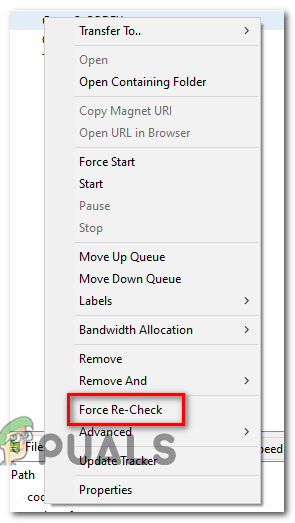
If none of the potential fixes above have worked for you, one thing you can try is to force your torrent client to re-check the problematic torrent. This operation was confirmed to be successful by both uTorrent and BitTorrent users. But it’s not just on these 2 torrent clients – Every similar client of this kind has a Force Re-Check feature that can be initiated by right-clicking on the problematic torrent and choosing the option from the context menu. Once the re-check procedure has been completed, restart your computer and see if the error goes away the next time you start your torrent client. If the same problem is still occurring, move down to the next potential fix below.
Method 6: Modifying the resume.dat file (uTorrent Only)
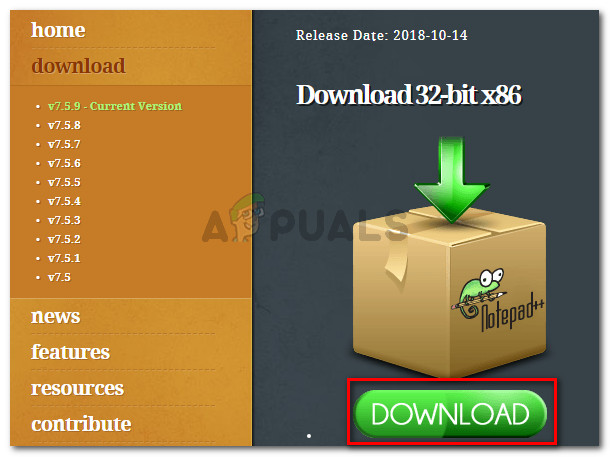
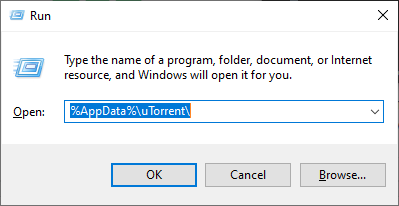
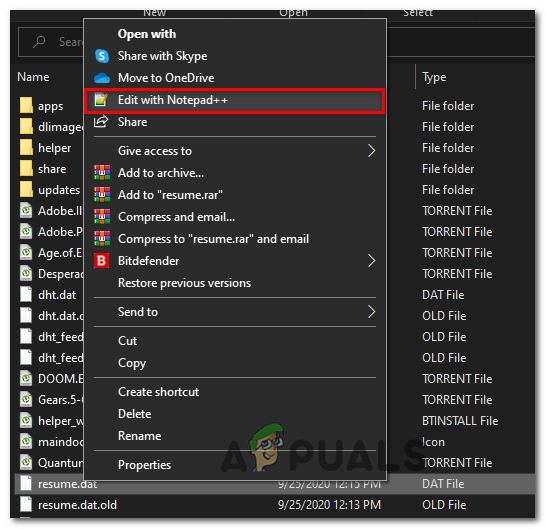
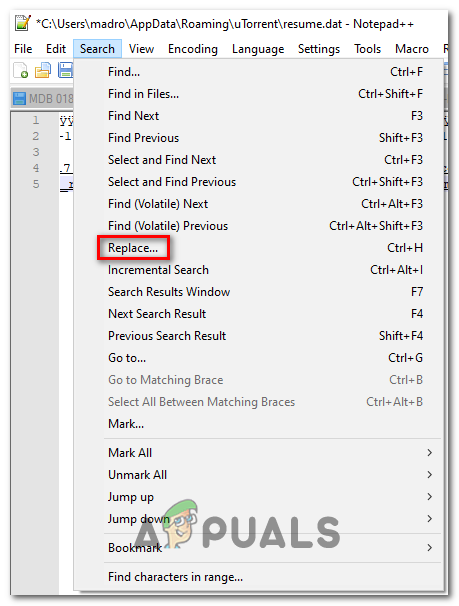
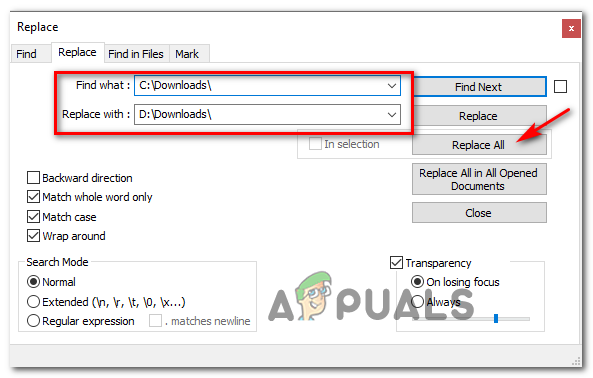
If you don’t mind modifying config files, one additional way of resolving this particular error code is to use an enhanced text editor like Notepad++ to replace all instances of the incorrect drive letter from the resume.dat file of uTorrent. Important: The resume.dat file is sensible in the sense that after you modify it, you need to keep the exact length (only the path letter can be modified) Several affected users that were also encountering the ‘former volume not mounted‘ error have confirmed that they managed to fix the error by using Notepad++ to replace every incorrect instance from the resume.dat files. Here are some step-by-step instructions on how to do this:
CHIPS Act Won’t Help U.S. Chip Manufacturing, According to Former TSMC…Former PlayStation Executive Shawn Layden Joins Tencent As A Strategic AdvisorTSMC’s Former Executive Says Intel is Way Ahead in Delivering PerformanceA Former Bloober Team Employee Is Reportedly Developing a New Horror Game Using…