Many users reported that this issue occurred either when intensively using graphics or just randomly. According to our research, there isn’t any official statement as well from official sources. In this article, we will go through all the reasons as to why this issue might occur on your computer.
What causes the Monitor to go Black Randomly?
After researching extensively on the issue and combining user reports, we concluded that this issue occurred due to several different reasons. Some of the reasons why your monitor might go black are but not limited to: Before we move on to the solutions, make sure that you have an active internet connection and are logged in as an administrator. Also, we suggest that you backup your data just in case.
Solution 1: Checking HDMI/VGA Cable
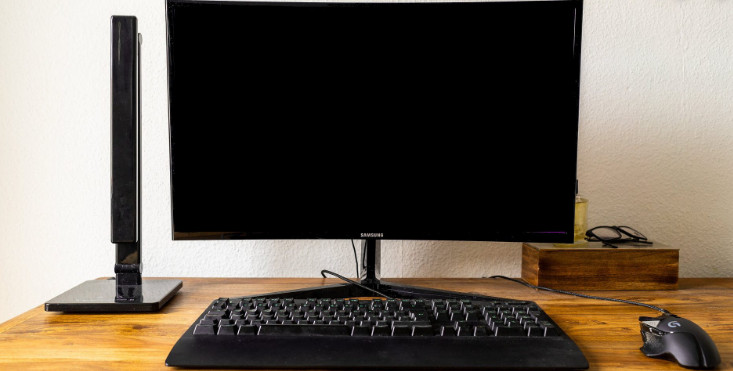
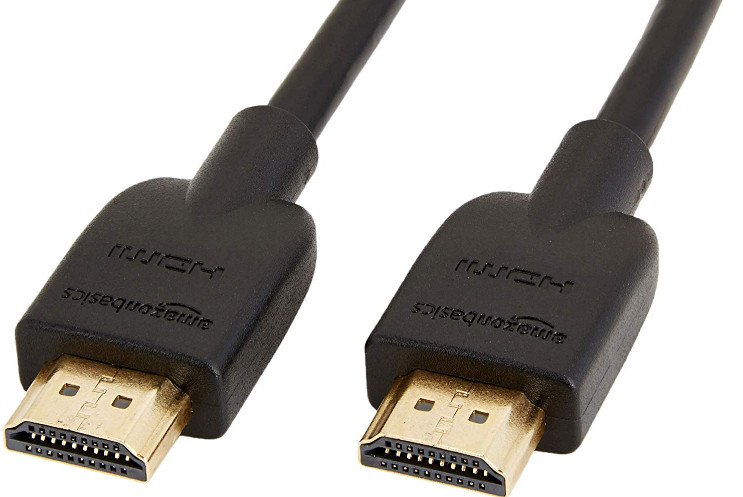
There can be a case where your HDMI cable isn’t working properly or is damaged. The same thing can be said about your TV/monitor which might not be functional. Here, we will perform some basic troubleshooting techniques and see if they help us diagnose and solve the issue.
Replace your HDMI cable. Before buying a new one, try plugging the current cable in another system and see if it works. If it doesn’t work, it probably means the cable is damaged. Replace the cable and try again.Try a different input source to the monitor or TV. If you are using a laptop as an input source, try making the connection with another laptop and see if this makes any difference. If the signal is detected from the other laptop, it means there are either some misconfigurations in your laptop or the HDMI port is not working.You can also try isolating the problem and see if the monitor/TV is working properly with other inputs.If you are using an HDMI to VGA converter, this can be bad news. To confirm that the HDMI module on both your input and output are working properly, use a pure HDMI cable and check.
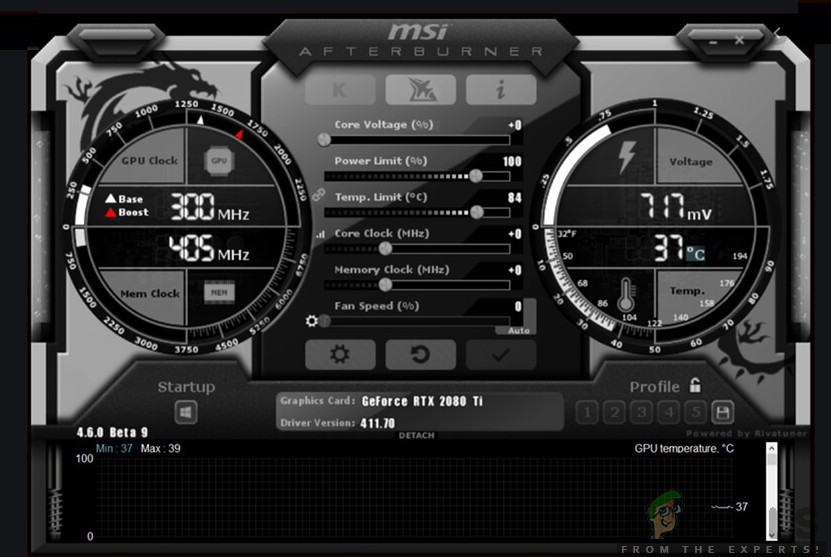
Solution 2: Disabling Overclocking
Overclocking is a very common feature in numerous PC builds nowadays. Here, the processor performs short bursts of computation for a small interval. During that interval, the CPU reaches its threshold temperature and the overclocking stops until the CPU is cooled again. There were numerous reports by users who indicated that disabling overclocking fixed their issue of the monitor going black again and again. Although these settings are meant to improve the quality of the computer, here they seem to do the opposite. Here, we will recommend that you disable all type of overclocking and get your CPU running at the factory speed. On top of this, make sure that there are no computer enhancing programs running on your computer. These programs are known to conflict with the OS and graphics when trying to ‘optimize’ the computer by eliminating several important processes.
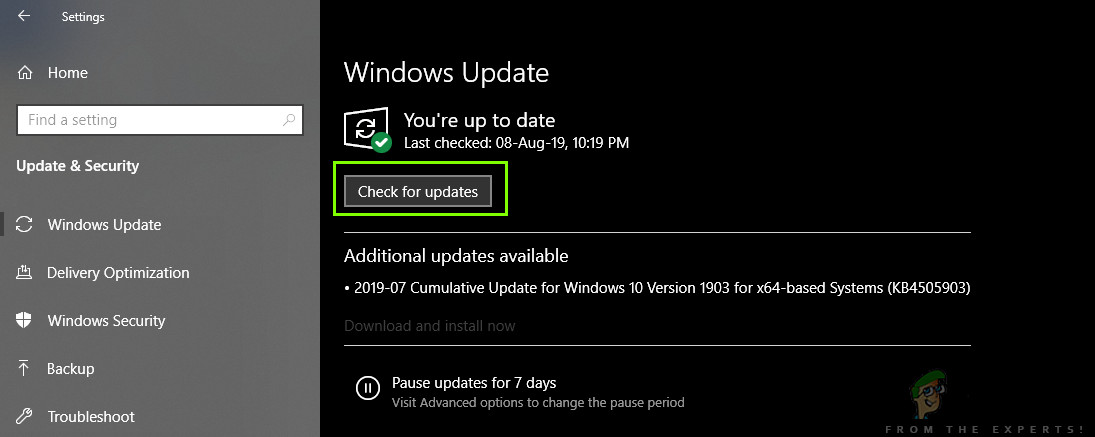
Solution 3: Updating Windows to the Latest Build
Microsoft releases frequent updates for fixing bugs or introducing new features. If you haven’t updated Windows for quite some time, it is recommended that you do right away. There have been similar cases in the past where the graphics system stopped working properly because of bugs induced in the system. When these bugs are identified, Microsoft engineers roll out updates as soon as possible targeting the issue. After installing the updates, it seems that the monitor works perfectly. Make sure you are logged in as an administrator before continuing. Note: An active internet connection will be required to apply the updates. Also, it might take some time depending on the size of the update.
Solution 4: Updating Graphics Drivers
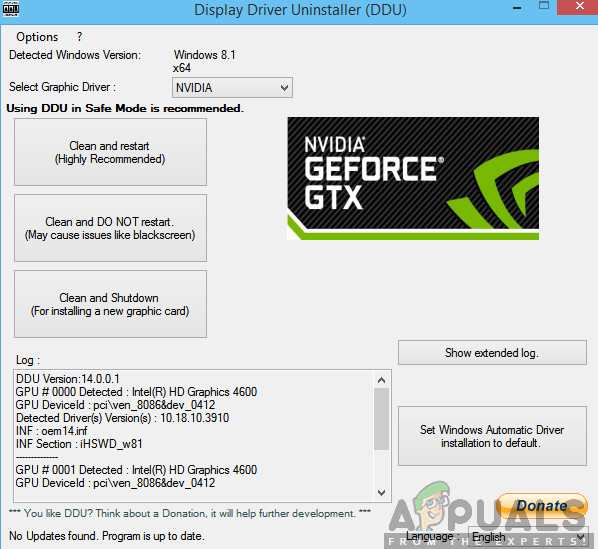
As you might have guessed, graphics drivers are the main components connecting and relaying instructions from your operating system to the graphics hardware. If these are outdated or corrupt, you will experience stuttering and bizarre issues like the monitor screen going black. Here, we will properly uninstall the current drivers and then attempt at installing new ones.
Solution 5: Checking your PSU (Power Supply Unit)
PSU is the main components which take AC power from the main outlet of electricity externally and then transmits the correct voltage to other components in your computer. For example, SATA connections might require more power than the motherboard. Here, if your PSU is damaged or not transmitting power properly, you will experience numerous problems ranging from your monitor blinking again and again to the computer crashing. What you can do here is trying another PSU temporarily. Check if the issue also occurs when using that hardware. Also, make sure that you change the cable connecting the PSU to your mains electricity outlet. If the issue doesn’t persist there, it means that you should get your PSU checked. If it does, you can continue with the other troubleshooting methods listed down below.
Solution 6: Uninstalling/Disabling third-party programs
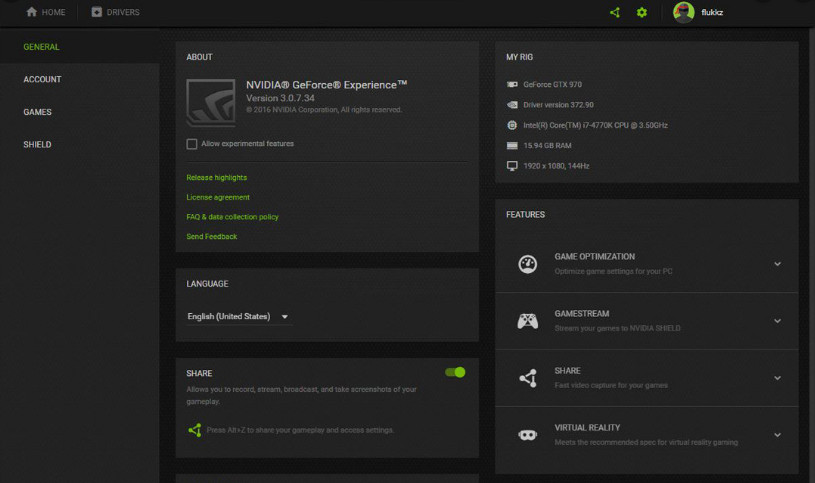
Third-party programs such as NVIDIA GeForce Experience and AMD applications usually come bundled with graphics hardware/drivers. Usually, almost all of these programs allow users to change the graphics settings to enhance the features or add some custom ones. However, despite their usefulness, they are known to conflict with the system. You should disable all third-party programs running in the background and if some settings regarding the manipulation of graphics are present, make sure that you disable them as well. Here is the method on how to uninstall these applications: Note: You can always save the temp configuration file of the third-party application in case you want to install it back on and don’t want to lose all the configurations you set.
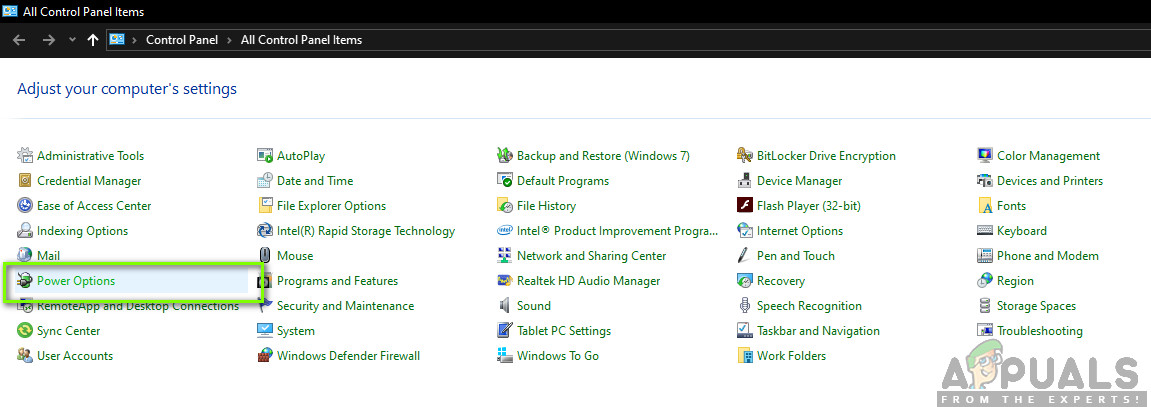
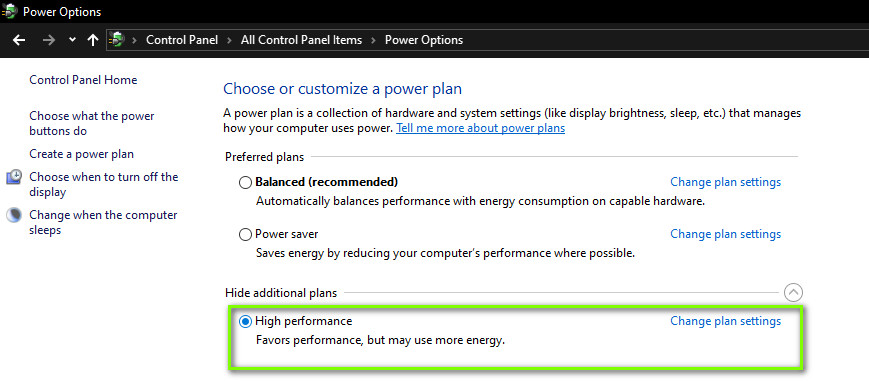
Solution 7: Changing Power Settings
Power Settings are the main protocols or rules which dictates a computer how much power to consume and when to save it. These power settings might be set to a value which might not be compatible with your system or might be conflicting with your motherboard. Here in this solution, we will navigate to the power settings through the motherboard and change the settings.
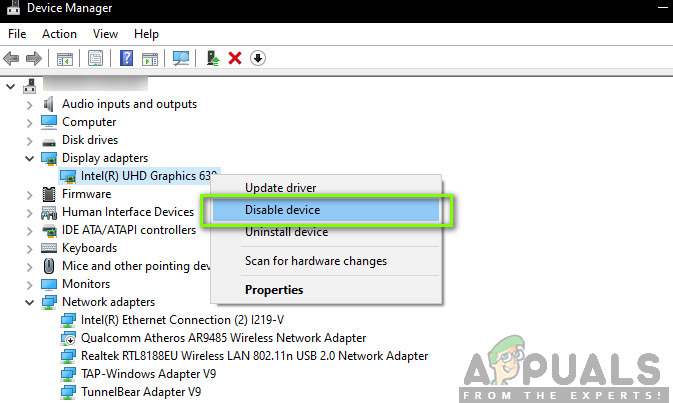
Solution 8: Checking your GPU
If you have a third-party dedicated GPU installed on your computer (such as NVIDIA/AMD), it is recommended that you check whether it is working properly and is properly attached. A malfunctioned GPU which is usually used a lot and is overclocked is known to cause the fluctuated output to the monitor. Here, you can try disabling your dedicated graphics and see if the issue persists on your integrated graphics. If they do, it will help us troubleshoot what the culprit is. Below is the method on how to disable the dedicated graphics:
Solution 9: Checking for Power Interference/Issues
This method might be the last but it is just as important as the other ones. Power interference issues are known to be a major cause of why your monitor fluctuates. You can make sure of this by observing the behavior of the monitor whenever you switch a light or some other electrical appliance. If the monitor fluctuates, it means that your wiring isn’t proper or is very old. The solution to this is to try a UPS (uninterrupted power supply) which will regularize the voltage coming to your computer. If this fixes the problem, our diagnosis would be correct. Note: If all the above methods don’t work, it probably means that you have to get your monitor checked.
Fix: Lumia 640 Keeps Rebooting RandomlyFix: iPhone and iPad Reboots Randomly Due to Date/Time iOS BugFix: Taskeng.exe Keeps Popping Up RandomlyHow to Fix Windows 10 Crashing Randomly or at Startup