After investigating this particular issue, it turns out that there are several different scenarios that might cause this particular error code. Here’s a shortlist of potential culprits:
Method 1: Clearing the CMOS battery
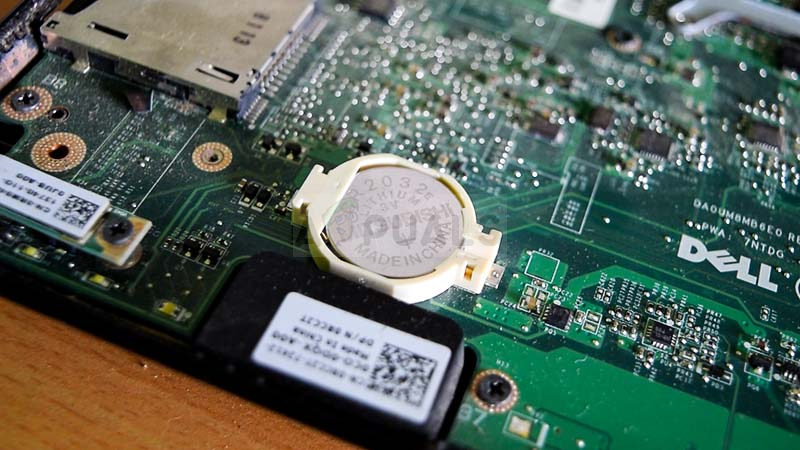
As it turns out, one of the most common reasons why you can expect to see the 99 error code with MSI motherboards is an inconsistency with the UEFI or BIOS settings. In most cases, this problem will occur due to temporary data that are being preserved in between startups by the CMOS battery (Complementary Metal-Oxide Semiconductor). If this scenario is applicable, you should be able to fix the problem by opening your PC case and temporarily removing the CMOS battery in order to clear any information that is preserved between computer boots. If you don’t know how to clear the CMOS battery, follow the instructions below for a step-by-step guide on doing this: Note: The instructions below are only applicable for desktop PC. If you’re encountering this problem with an MSI laptop, removing the CMOS battery is far more complicated and will require you to take everything apart before you’ll be able to reach it. If the same problem still remains, move down to the next potential fix below.
Method 2: Resetting BIOS / UEFI to default (if applicable)
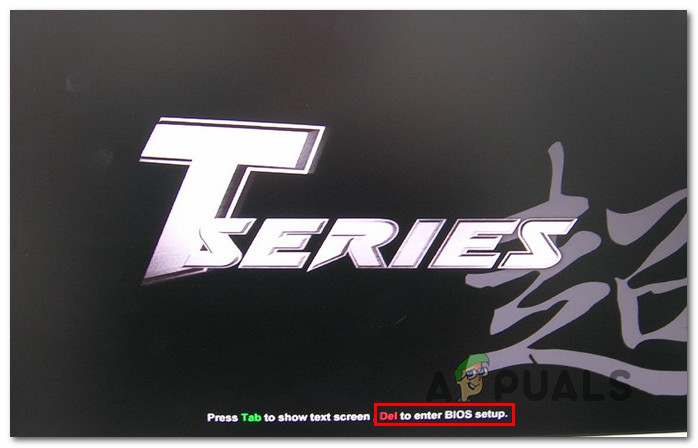
If this problem is intermittent (sometimes it allows you to get past the initial screen), you might be able to fix this problem by resetting your BIOS (Basic Input / Output System) or UEFI (Unified Extensible Firmware Interface) settings. If this problem is caused by a BIOS or UEFI glitch or setting that makes the system unstable, you should be able to fix the issue by resetting the BIOS / UEFI menu to the default values. This potential fix was confirmed to be effective by a lot of affected users. However, keep in mind that depending on the low-level type of software that you’re using, the instructions of resetting them will be different. Because of this, we’ve put together 2 different sub-guides that will walk you through this process regardless if you’re using BIOS or UEFI:
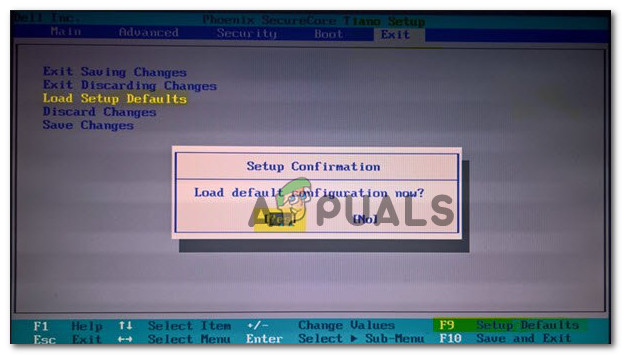
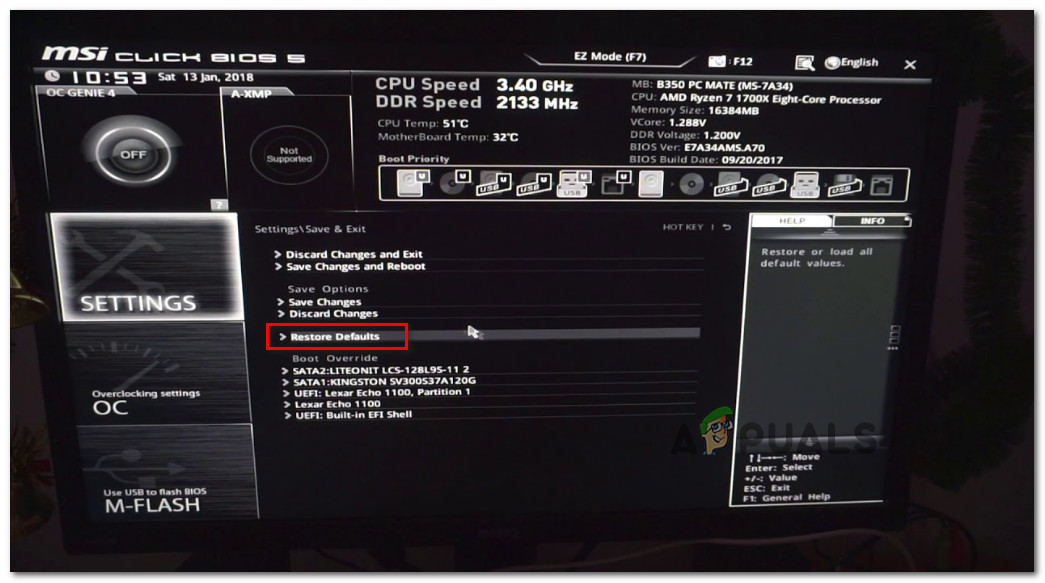
A. Resetting the BIOS Settings to the Default
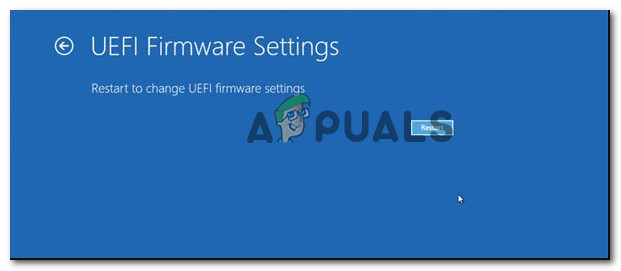
B. Resetting the UEFI Settings to the Default
If you already tried resetting your BIOS or UEFI settings and you’re still seeing the same MSI motherboard error code, move down to the next method below.
Method 3: Removing peripherals (if applicable)
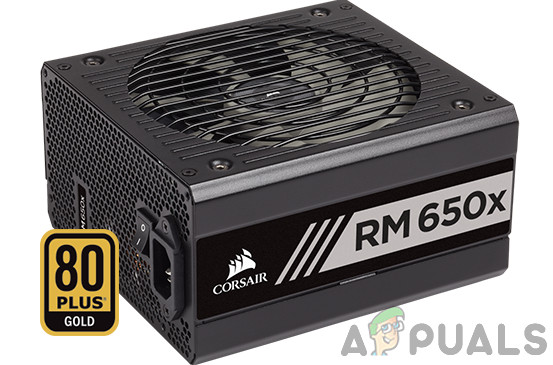
The 99 error code with MSI motherboards is often associated with an error related to failing USB devices connected via front-panel ports (wireless keyboards, hard drives, printers, USB hubs, etc.) And as it turns out, some affected users that were also struggling with this issue have managed to fix the problem after disconnecting certain unnecessary peripherals. Some affected users have confirmed that the issue went away after they’ve disconnected an external HDD / SSD, while others managed to avoid the 99 error code by disconnecting their USB-powered headset. The fact that these workarounds were effective seems to suggest that you might also be dealing with an I/O (input/output) issue or it might be a classic case of an insufficient PSU (Power Source Unit) that’s unable to supply enough power for every component that’s currently connected to your PC. If you don’t want to upgrade your PSU to a new unit with a bigger capacity, our only option is to disconnect every non-essential device that’s currently utilizing energy supplied by your PSU. If you already tried removing every non-essential device that’s connected to your PC and you’re still facing the same 99 error, move down to the next method.
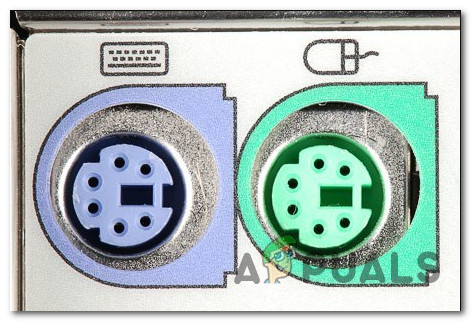
Method 4: Connecting mouse and/or keyboard via PS/2 ports
Keep in mind that if you’re using an older MSI motherboard that still has PS/2 slots, you might be dealing with an I/O issue brought about by peripherals connected via USB. Weird enough, some affected users have managed to fix the problem by disconnecting their USB and keyboard and connecting older peripherals via the legacy PS/2 port. This might seem like a weird fix, but there are a lot of user reports confirming that this method successfully allowed them to get past the 99 error code triggered by MSI motherboards. So if you have PS/2 slots on your motherboard and you still have legacy peripherals to connect them to the slots, do it and see if you can avoid the 99 error code entirely. On the other hand, if this scenario is not applicable, move down to the final potential fix below.
Method 5: Send it for replacement (if applicable)
If none of the methods above have worked for you, you should start considering the fact that you might be dealing with a short circuit that ended up messing up with your internals. Several users that found themselves in a similar situation have managed to fix the issue by sending their motherboard (or entire PC) in for replacement if they’re still under warranty. In case your warranty has expired and you have a different motherboard that’s compatible with your CPU, GPU, and RAM, you can move them to the other motherboard and see if your computer boots up without issues.
MSI Z370 Gaming Pro Carbon Motherboard ReviewMSI B650 Motherboard Pricing Leaks Out, The Carbon WiFi Variant Costs $329.99How to Update MSI Motherboard BIOSAdvanced Motherboard Buying Guide – How to Buy A Motherboard For A Gaming PC