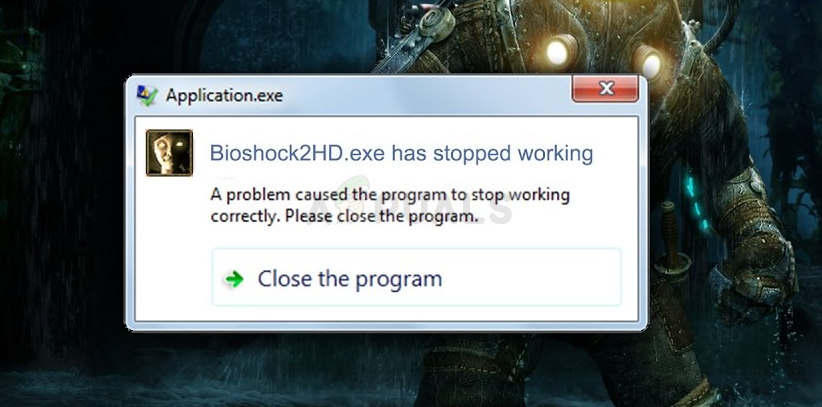
This is a big problem but, luckily, other players managed to resolve it using the methods presented below. Good luck and make sure you follow the instructions carefully.
What Causes BioShock Remastered to Crash on Windows?
The game can crash for a wide variety of different problems. We have created a shortlist of all possible causes for you to check out. Determining the correct cause can help you resolve the problem more easily so make sure you check it out!
Solution 1: Run the Game as an Administrator
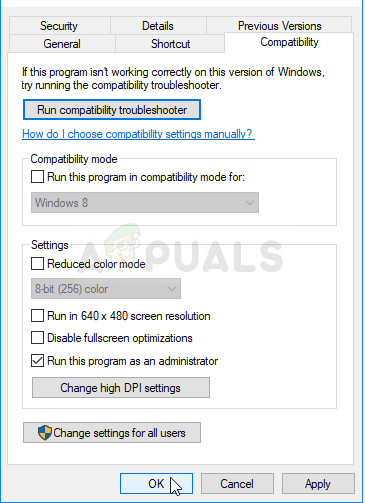
Providing administrator permissions to the game’s executable seems to have resolved the problem from many users. It worked for crashes which have appeared since day one and it still works with the newer versions of the game. Make sure you follow the steps below to run BioShock Remastered as an administrator.
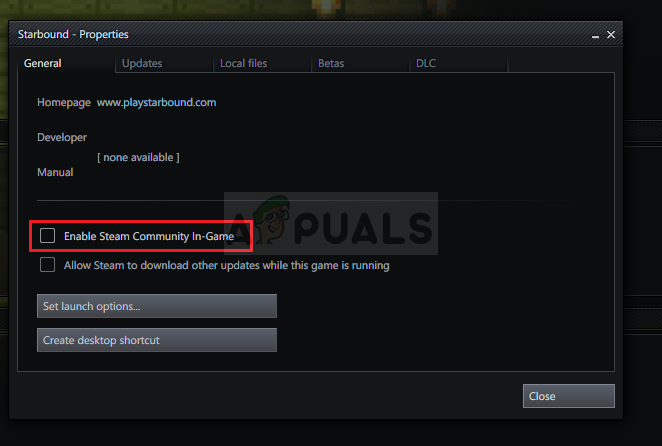
Solution 2: Disable Steam Overlay
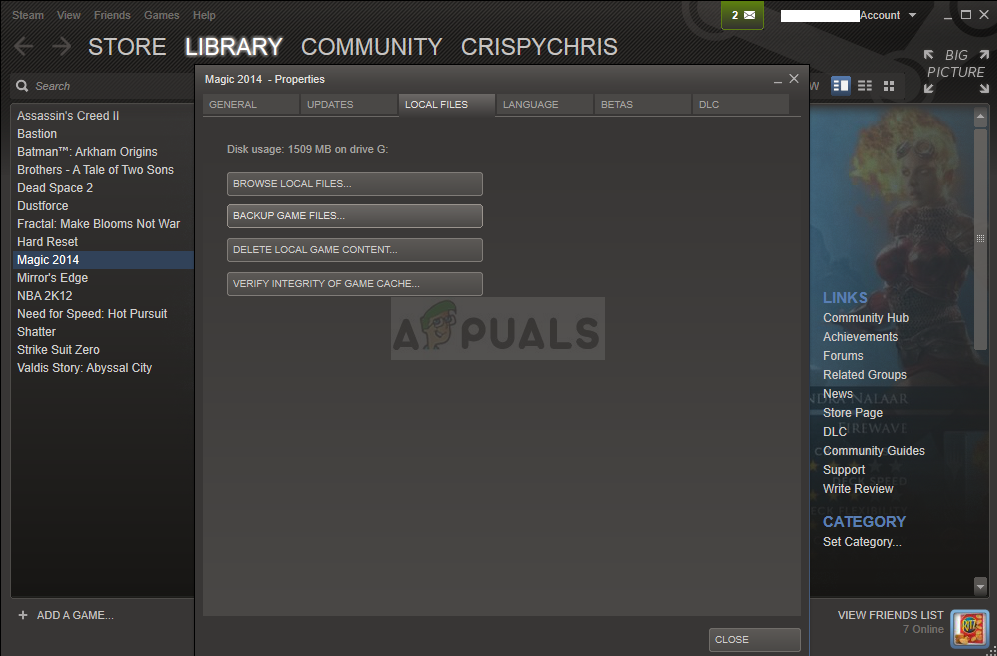
There is something about Steam Overlay which makes BioShock simply want to crash. It’s a strange problem as this overlay is sometimes quite useful for in-game features but you might want to consider disabling it for this game only. It causes it to crash for some users who have purchased and installed the game through Steam.
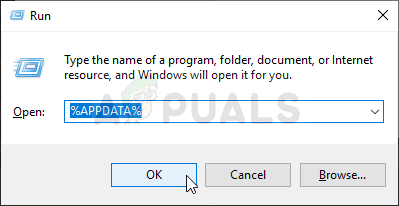
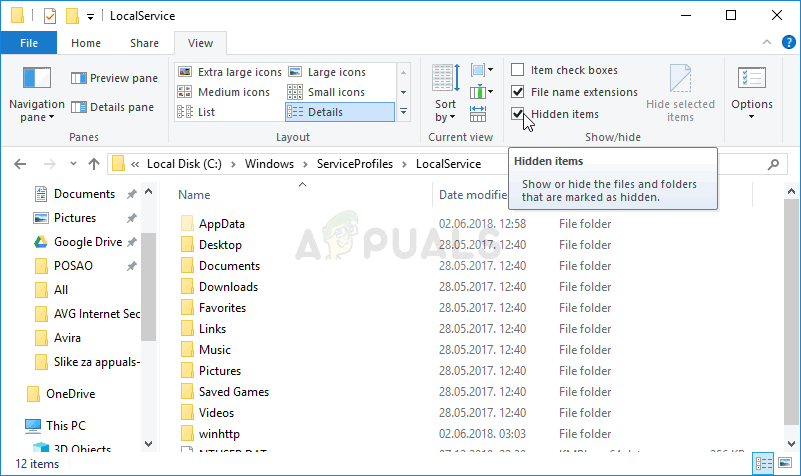
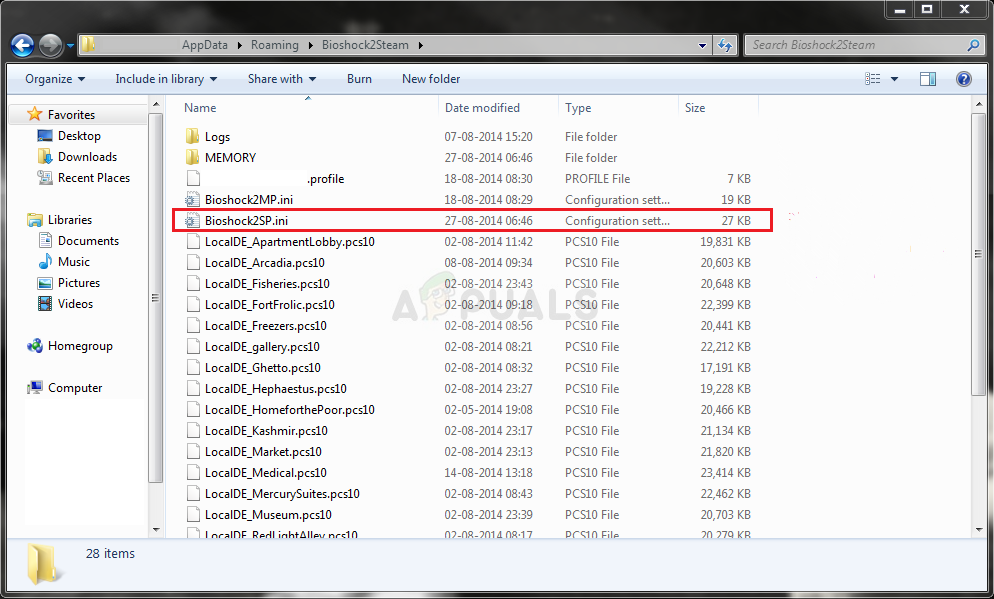
Solution 3: Edit the Configuration File (Crash on Save)
If the problem appears when you are trying to save the game, there is a line inside the BioShock Remastered configuration file which should help you resolve the crashing problem. It’s related to the number of CPU cores the game’s engine should use. Users have reported that decreasing the number from the default one managed to resolve their issue. Alternative: There is a similar method that has helped users get rid of the crashes. Look for the “texturestreamingmemorylimit” line in the .ini file and change it to match the VRAM of your graphics card (e.g. 6 GB card » 6144.000000). Look for “texturestreamingdistancelimit” and set it to 10000.000000.
Solution 4: Stop Overclocking
The error often appears when users overclock their GPUs or CPUs. Overclocking is a thing where users alter the maximum frequency of the graphics of the central processor to a value which is above the recommended one set by your GPU’s manufacturer. This can give your PC a significant performance and speed advantage when playing video games and improve it in all ways. Returning your processor’s frequency to its original state depends on which software you used to overclock it in the first place. Stop overlocking your GPU and CPU and check to see if the crashing issue persists.
Solution 5: Run the Game Using DirectX 9
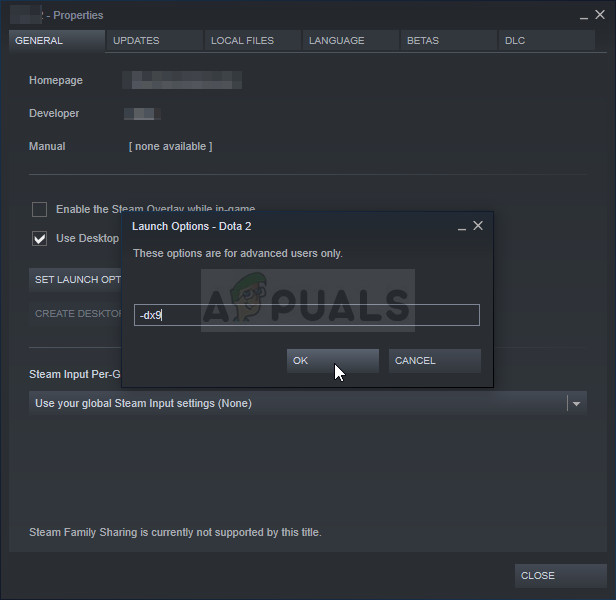
This is definitely one of the most popular methods among all of them available online as it appears that the game was simply not made to be fully compatible with DX10. This is a shame but you can easily revert these changes if you have downloaded the game via Steam. Follow the steps below in order to force the game to use DirectX9 instead of 10!
Solution 6: Updating Windows to the Latest Build
Another thing to try if none of the above methods don’t work is to update Windows to the latest build. There are numerous instances where if the Windows itself isn’t updated, there are some modules that are missing that in turn cause the game to crash. This goes for outdated Windows as well.
Solution 7: Enabling Stereo Mix
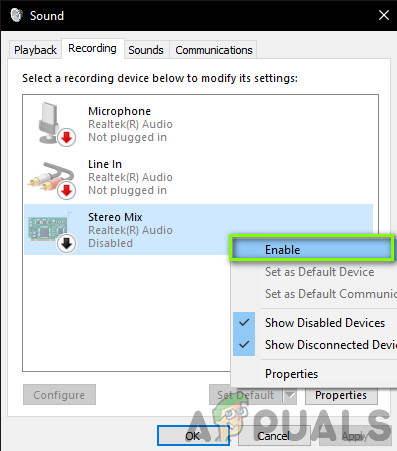
Stereo Mix allows you to record exactly what was being output to your speakers, without going through any analog/digital conversion. This is a very core module in the Windows operating system that many games use for their operation or saving purposes even if you are not recording audio. There were several feedbacks from users where they reported that enabling this fixed the problem for them. If all the above methods don’t work, you can try a workaround in Steam.
How to Fix BioShock Infinite Crashing on Windows?Netflix’s Bioshock Movie Adaptation Being Directed by Hunger Games’ Director…Fix: “There’s a problem with Your Game’s Setup” NFS: Hot Pursuit RemasteredDark Souls Remastered ‘Visual Overhaul’ Mod Enhances Graphics
