As we have mentioned earlier, there are quite a few reasons due to which you may be encountering the problem in question. While third-party software and the virtualization feature are in there, they are in no way the only reasons out there that can cause the problem. In addition to that, if you are running the game on Windows 11 by bypassing Windows 11 installation requirements, you will also encounter the mentioned error code. The only difference is that you might be prompted with a different error message depending on your scenario. In some cases, you will be notified that you need TPM 2.0 and secure boot to run the game while in other scenarios, you are asked to enable Control Flow Guard or CFG in your operating system. We will be covering all of this in more detail, however, before that, let us first look at the potential causes of the problem so that we can establish an understanding of why the issue is being caused and as a result, isolate the source of the problem. With that said, let us get started. Now that we have gone through a whole list of possible reasons that can actually contribute to causing the error message in question, we can now get into showing you how to resolve it via the different methods that are available. If you are running Windows 11, we recommend trying the Secure Boot and Control Flow Guard workarounds first to see if they resolve the issue. With that said, let us get started without any further ado.
Check VGC Service
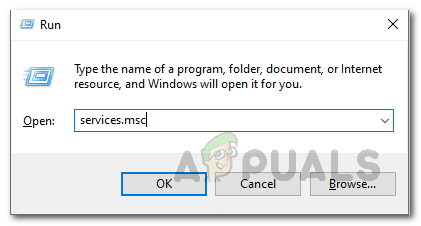
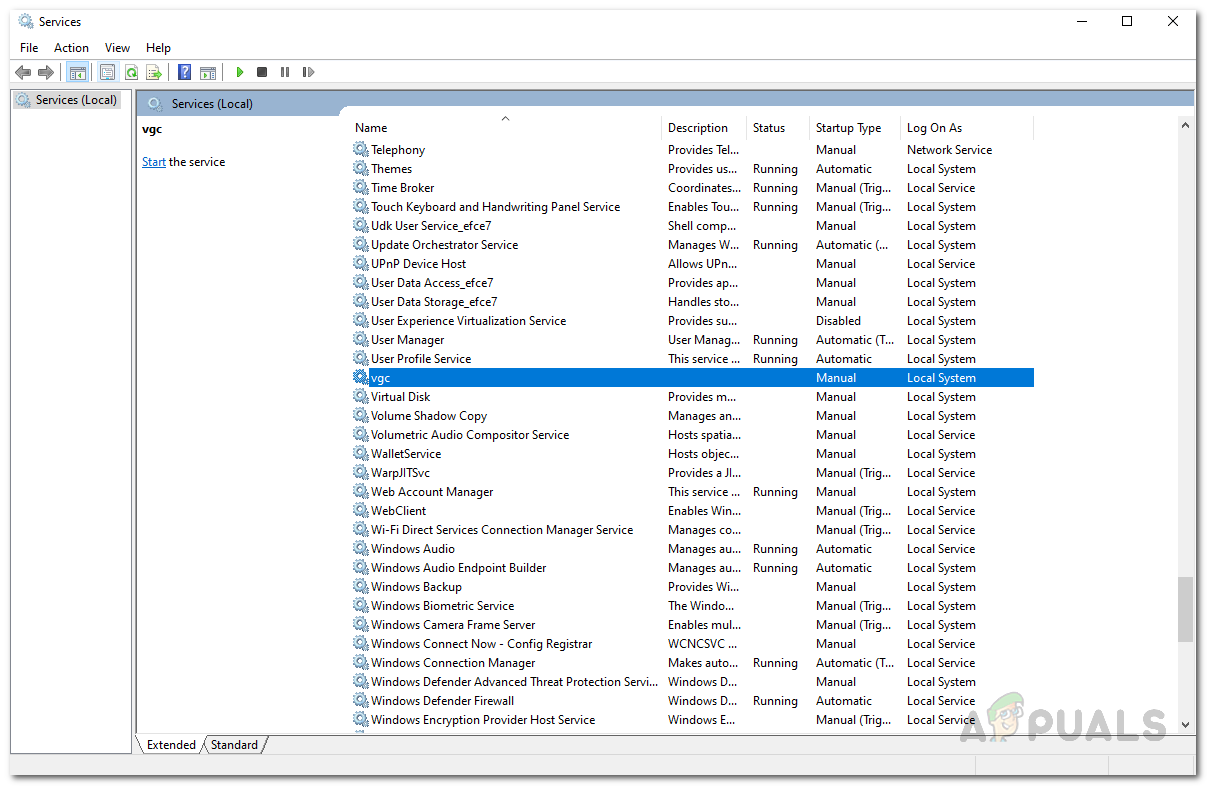
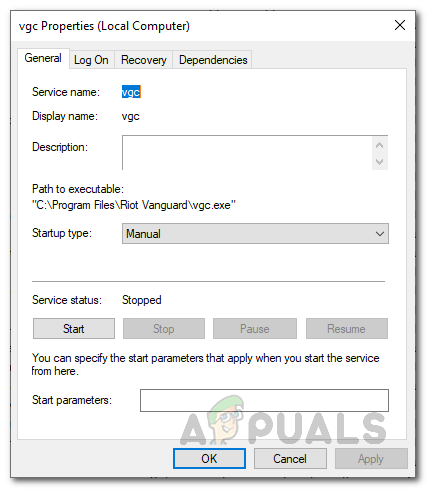
As it turns out, the first thing that you should do when you encounter the issue mentioned here is to make sure that the VGC service is running on your system. This system is required to make sure that your Valorant game runs smoothly and without any issues. If the service is stopped for whatever reason, you will be disconnected from the game and shown an error message. Therefore, the first step in solving the problem should be to make sure the vgc service is perfectly fine. To do that, follow the instructions given down below:
Close Discord and MSI Afterburner
Even though Discord is widely used for communication while playing a game, it can, in some cases, cause a problem with the game that will prevent you from playing the game at all. In some cases, even the MSI Afterburner can interfere with the game and because of the Vanguard anticheat, you won’t be able to play properly and thus disconnected with the error message shown. This happens because MSI Afterburner tries to show you your hardware statistics while you are playing which the Vanguard anticheat may not permit. Therefore, if you have any of the applications installed, make sure to close them completely via the Task Manager. Once you have done that, you can go ahead and open up the game to see if the problem still persists.
Flush DNS Settings
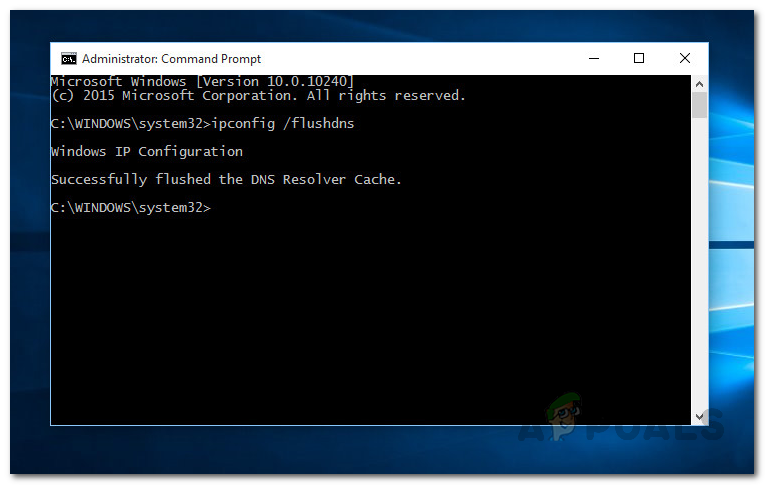
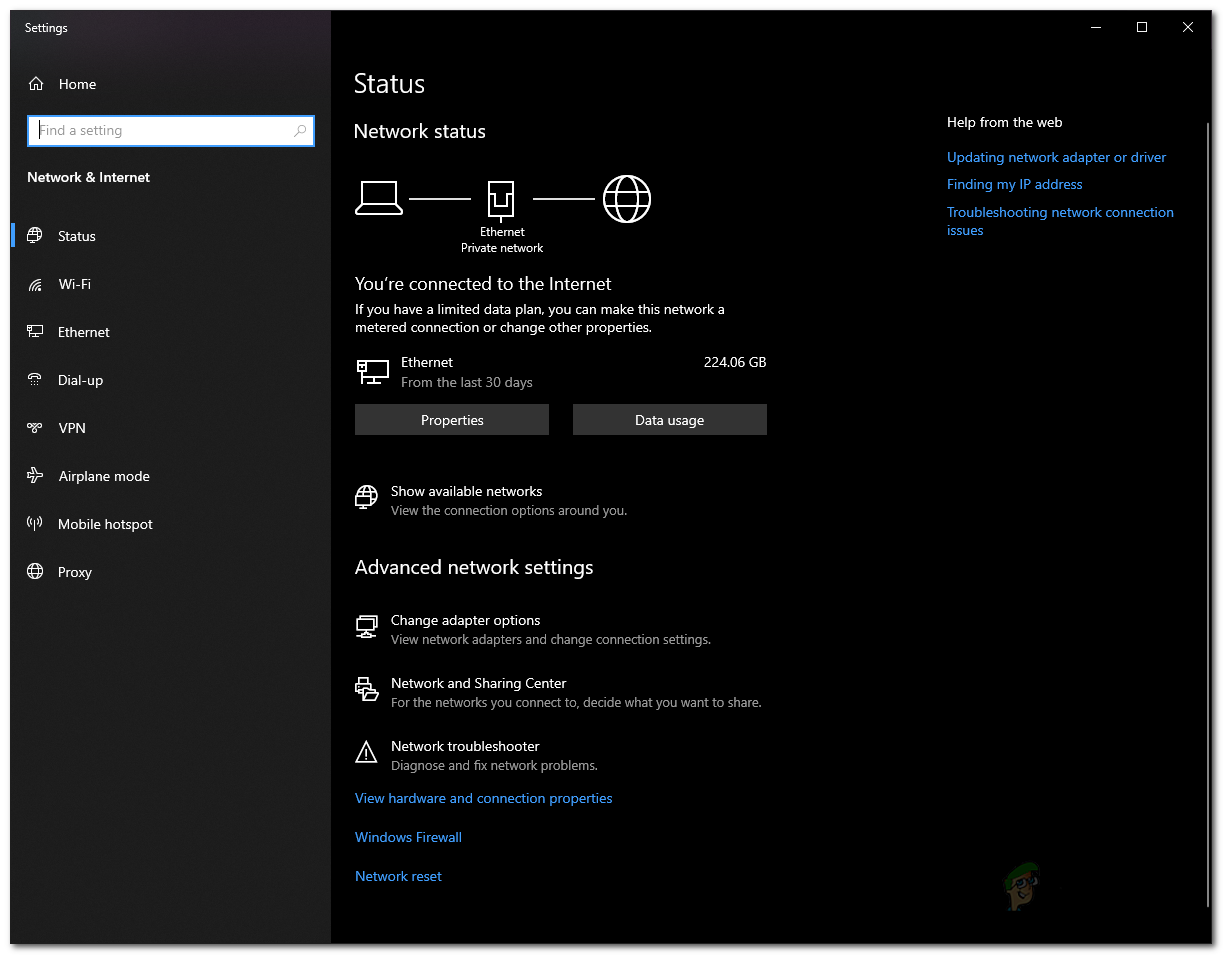
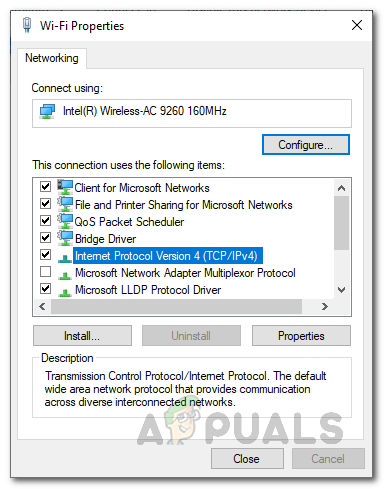
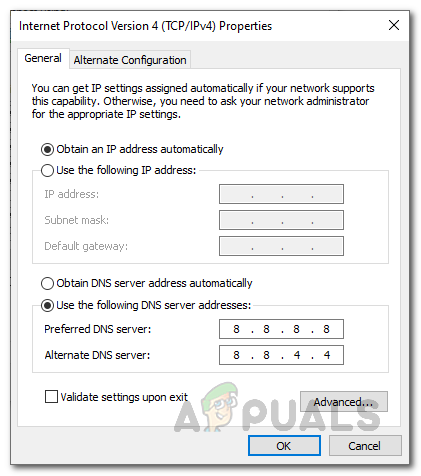
As we have mentioned above, the problem can also be due to your network configuration in some cases. More often than not, the DNS settings can be held responsible for problems like these and are usually due to the custom DNS servers that you have provided to your network adapter. If this case is applicable, you will have to flush your DNS settings which will restore your DNS configuration to its default. In addition, you can also choose to provide a more stable DNS server. To do all of this, follow the instructions given down below:
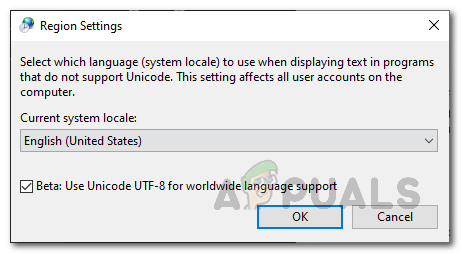
Choose Language for Non-Unicode Programs
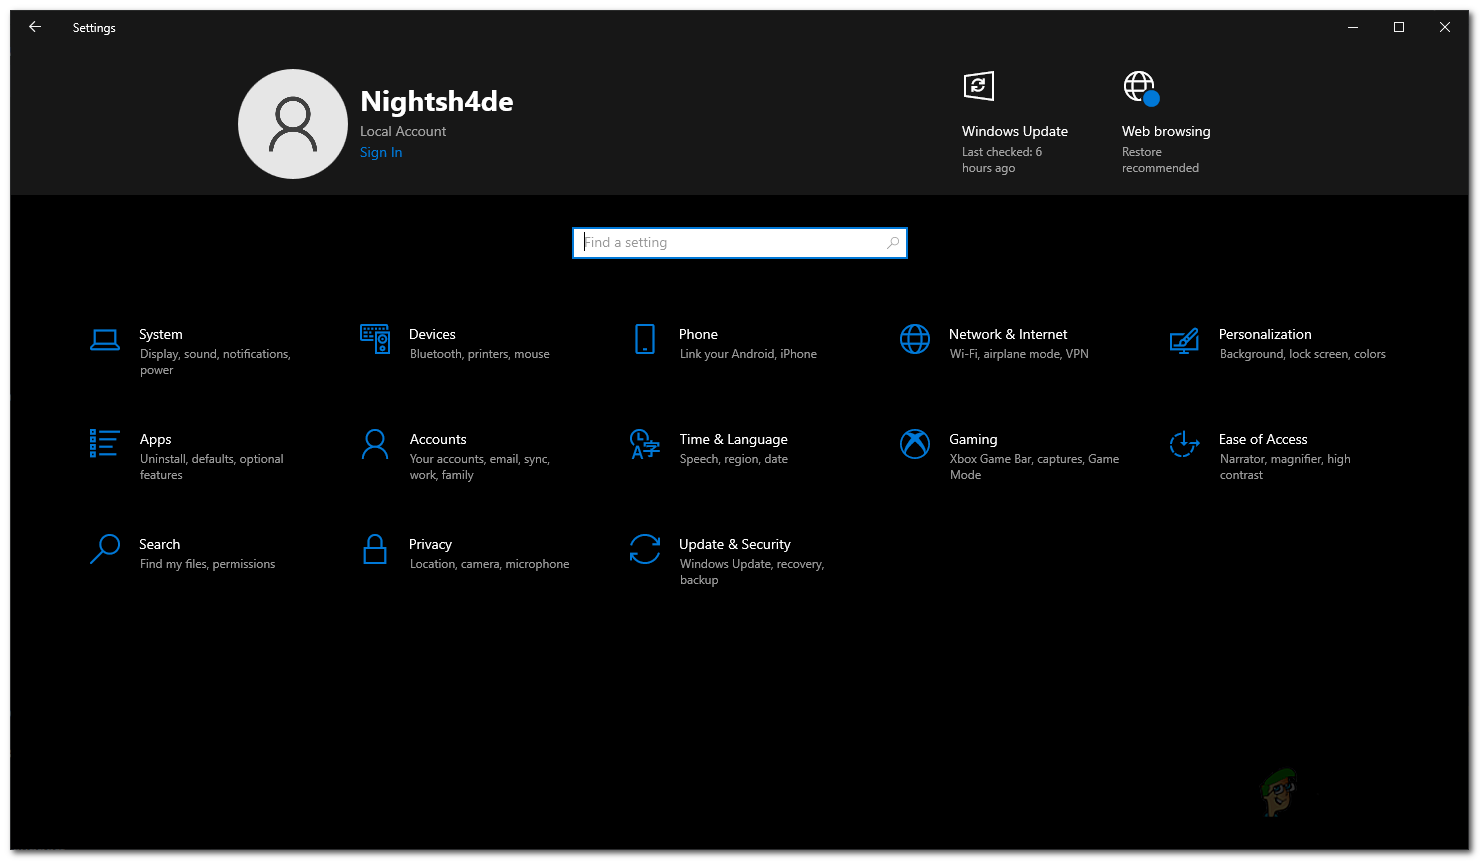
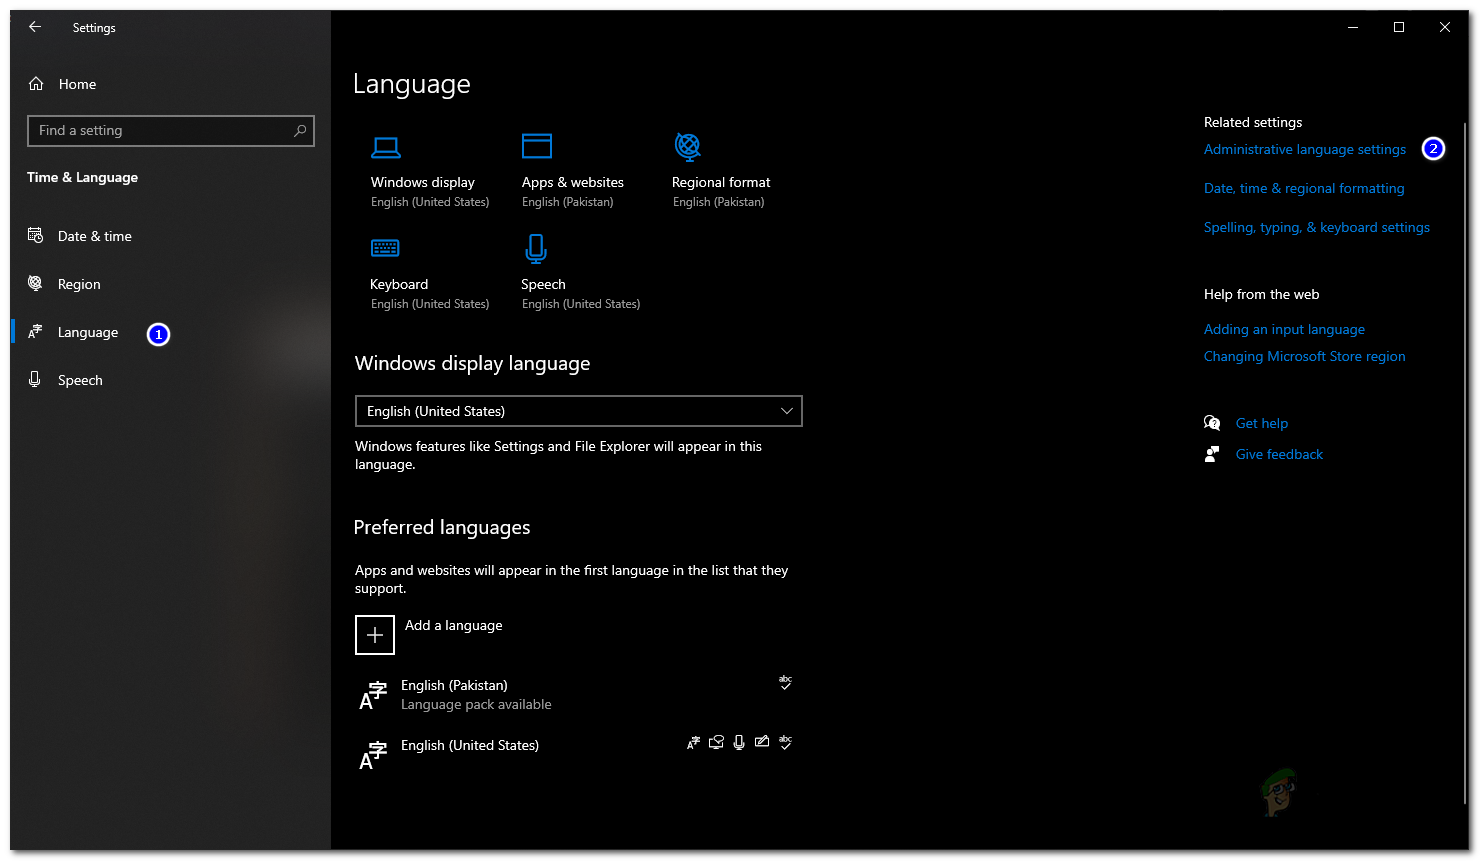
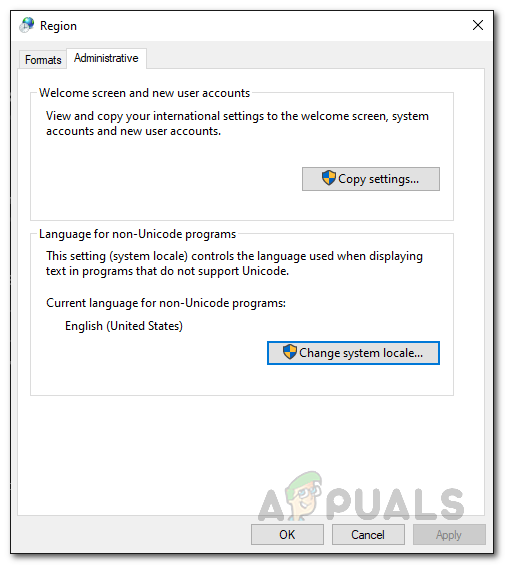
As it turns out, in some cases, if you don’t have a system language selected for programs that do not support Unicode, you can encounter the problem in question. This has been reported by a user who was directed to this fix by the Riot support team. To do this, follow the instructions given down below:
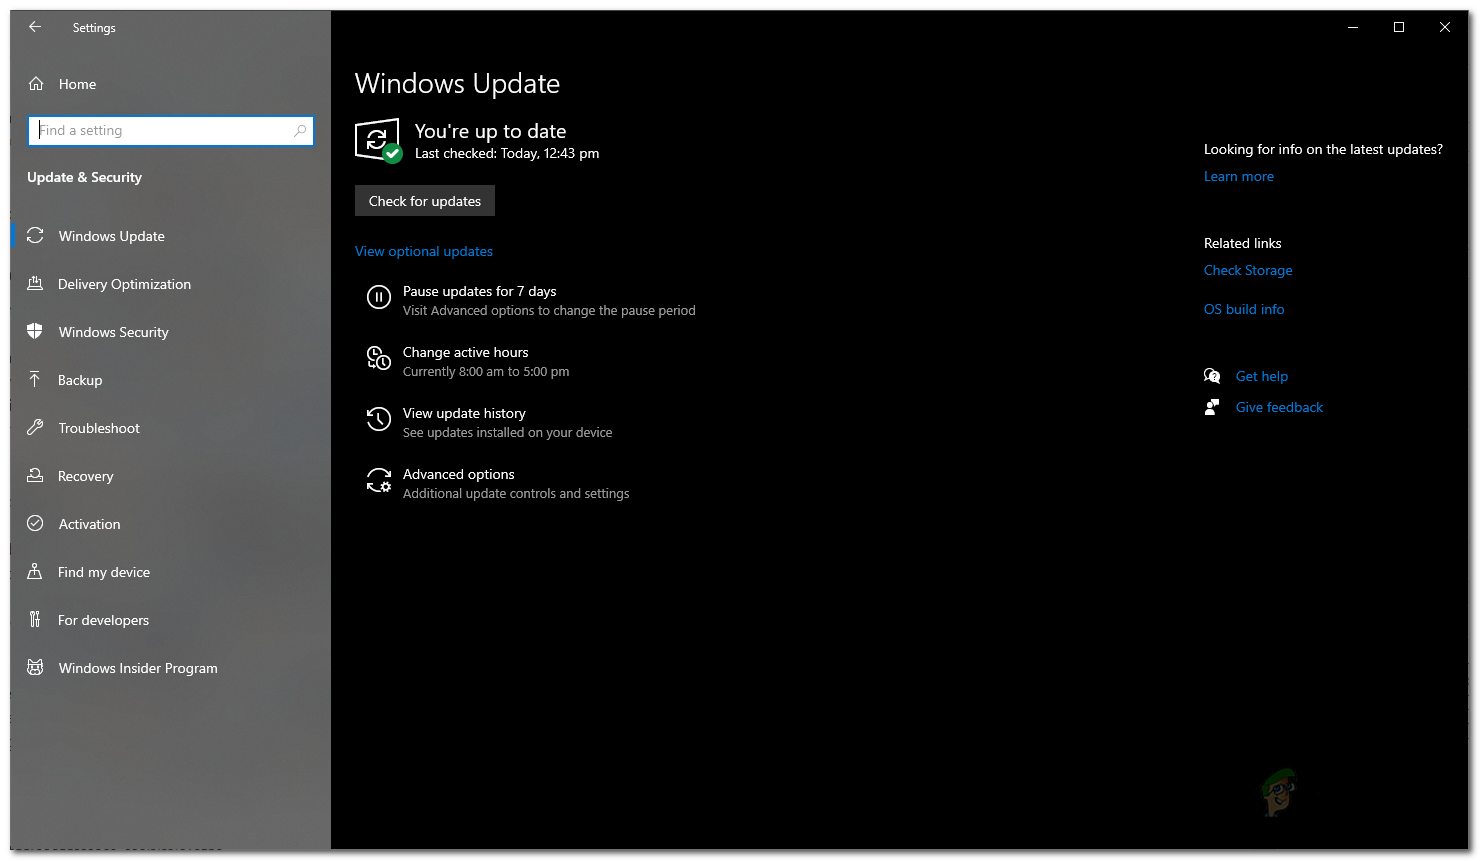
Update Outdated Windows
Running a really old, outdated version of Windows is never really a good idea. This is because Windows updates often contain fixes to several issues as well as security patches. If you try to run Valorant on an old version of Windows, it will very likely cause compatibility issues due to which you will have to make sure your Windows is up to date. This is rather simple and easy to do. Follow the instructions given down below to do this:
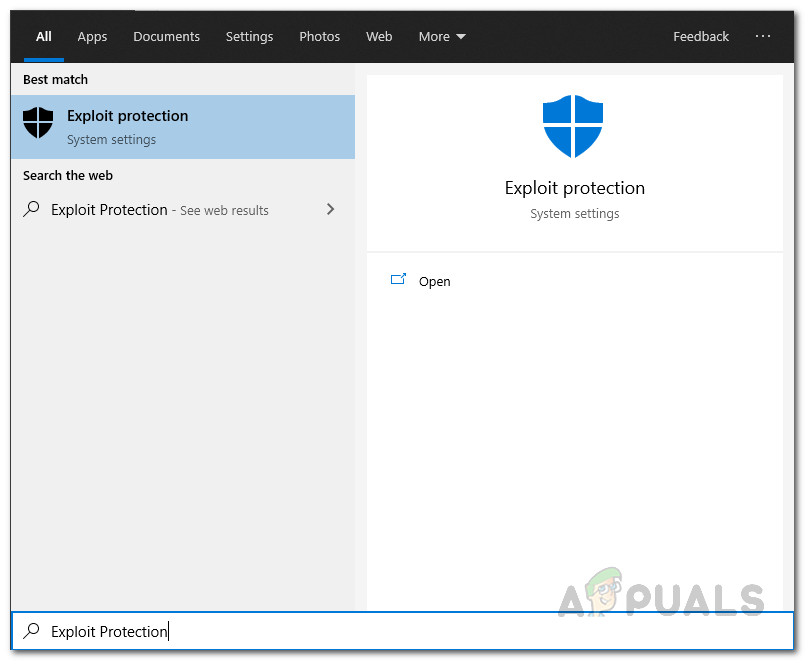
Enable Control Flow Guard
If you are running Windows 11 while encountering the error message in question, you may be prompted to enable Control Flow Guard or CFG on your system. Control Flow Guard is basically a feature that makes the job of exploits harder on your system by stopping them from running arbitrary code through the vulnerabilities in your system. If you are asked to enable CFG, there are actually two methods that you can follow down below to do so. Follow whichever looks easier to you to enable CFG on your system.
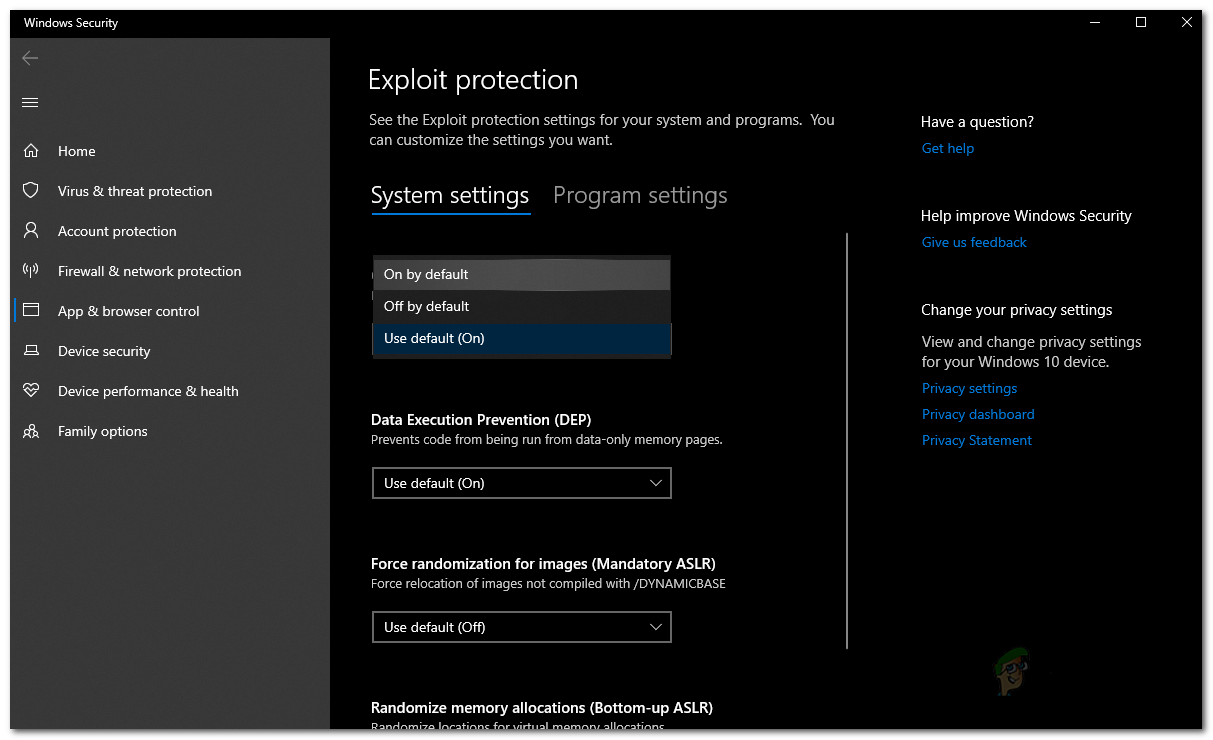
Enable Control Flow Guard through Windows Settings
The first way of enabling it would be to do so via Windows Settings. Follow the instructions down below:
Enable Control Flow Guard through Powershell
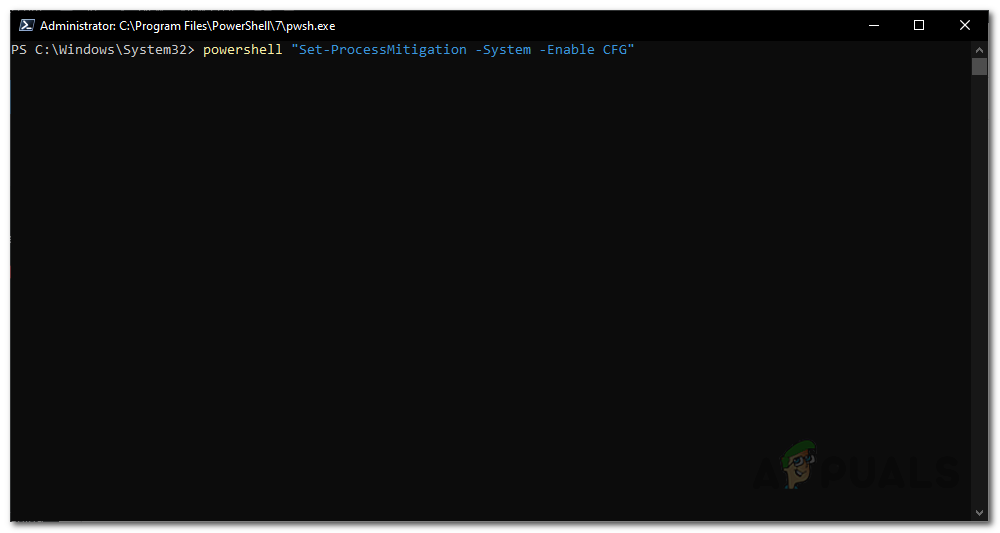
Control Flow Guard can also be enabled through Powershell with the help of a single command. Follow the instructions given down below:
Enable Secure Boot
In addition to the CFG requirement while using Windows 11, in some cases, you may also be required to enable Secure Boot in case it is disabled. Secure Boot is essentially a feature that allows your device to boot up using only the software or operating systems that are approved by the OEM or Original Equipment Manufacturer (OEM). Secure Boot is a requirement for Windows 11 as well so you should have it enabled if you are using the mentioned version of Windows. This feature exists in the BIOS and that’s where you will have to enable it from. Therefore, go ahead and restart your system so that you can make your way to the BIOS. There, locate Secure Boot and enable it. Save the changes and then see if the error message still persists.
Disable Virtualization from BIOS
Virtualization is basically a hardware feature that allows your CPU to act as multiple individual CPUs as we have mentioned above. What this, as a result, does is it allows your operating system to more efficiently use the CPUs on your system. In addition to that, almost all the virtual machines software require you to enable the Virtualization feature on your BIOS. However, this is prohibited by Vanguard like most other anticheats such as FACEIT AC. Therefore, in order to play the game, you will have to disable the virtualization feature from your BIOS. Once you have done that, you should be good to go without any issues.
Perform a Clean Boot
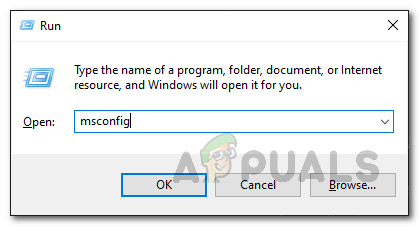
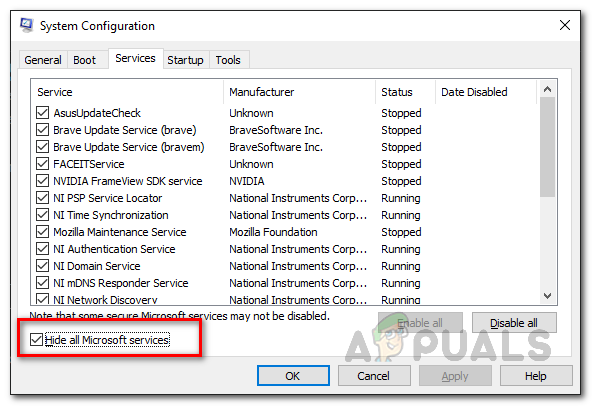
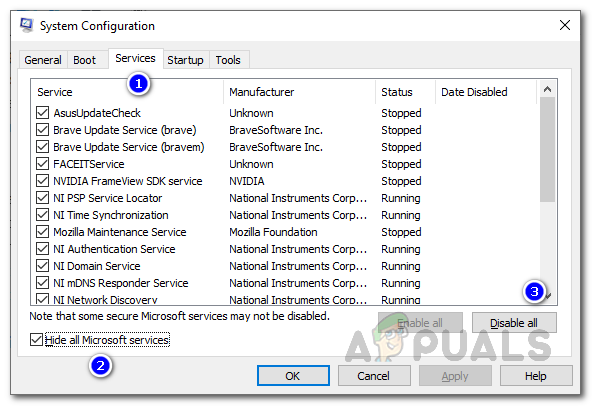
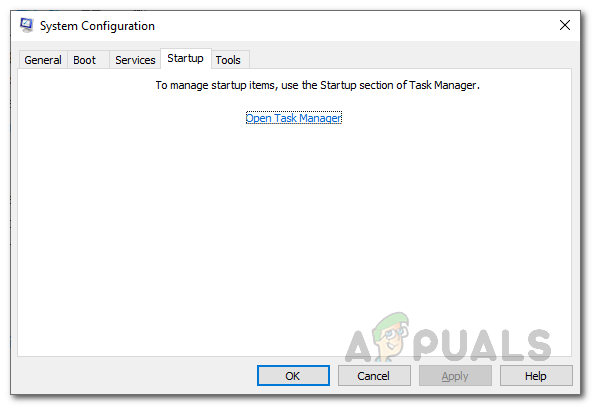
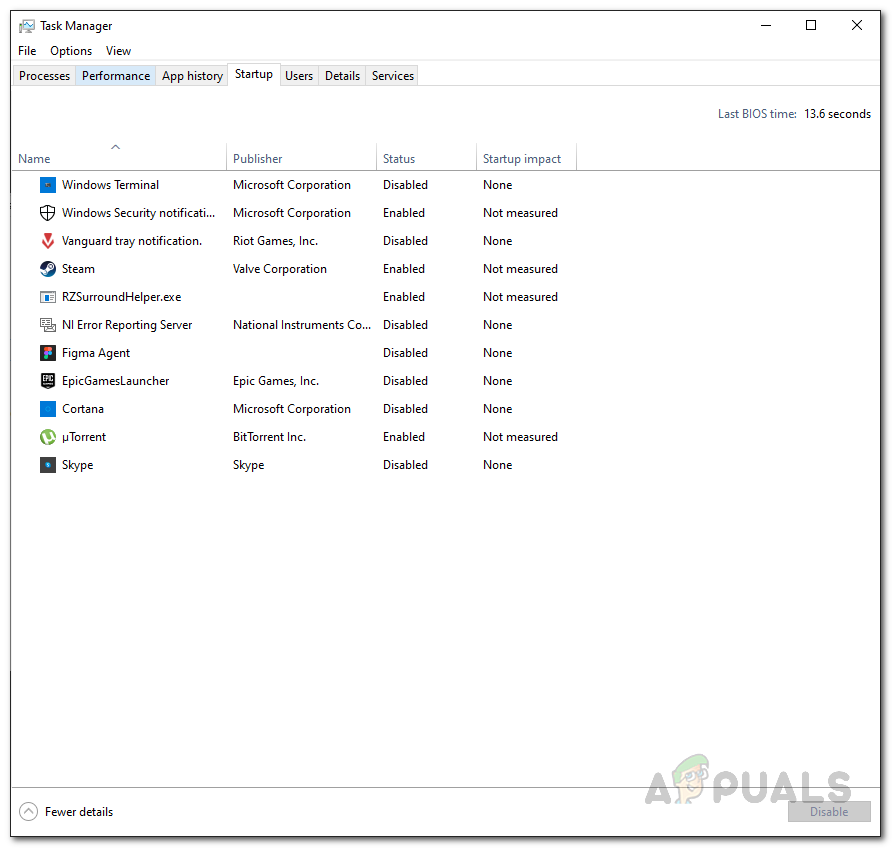
Finally, if none of the solutions above have resolved your problem, then it is probably because your issue is being caused by a third-party software on your system. If you have multiple applications installed, locating the culprit can be really hard. That is where clean boot comes in. This is basically a feature that allows you to start Windows with only the required services running. This means that all the third-party applications and services will be stopped from running on startup. Performing a clean boot is pretty simple. If you are able to play the game without any issues in a clean boot, you should try to enable each service one by one to see which application is actually causing the problem. Follow the instructions down below to perform a clean boot: Note: After locating the culprit application, do not forget to enable all of the services that we disabled earlier.
How to Fix Error 1067: ‘The process terminated unexpectedly’How to Fix Valorant “Error Code: VAN 9001” in Windows 11?Valorant Error Code 57 on Windows 10 (Fix)Fix: Critical System Error on Valorant