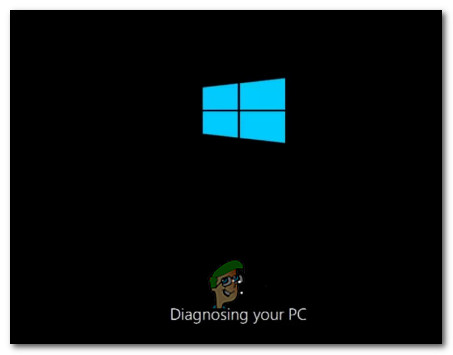
What’s causing the ‘Diagnosing your PC’ issue?
We investigated this particular issue by looking into various user reports and by testing various repair strategy that some affected users have recommended. As it turns out, several different scenarios will get some PC stuck inside the Diagnosing your PC screen. Here’s a likely list of scenarios that might trigger this problem: If you’re currently struggling to find a repair strategy that will allow you to get past the Diagnosing your PC screen, this article will provide you with several different troubleshooting guides. Down below, you’ll find some methods that are confirmed to work by a lot of affected users. Each of the potential fixes featured below is confirmed to work by at least one affected user. For the best results, follow the potential fixes in the same order that we arranged them in – We tried to order them by efficiency and severity. Eventually, you should stumble upon a fix that is effective in your particular scenario. Let’s begin!
Method 1: Boot in Safe Mode and Clear Space
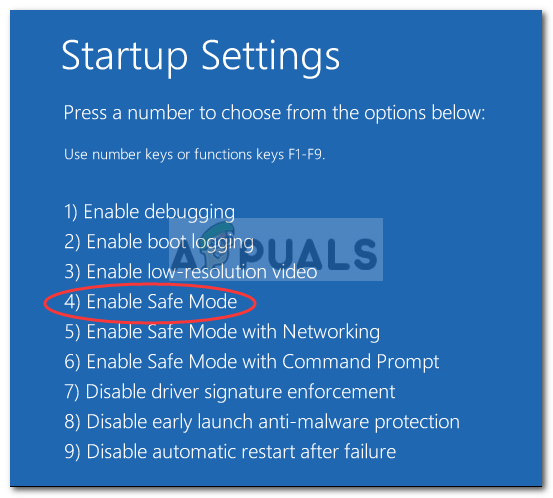
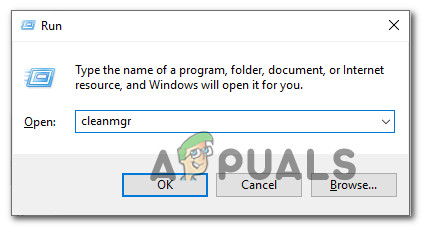
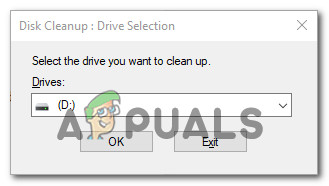
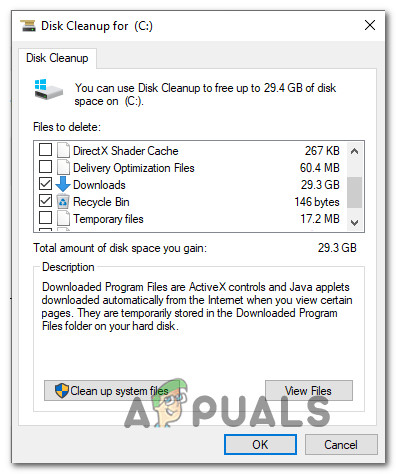
As some users have reported, this particular issue can also occur in situations where the system doesn’t have enough space to start along with all 3rd party processes and services that are scheduled to be loaded during the startup procedure. If Windows tries to load everything during the startup sequence and fails, it will automatically boot into Diagnostic Mode in an attempt to figure out what component fails. However, in situations where the required space cannot be cleared, the PC will become stuck in the Diagnostic Mode loop. Several users in the same situation have finally been able to resolve the issue by booting their computer in Safe Mode and clearing some space. Here’s a quick guide on doing this: If you’re still encountering the same behavior, move down to the next method below.
Method 2: Running SFC and DISM Scans
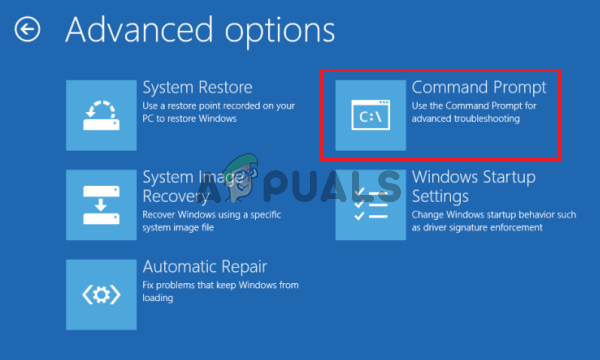
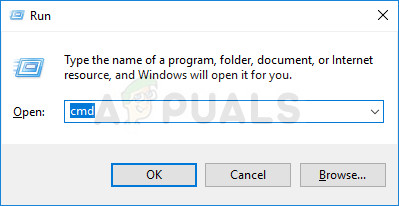
As it turns out, it’s also likely that this issue is being caused by some degree of System File corruption that’s preventing the booting sequence to complete. Under normal circumstances, you would open an elevated CMD window and just run the two utilities. But since you can’t get past the Diagnostics screen, you’ll need to perform the scans before the Booting sequence. To manage this, you’ll need to open an elevated Command Prompt using the Advanced Options menu. Several Windows users who were previously struggling with the same problem have reported that they were finally able to boot up normally after they performed the instructions below. Here’s what you need to do to run SFC and DISM scans from a CMD opened from inside the Advanced options menu: If you still can’t get past the ‘Diagnostic your PC’ screen while you attempt to boot up normally, move down to the next method below.
Method 3: Running the System Restore utility
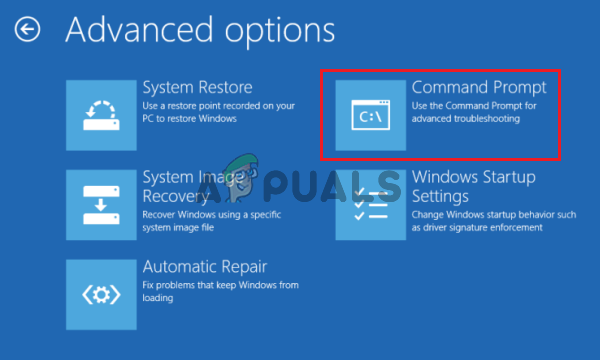
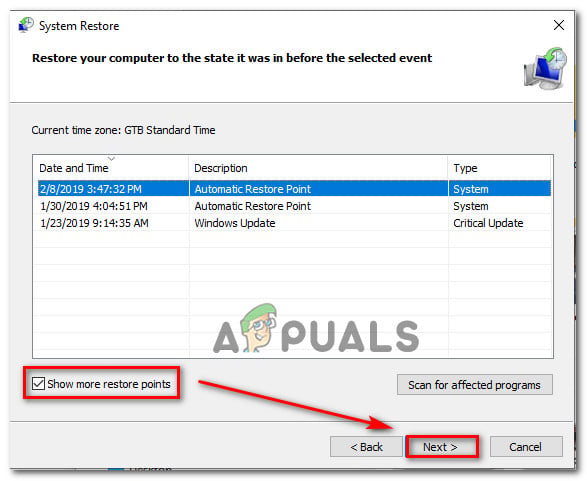
If the methods above didn’t allow you to resolve the issue, chances are you’re dealing with a severe corruption issue that cannot be resolved conventionally. In situations like this, the best way to start is to go for the damage-control approach. System Restore is capable of resolving most startup issues caused by system file corruption by restoring the machine to a healthy state in which every component was functioning properly. But keep in mind that for this utility to work, this tool needs to have previously created a snapshot that can now be used for the restoring process. System Restore is automatically configured to create new snapshots regularly (after every major system change like an installed update). Keep in mind that if you decide to go this route, any change made since the snapshot was created will be lost. This includes app installations, user settings and anything else. If you are prepared to accept the risks, here’s a quick guide on running the System Restore utility via the Advanced Options menu: If you’re still encountering the same issue, move down to the next method below.
Method 4: Disabling the Automatic Repair
If you’ve come this far without a result, it’s clear that you’re dealing with a system drive-related issues. Whenever this happens, the Automatic Startup Repair utility will open at every system startup. But if the utility is glitched, it might prevent you from getting past the startup screen. Several Windows 7 and Windows 10 users that were in this exact scenario have managed to resolve the issue by disabling the automatic Startup Repair utility to avoid the ‘Diagnosing your PC‘ screen. But to do this, you’ll first need to boot in Safe Mode to get past the error screen and disabling the Automatic Repair: If you’re still encountering the same issue or you’re not encountering a different error, move down to the next method.
Method 5: Performing a repair install or clean install
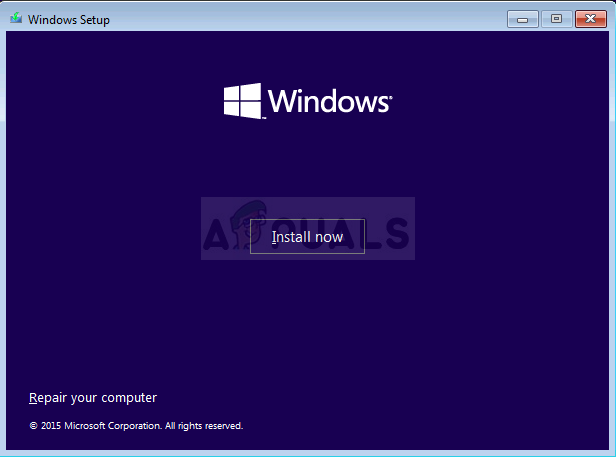
If none of the repair strategies presented above have allowed you to resolve the issue, chances are you’re dealing with a severe system corruption instance that can’t be resolved conventionally. In this case, the best way to resolve the issue is to reset every Windows component including any booting-related process that might be causing the Automatic Repair loop. You can always go for a clean install, but keep in mind that going this route essentially means that you’ll be losing any data that is currently stored inside your Windows installation. Personal files, apps, games, documents and any other type of media will be lost if you go for a clean install. A better solution would be to perform a repair install (in-place upgrade). This will also reset every OS component including booting data, but it won’t affect your files. Applications, games, personal media and even some user preferences will be preserved.
[FIX] Windows 11 Stuck at “Restoring your previous version of Windows"The 5 Best Softwares to Fix Dead/Stuck Pixels on your Windows PCHow to Fix Mac Stuck on Setting Up Your MacTroubleshoot Stuck on ‘Checking Your Browser before Accessing’ Issue
