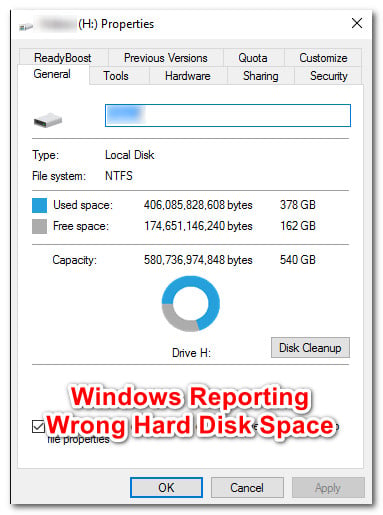
What is causing Windows to report the Wrong HDD/SDD space?
We investigated this particular issue by looking at various user reports and the repair strategies that are commonly being used to fix this problem. Based on our investigations, there are several potential culprits that can be responsible for the inaccuracy. Here’s a list with the potential culprit and a short explanation on why they’re causing this issue: If you’re currently struggling to resolve the same error message, this article will provide you with a selection of troubleshooting steps that should allow you to fix the Windows wrong reporting on your HDD/SDD space. Down below, you’ll find a collection of potential fixes that other users in a similar situation have successfully used to fix this problem. Each of the potential fixing methods below is confirmed to work by at least one affected user. For the best results, we advise you to follow the troubleshooting guides in the order that they are presented and disregard the ones that are not applicable to your current scenario. Let’s begin!
Method 1: Deleting Previous System Restore points
As it turns out, one common culprit that is known to take up a lot of space that doesn’t end showing up inside the Windows reporting tool is System Restore. It’s not uncommon to inspect the usage of System Restore only to find out that it’s taking a huge size from your HDD. Some affected users have reported that in their case, System Restore ended up taking over 250 GB of data One way to resolve the issue quickly if this scenario is applicable is to simply delete all restore points for your OS drive. This procedure will end up freeing the space that was previously blocked by System Restore, making it available for general use. Warning: System Restore is a useful feature to have enabled, so we don’t recommend disabling it completely. A better approach will be to delete all restore points up to this point and limit the Max Usage of the tool for the future. Here’s a quick guide on deleting the previous system restore points and adjusting the Max usage of System Protection: If this method didn’t help you or wasn’t applicable in your particular situation, move down to the next method below.
Method 2: Running the System Maintenance troubleshooter
Windows 10 is known to sometimes report inconsistencies related to your available free space. Several affected users have reported that the issue was resolved after they ran the System Maintenance troubleshooter and restarted their computer. If the issue is being caused by a Windows glitch, this troubleshooter should automatically identify the inconsistencies and resolve the issue automatically. Here’s what you need to do: If you’re still seeing inconsistencies in relation to your available free space, move down to the next method below.
Method 3: Deleting the “rogue’ trashbin folder
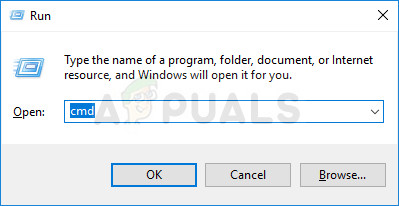
As it turns out, this particular issue can also be caused by a ‘rogue’ trash bin folder. This issue is confirmed to occur on both Windows 10 and Windows 7. If this scenario is applicable, you should be able to restore your missing free space by deleting the $RECYCLE.BIN – this will force your OS to create a new, healthy file that doesn’t take this much space. The vast majority of users that have been able to resolve the issue by deleting the $RECYCLE.BIN file have reported that they were able to do so via an elevated Command Prompt. Here’s a quick guide on how to complete this procedure: If you’re still having space issues where free space is unaccounted for, move down to the next method below.
Method 4: Update Windows 10 to the latest version
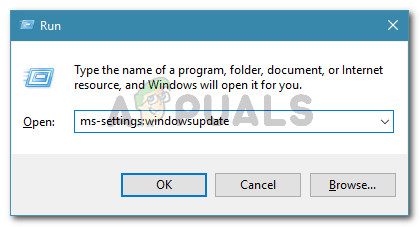
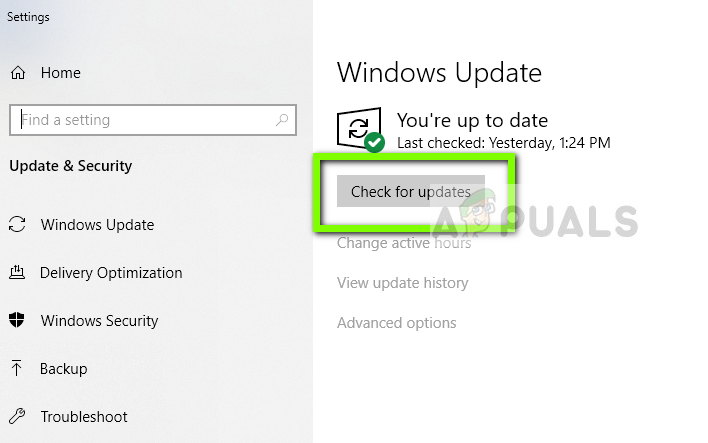
If you’re using Windows 10 (version 1803) or older and haven’t updated to the latest version, chances are your system is struggling with an Explorer.exe bug. What happens is, the utility will be unable to correctly read metadata of file types. Consequently, it cannot correctly calculate the correct size of folders, which leads to incorrect free space calculations. Fortunately, Microsoft has since patched the bug that was introduced with version 1803. So if this scenario is applicable, you should be able to resolve the issue by updating to the latest Windows version. Here’s a quick guide on how to do this: If the issue is still occurring even after you update your Windows 10 computer to the latest build, move down to the next method below.
Method 5: Using a 3rd party utility to identify the missing space
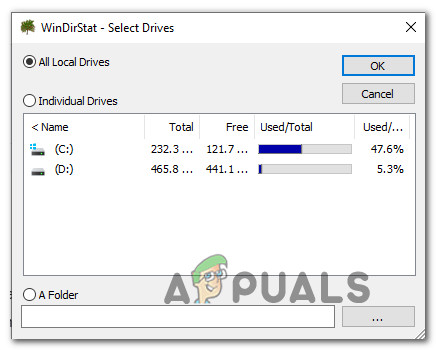
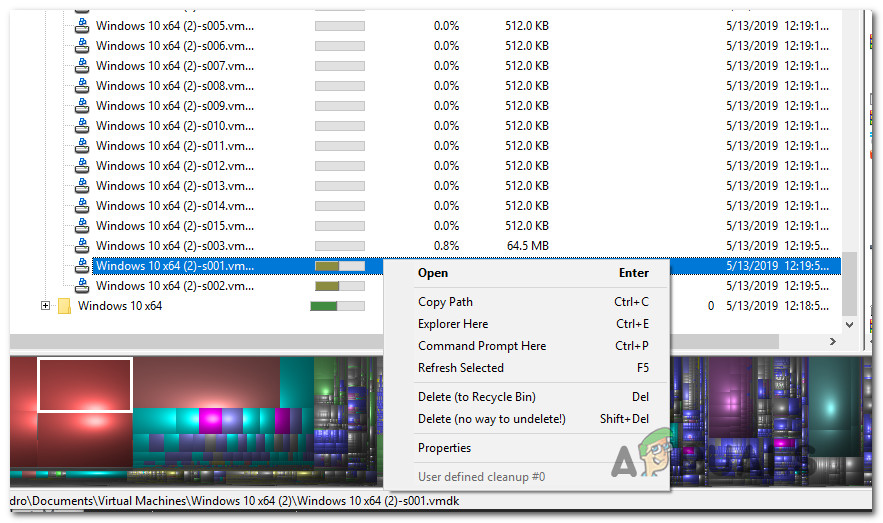
Other users have reported that in their case, the missing space was actually taken up by a huge file that Windows Explorer failed to identify. In this case, you will be able to find the culprit by using a third party utility. In most cases, affected users have used WinDirStat to instantly discover the missing space. SQL database files (.mdf) are notoriously known for taking a lot of space while remaining hidden from Windows indexing (especially on Windows 10). If this scenario is applicable, deleting the file should restore everything back to normal. Here’s a quick guide on installing and using WinDirStat to identify the space hogger file:
Office Returns Free Space and Disk Insertion Error 30088-1021 (0) [Easy Fixes]How to Free Up Hard Disk Storage on MacOS and Mac OS XHow to Fix Cannot Delete System Queued Windows Error Reporting FilesHow to Disable Error Reporting in Windows 10