What’s causing the 0x80244007 error code?
We investigated this particular issue by looking at various user reports and testing out different repair strategies that are commonly recommended by other affected users. As it turns out, several different causes might trigger the 0x80244007 error code. Here’s a list of potential culprits:
Method 1: Running the Windows Update Troubleshooter
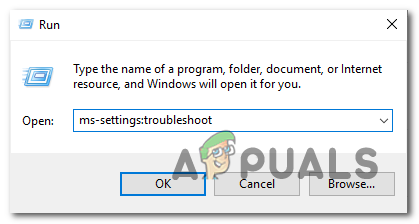
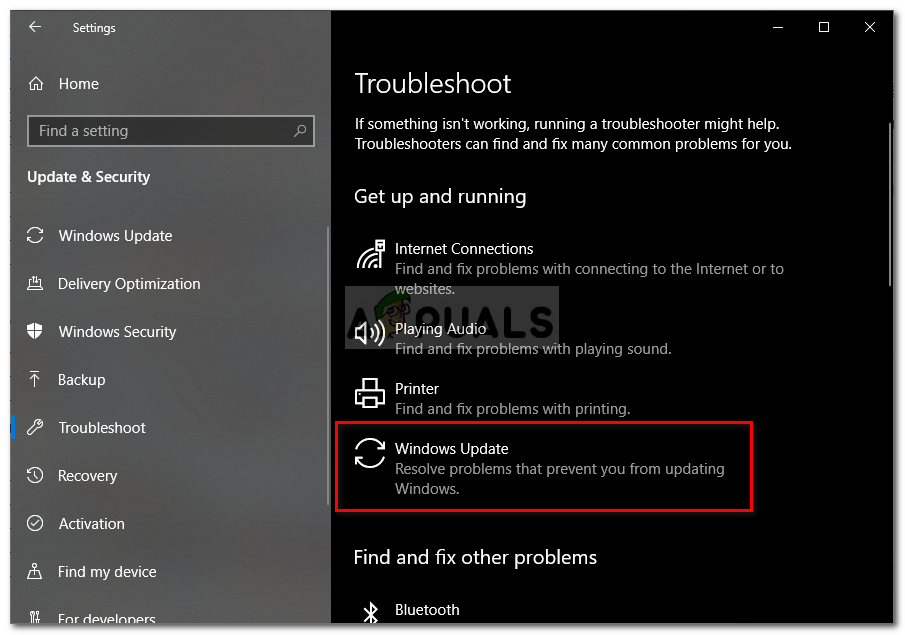
Before you try out different repair strategies, let’s see if your operating system is not capable of resolving the issue automatically. If the issue you’re encountering is happening due to an inconsistency that’s already documented by Microsoft, chances are the fix is as simple as running the Windows Update troubleshooter. The Windows Update Troubleshooter is a utility that contains a selection of repair strategies that can be automatically applied in case a covered scenario is uncovered. Several Windows users that were also encountering the 0x80244007 error code have reported that the issue was resolved after they ran this troubleshooter and restarted their computer. Here’s a quick guide on running the Windows Update Troubleshooter to fix the 0x80244007 error: If you’re still encountering the same error code as the update fails, move down to the next method below.
Method 2: Running DISM and SFC Scans
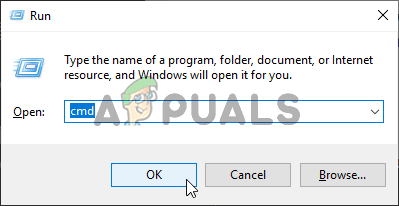
If the first method didn’t work for you, the issue is likely facilitated by some kind of System File corruption. Since WU (Windows Update) works closely with a lot of dependencies, a lot of different files might be triggering this error code. If this scenario is applicable, the most efficient way of resolving the problem is to run a couple of utilities capable of fixing both logical errors and system file corruption. SFC (System File Checker) and DISM (Deployment Image Servicing and Management) are both capable of doing this. DISM uses a sub-component of WU to replace corrupted instances with healthy copies, while SFC makes use of a locally stored copy to do the same thing. Since both utilities go about fixing corrupted instances in different ways, we recommend that you run both to fix the 0x80244007 error. Here’s a quick guide on doing this: If the same issue 0x80244007 error is still occurring, move down to the next method below.
Method 3: Uninstalling overprotective 3rd party suite
As it turns out, another potential cause that might trigger the 0x80244007 error when you’re trying to install a pending Windows Update is an overprotective AV suite. According to several user reports, several 3rd party security suites have the potential of blocking the connection between the WU component and the external server. Sophos, McAffee, AVAST, Comodo and a few others are commonly reported for the facilitation of the apparition of this issue. If you’re currently using a security scanner that you think might be responsible for this error code, you should be able to circumvent the problem either by disabling the real-time protection while the update is installed or by uninstalling the AV suite altogether and moving towards the built-in solution (Windows Defender). First things first, you should start by trying to disable the real-time protection of your AV. This procedure will be different depending on the 3rd party client that you’re using. But, in most cases, you can do this by making use of the taskbar icon. Right-click on it and look for an option that will disable the real-time protection. As soon as the real-time protection is disabled, attempt to install the update again and see if you can install the update without seeing the 0x80244007 error. If the same issue is still occurring, you should uninstall the AV completely, remove any remnant files and restart your computer to see if the issue has been resolved. If you decide to do this, follow this article (here). Use it as a walk-through through the steps of installing your security program without leaving behind any leftover files that might still trigger the same issue. If this method is not applicable or you’ve already followed the steps below to no avail, move down to the next method below.
Method 4: Resetting all Windows Update components
If the first 3 methods didn’t provide you with a breakthrough that allowed you to install the Windows Update without issues, likely, you’re dealing with a WU system file inconsistency that’s hindering your machine’s ability to update. If multiple updates are failing with the same error code, it’s even more evidence that this scenario is applicable. In this case, you should be able to resolve the issue by resetting all Windows components and dependencies that are involved in this process. A few users that were also encountering this problem have confirmed that the steps below have allowed them to resolve the 0x80244007 error. Here’s a step-by-step guide on resetting all Windows Update components manually via an elevated Command Prompt: If the same error code is still showing and you’re still unable to complete the installation of the update, move down to the final method below.
Method 5: Perform a repair install
If none of the potential fixes above have worked for you, you’re likely dealing with an underlying system file corruption issue that cannot be resolved with standard recovery procedures. In situations like this one, your best hope of resolving the issue is to reset every Windows component to ensure that your OS is free of corruption. When it comes to refreshing every OS component, the easiest way is to perform a clean install. But keep in mind that this operation will also delete most of your files including app & game installation, user preferences and any personal media stored on the Windows drive. If you want the damage-controlled approach, you should go for a repair install (in-place repair) instead. This procedure is a little more tedious, but it will allow you to reset every component of your Windows installation while allowing you to keep all your files (including apps, games, user preferences, personal media, etc.).
Fix: Windows Update Error “We Couldn’t Connect to the Update Service”[SOLVED] One of the Update Services is not Running Properly in Windows UpdateLast Free Update For Windows 7 Released, KB4534310 And KB45343140 Are The Final…How to Update the Windows Update Agent to the Latest Version