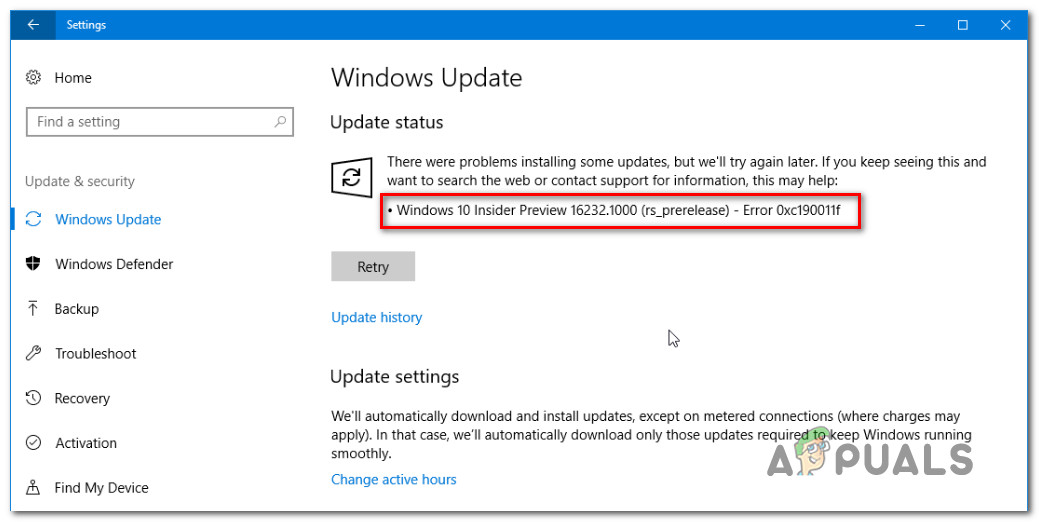
What is causing the Windows Update Error 0xc190011f?
We investigated this particular issue by looking at various user reports and by analyzing the most popular fixes that are typically deployed to resolve this problem. As it turns out, there are different potential culprits that are known to cause this issue: If you’re currently struggling to resolve the same issue, this article will provide you with a collection of troubleshooting guides that should resolve the Error 0xc190011f. Down below, you’ll find several different potential fixes that are confirmed to be effective by at least one affected users. For the best results, we advise you to follow the methods in the order that they are presented since they are ordered by efficiency and severity. One of the fixes should eventually allow you to resolve the issue regardless of the culprit that’s causing it.
Method 1: Running the Windows Update Troubleshooter
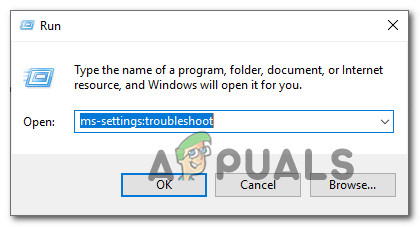
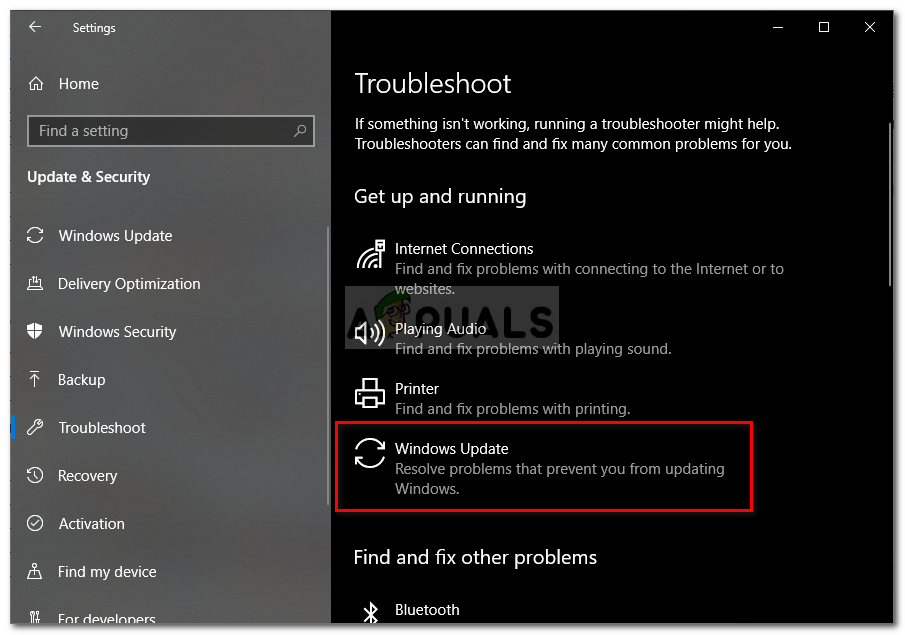
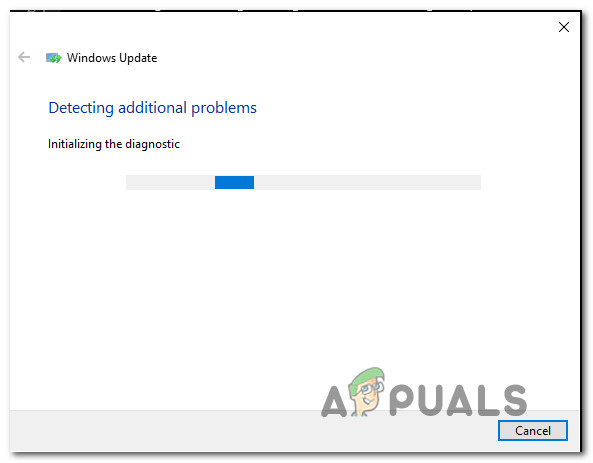
Before you try anything else, start by making sure that Windows is not automatically equipped to resolve this problem. Windows 10 includes a fairly robust Windows update troubleshooter that might just fix the issue automatically. Several affected users have reported that they were able to install the failing update by using the Windows Update (WU) troubleshooter to fix the updating component. After doing this and performing a restart, most affected users have reported that the issue was resolved entirely. Here’s a quick guide on running the Windows Update Troubleshooter to resolve the Error 0xc190011f: If you’re still seeing the same error message, move down to the next method below.
Method 2: Running SFC and DISM scans
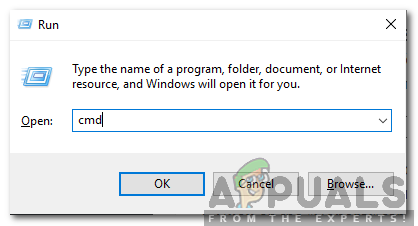
As it turns out, this particular issue can also occur due to some degree of system file corruption. In case some files used by the Windows Update component are tainted by corruption, the update installation will fail as a result. Some users have reported that the issue was resolved after they performed either a SFC (System File Checker) or DISM (Deployment Image Servicing and Management) scan. Both utilities are capable of repairing system files that can be responsible for this error message, but they do it in different ways. SFC uses a locally stored folder to replace corrupted files while DISM makes use of WU to download clean files in order to replace files tainted by corruption. For the best results, we advise you to follow both procedures in order to ensure that you fix every possible system file corruption. Here’s a quick guide on running an SFC and a DISM scan from an elevated Command Prompt: If you’re still encountering the Error 0xc190011f. move down to the next method below.
Method 3: Resetting the Windows Update Components Manually
If you’ve come this far without a result, you might be able to resolve the issue by resetting the Windows update components manually. If the issue is being caused by a glitch or cache issue, this procedure should allow you to install the update that was previously failing with the error 0xc190011f. Several affected users have also confirmed that after they followed the steps below they were able to install the failing update with no issues whatsoever. Here’s a quick guide on resetting the WU components manually from an elevated Command Prompt: If the same issue is still occurring, move down to the next method below.
Method 4: Changing the Region language
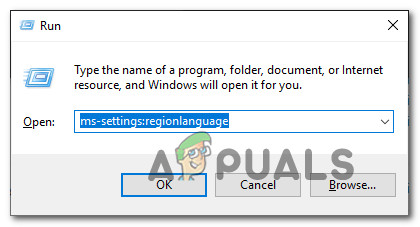
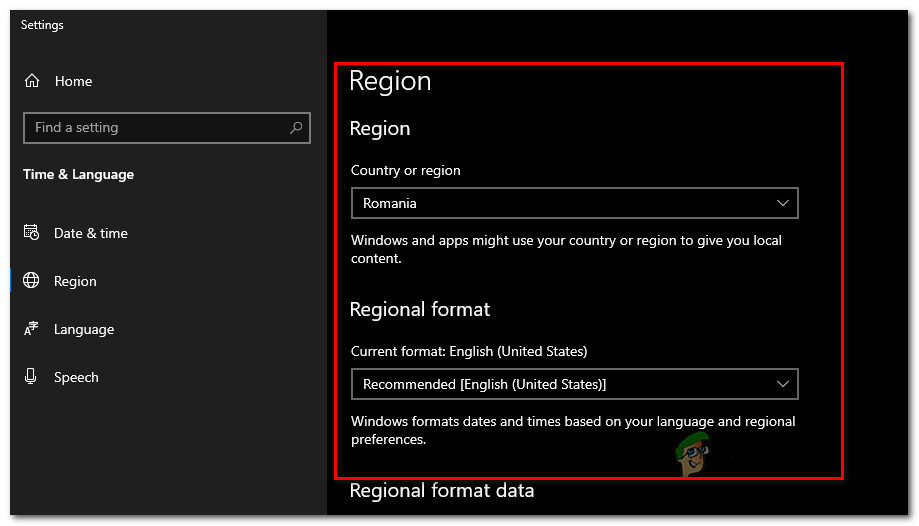
As it turns out, this particular issue can also occur due if the selected Region that is set inside the Settings tab is way different from your actual location. Several users have been able to resolve this issue by changing the Region to the correct one and using the recommended Regional format. Here’s a quick guide on how to change the regional language and regional format on Windows 10:
Method 5: Uninstalling VPN or Proxy providers
As it turns out, this particular issue can also occur due to a VPN client or a proxy server that is not accepted by the Windows Update server. Checkpoint VPN is by far the most commonly reported culprit that is known to cause this error. If you’re encountering the error 0xc190011f with one or more updates and you’re using a VPN / proxy 3rd party client, it’s likely that the WU component is conflicting with the application. In order to test whether this is true, you’ll need to uninstall the VPN/proxy client (at least temporarily, until you manage to pinpoint the client). In the event that you confirm that your VPN or proxy client is causing the error, you can use the built-in VPN or migrate to a different 3rd party solution. Here’s a quick guide on uninstalling your VPN client in order to resolve the software conflict with Windows update:
Method 6: Performing a repair / clean install
If you’ve come this far without a viable repair strategy, there’s one last repair strategy that is bound to resolve the issue, regardless of the cause. Several affected users have reported that they managed to resolve the error 0xc190011f by performing a repair install. This procedure will reset all Windows components while allowing you to keep all your personal data including photos, videos, images, applications or games. You can follow this article (here) for step by step instructions on how to perform a repair install. A less efficient route will be to perform a clean install. But keep in mind that this will make you lose any personal data. If you decide to go this route, follow this guide (here).
Fix: Windows Update Error “We Couldn’t Connect to the Update Service”[SOLVED] One of the Update Services is not Running Properly in Windows UpdateLast Free Update For Windows 7 Released, KB4534310 And KB45343140 Are The Final…How to Update the Windows Update Agent to the Latest Version
