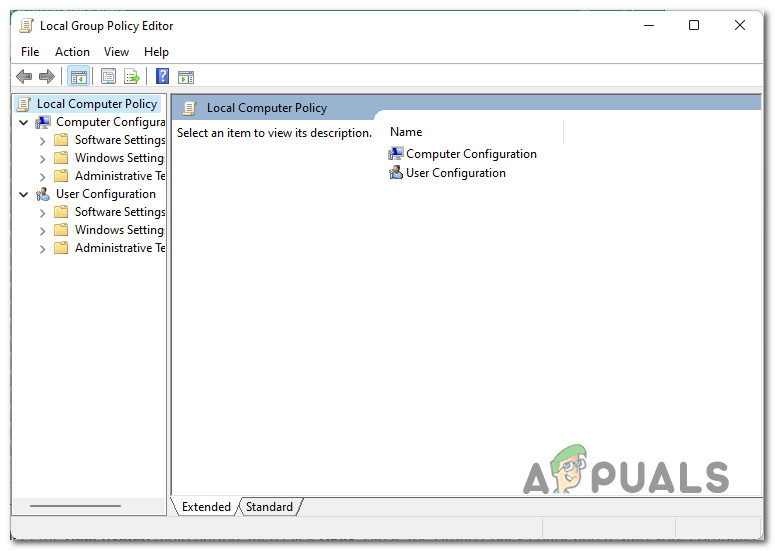
If you’ve recently tried using the Local Group Policy Editor (Gpedit) only to be welcomed by the following message, you’re most likely using a Home version: If you enjoy the technical aspect of windows, not having access to this highly useful tool is a huge drawback because group policies are often used to manage the settings of the local machine. Note: The alternate method is to go through the registry keys and manipulate them to change the settings but using the Group Policy editor is a whole less risky mainly because you can revert your settings without much headache. If you’re using the Home version of Windows 10 or Windows 11 and the Group Policy Editor is not available, this article will show you how to install it without having to change your OS version. But keep in mind that the exact process of doing so will be different depending on if you’re using Windows 11 or Windows 10. Follow one of the sub guides below depending on what Windows iteration version you’re using.
How to Install the Group Policy (Gpedit) on Windows 11
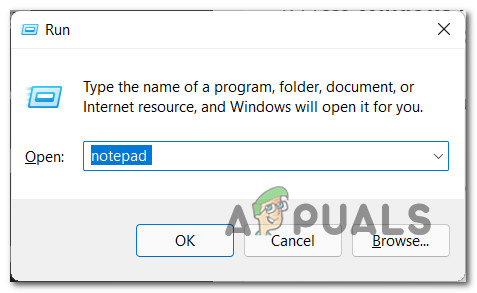
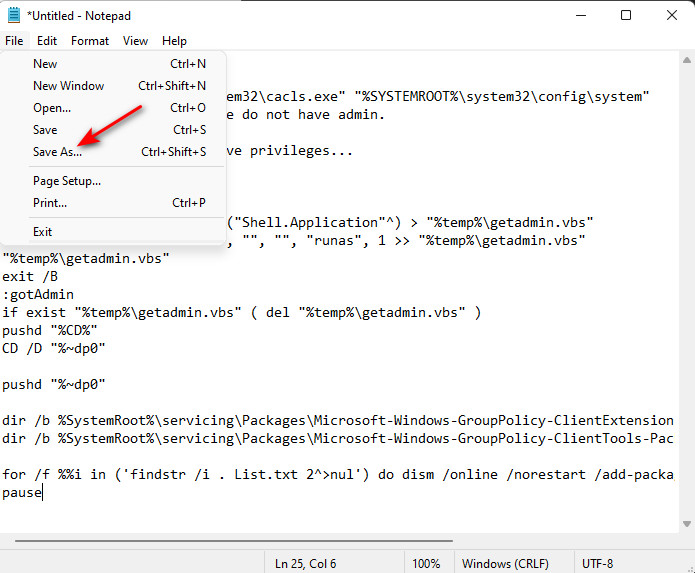
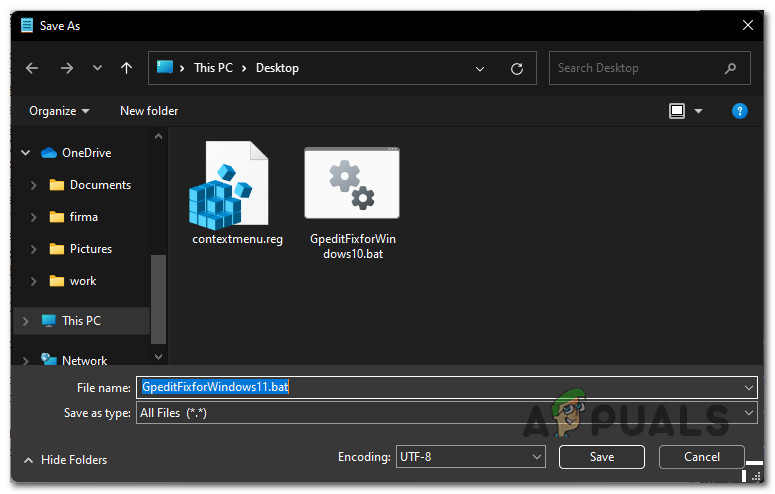
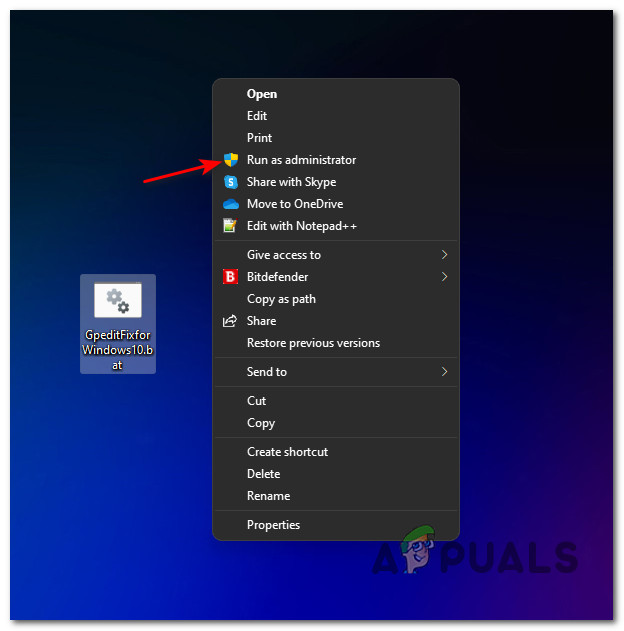
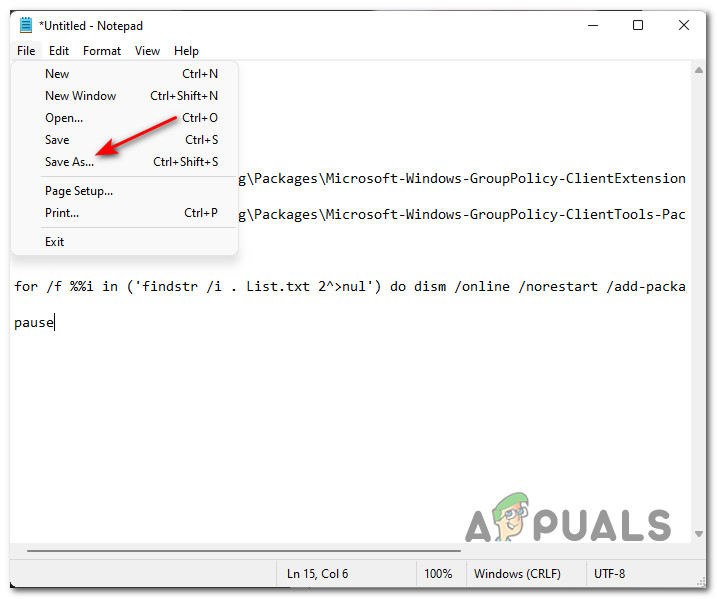
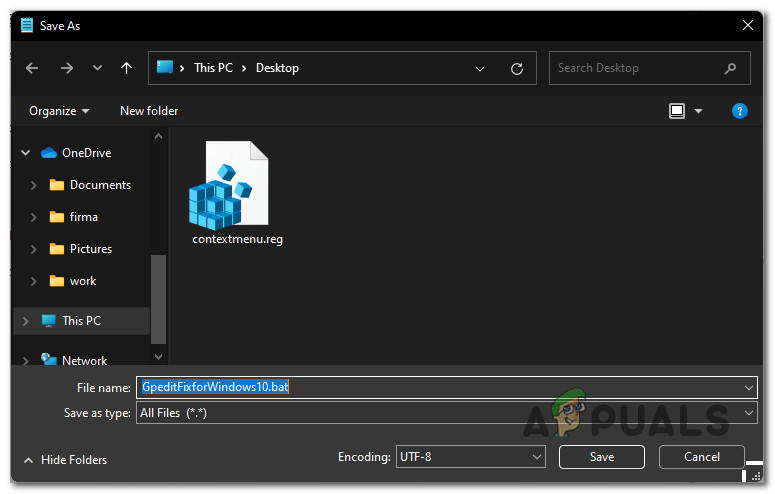
This method will help you create a Powershell script inside a bat file that you will later need to run with admin access in order to enable the Group Policy Editor on your Windows 11 computer. Here’s what you need to do:
How to Install the Group Policy (Gpedit) on Windows 10
The following steps will show you create a Powershell script that needs to run with admin access in order to enable the Group Policy Editor on your Windows 10 computer. Here’s how to go about doing this:
