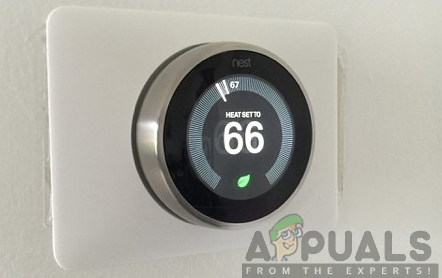
From your phone, you can easily adjust your house heating and cooling with the nest thermostat. Therefore, this saves you time and offers much comfort in your home. Installing the thermostat Is quite easy and it will only take 20-30 minutes of your time. Be sure to carefully follow the guide below to achieve a successful installation and setup.
Installing Nest Thermostat
As you begin to install your nest thermostat, be sure to have all the equipment in place. These involve the screws, screwdriver, labels, trim plate and nest unit itself. Once you have them in place, be sure to follow the guide as outlined below:
Procedure 1: Uninstalling the Current Thermostat
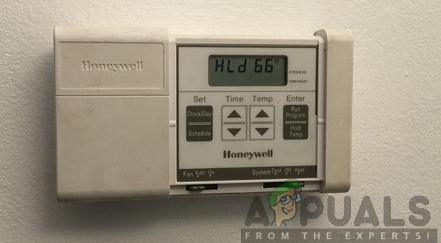
Before you begin, you first need to uninstall the current thermostat in your home. This is achieved by following the steps given below:
Step 1: Switch off the power to your Nest Thermostat
First of all, you will have to locate the power source of your old thermostat and turn it off. This will prevent you from the danger of electrocution or a blown fuse. With electricity, you should first consider safety before any other thing.
Step 2: Get rid of your Current Thermostat
After switching off the power source, you can now proceed to remove your current thermostat. You can do this by removing the thermostat body from the wall. Some of them might be just clipped in hence easily removed. However, you may need to unscrew others from the wall using the screwdriver provided.
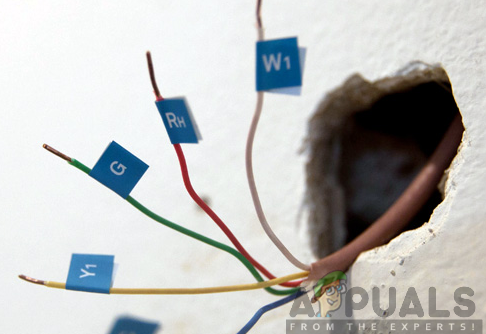
Step 3: Label the wires
Before removing the wires attached to the current thermostat, you need to carefully label them. This label will help you when plugging in the wires to your new Nest thermostat, therefore you should consider labeling them or taking a picture of it. For instance, the yellow wire will be attached to the port labeled Y, the red wire to R and so on.
Step 4: Detach the wires from your thermostat
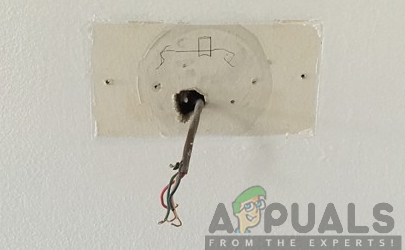
After ensuring you have correctly labeled the wires, you can now go ahead and unscrew the wires from the ports of the current thermostat. You can do this using the available screwdriver. After that, you can now completely remove the thermostat and get rid of the wall plate.
Procedure 2: Install the New Nest Thermostat
After getting rid of the old thermostat, you can now proceed to install the new Nest thermostat. Be sure to carefully follow the steps below to achieve a successful installation:
Step 1: Mark the Position of the Nest Thermostat
You need to place the nest base plate against the wall with the wires threaded through the center hole. Level it using the built-in leveler and mark the two screw holes with a pencil to ensure that the plate remains level even after you screw it in.
Step 2: Attach the Nest Base Plate to the wall
You will then have to attach the Nest base plate to the wall using the screws and the screwdriver provided. Make sure that the base plate remains level as you drive the screws into the wall.
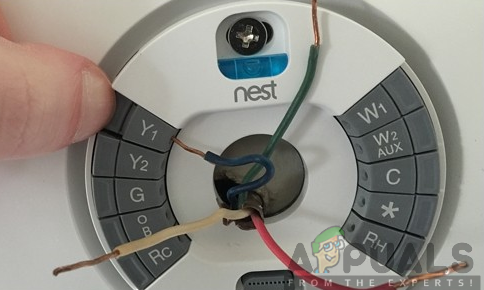
Step 3: Plug in the wires into the Nest plate
You can then connect each labeled wire to the corresponding label on the base plate by inserting the wires into the appropriate holes. Press down on a button as you insert the wire as far as it will go and then release the button. The tab located at the end of the hole should snap into place when the wire has been properly connected.
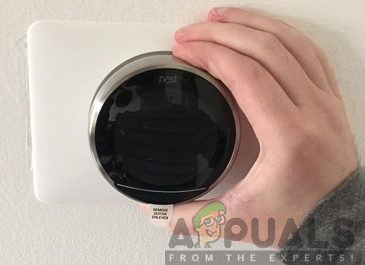
Step 4: Attach the Nest Display
Now you will have to attach the main thermostat unit to the mounted based plate by ensuring the small rectangular connector on the back Is lined up with the port on the base plate. After the successful mounting, you will now be ready to set the nest thermostat up.
Procedure 3: Setting up the Nest Thermostat
After you are done with the installation, you will now proceed to set up the nest in order to get started with it. To set it up, you have to follow the steps outlined below:
Step 1: Switch the power back on
Before setting the nest up, you will need to turn the power back on. This should power on your nest thermostat however when it doesn’t, you need to reconnect the wires carefully to the nest plate. Once it is on, you can proceed with the set-up process.
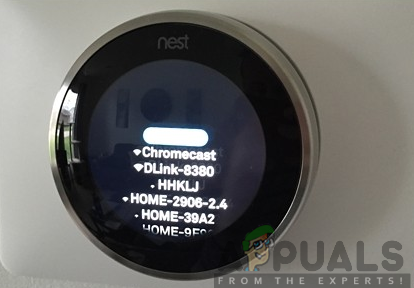
Step 2: Connect the Nest to your Wi-Fi Network
The most crucial thing to do is to connect your Nest Thermostat to your home Wi-Fi network. Yow will have to select your Wi-Fi network from the list provided and enter your password to have the thermostat connected successfully.
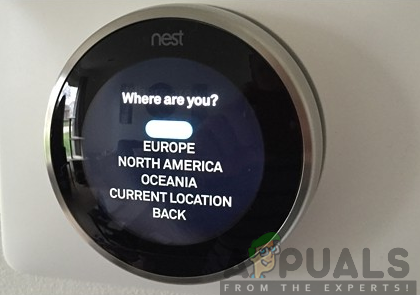
Step 3: Follow the on-screen Instructions
You will then require to follow the on-screen instructions appearing on the screen of the nest in order to complete the setup process. This will involve steps like setting up your location, entering your zip code, selecting where your thermostat is in your house and other additional settings. Be sure to enter the right information as you proceed with the setup process.
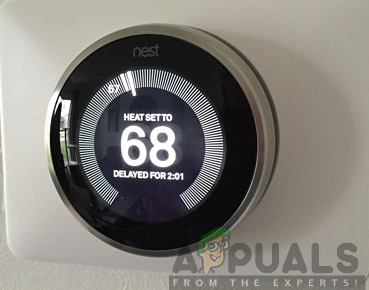
Step 4: Set your preferred temperature
When you are done with the additional setups, you can now set your preferred temperature which will be displayed on the screen. You can achieve this by turning the nest in a clockwise direction to increase the temperature or in an anticlockwise direction to decrease it.
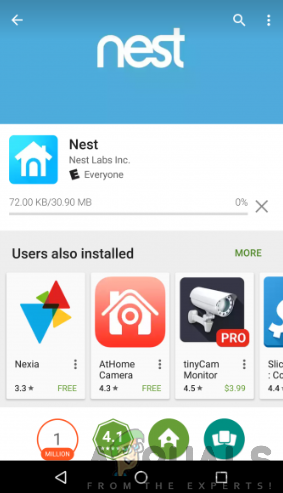
Step 5: Get the Nest app for your phone
By use of your phone, you will be able to control and monitor your nest thermostat remotely. This is possible through the use of the Nest mobile app. The app is available for Android and iOS devices, therefore, you can download it from the Google Play Store or the App Store. Install the Nest app and set it up for remote control.
Step 6: Use your Nest Thermostat
Finally, after completing the setup process, you are now ready to use your Nest thermostat. You can adjust the suitable temperature for your house and comfortably enjoy the benefits. Consequently, the thermostat will master your routine after a short while hence it will be able to automatically adjust the temperature in your house.