New Image Background in GIMP
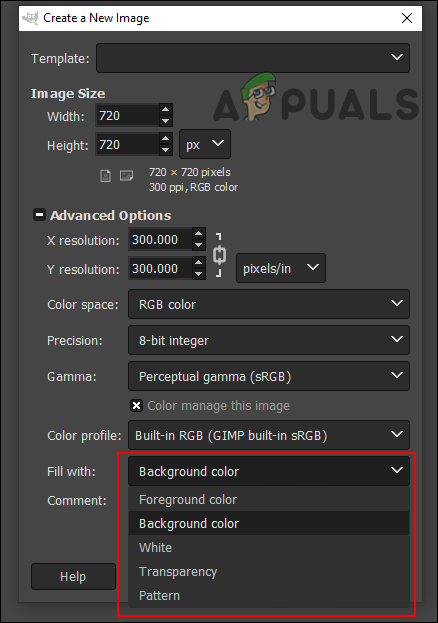
By default, all new images will be filled with the background color. It will fill the new images with any background color that you have chosen. This can cause issues and fill the image with the color that you may not want for your image. The background can be changed when creating a new image or after the image is created. However, it will be time-consuming and you will have to do it every single time. For new images, you can manually change them by clicking on the Advanced option when creating a new image. Then select the “Fill with” option and choose the desired option.
Setting Default Transparent Background for New Images
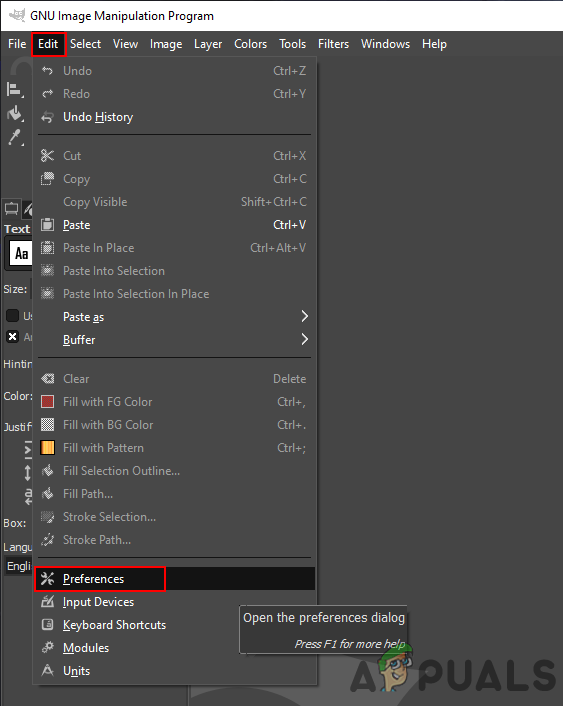
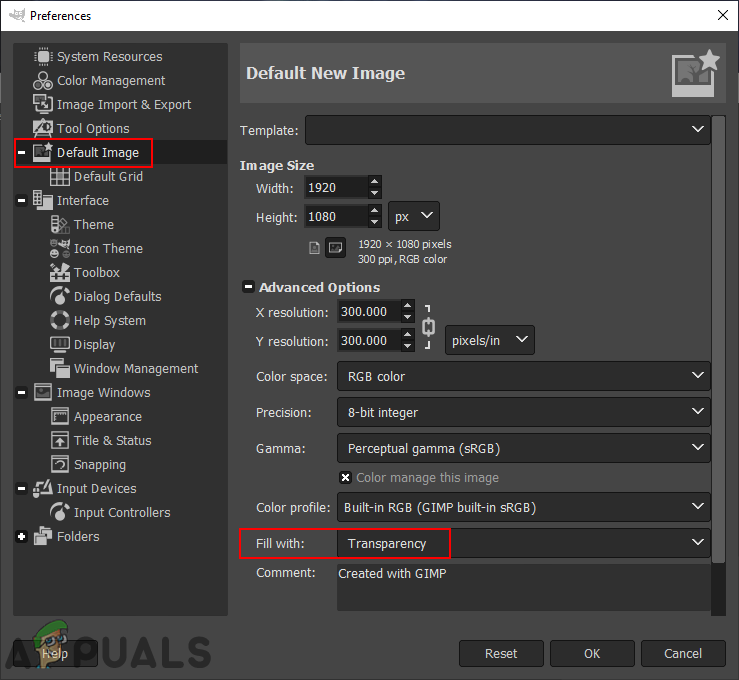
The GIMP will fill the background of every new image with the active background color in the tools. You can also choose the “fill with” option when creating a new image, but that will be time-consuming when you always want the option that differs from the default one. You can change that and always create new images with a transparent background by following the below steps:
Additional: Creating a New Layer for Background Color
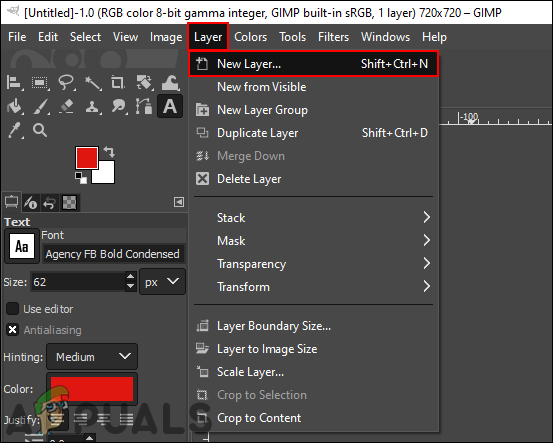
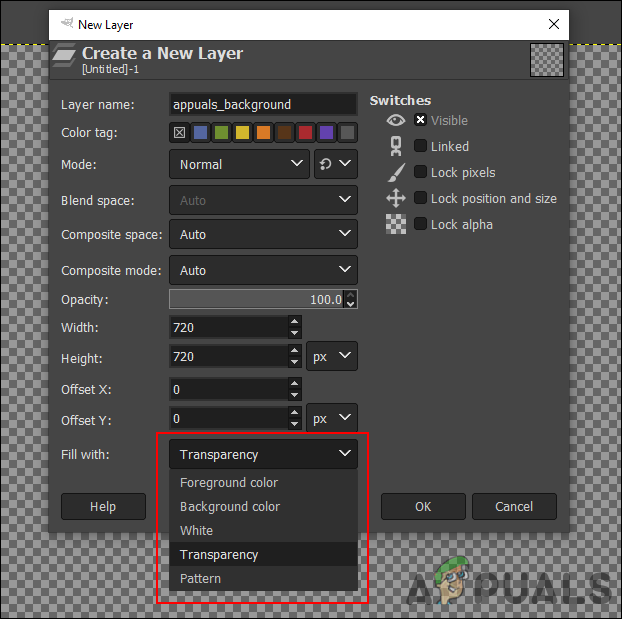
Now that you have a transparent background always, sometimes you would want to add a background to the image. This can be done by creating a new layer and filling it with white or any other color that you want. Working with multiple layers is always the best method for editing images.
How to Make MS Paint Turn White Background TransparentHow to Make Taskbar Translucent or Fully Transparent in Windows 10How to Scale or Resize Images in GIMP?How to Change or Replace Colors in GIMP?