Managing user accounts on a domain is essential. This helps you prevent security leaks and tightens your security infrastructure. Thanks to the modern automated tools, fortunately, you have the choice of using a third-party administrative bundle to perform various tasks that otherwise would have consumed a ton of time on Active Directory. For this purpose, we will be using the Admin Bundle for Active Directory by Solarwinds. The name Solarwinds is not a stranger in this world of networking as the company has gained a reputation throughout the years for itself that its competitors can hardly ever touch. The Admin Bundle For Active Directory tool comes up with a three-set of different automated tools that you can use to manage your Active Directory. These utilities are known as the inactive user account removal tool which you can use to remove all the obsolete accounts, the inactive computer account removal tool which is the same as the user account tool with the exception that it enables you to remove inactive computer accounts. Finally, the third tool is called the user import tool using which you can add multiple users at a single time. In this article, we will be showing you how you can manage your Active Directory environment using the Admin Bundle For Active Directory tool. So, let us begin.
Installing Admin Bundle For Active Directory
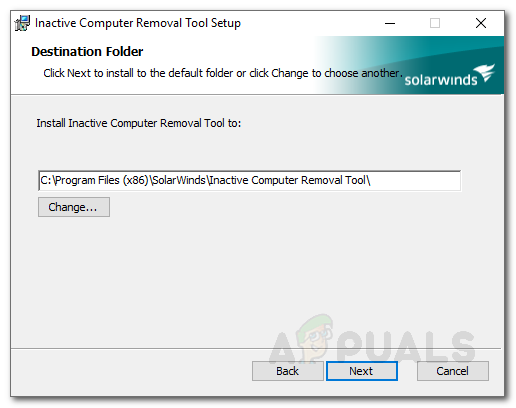
Before you start using the tools, you will have to install them on your system. The installation process is very simple. First of all, head to this link and download the tool by clicking ‘Download Free Tool’. Once you have provided the requested information, you will be given a download link. After downloading the tool, follow the instructions below:
Using the Inactive User Account Removal Tool
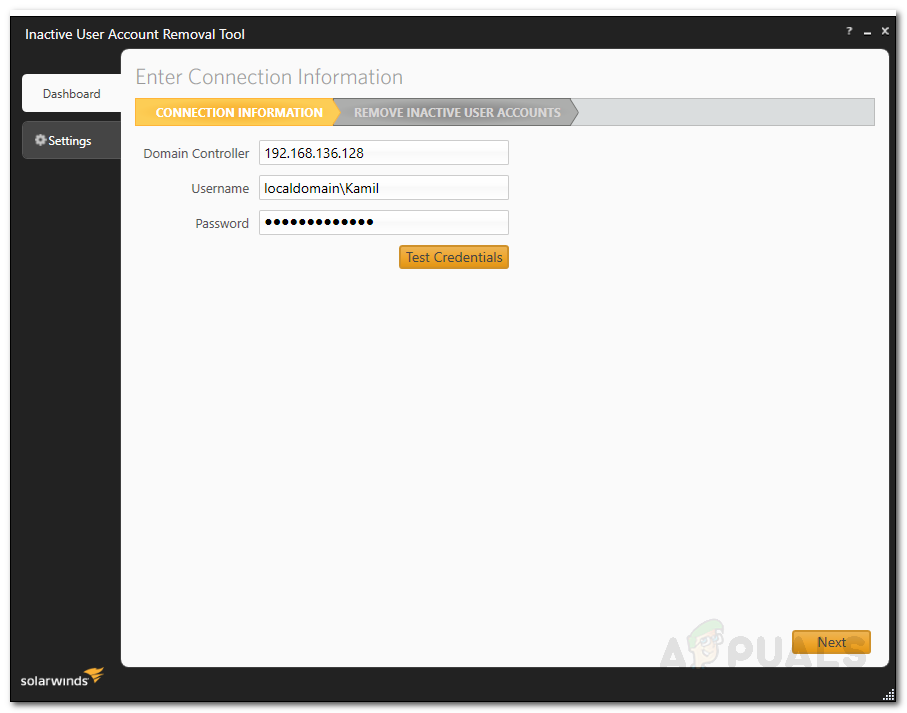
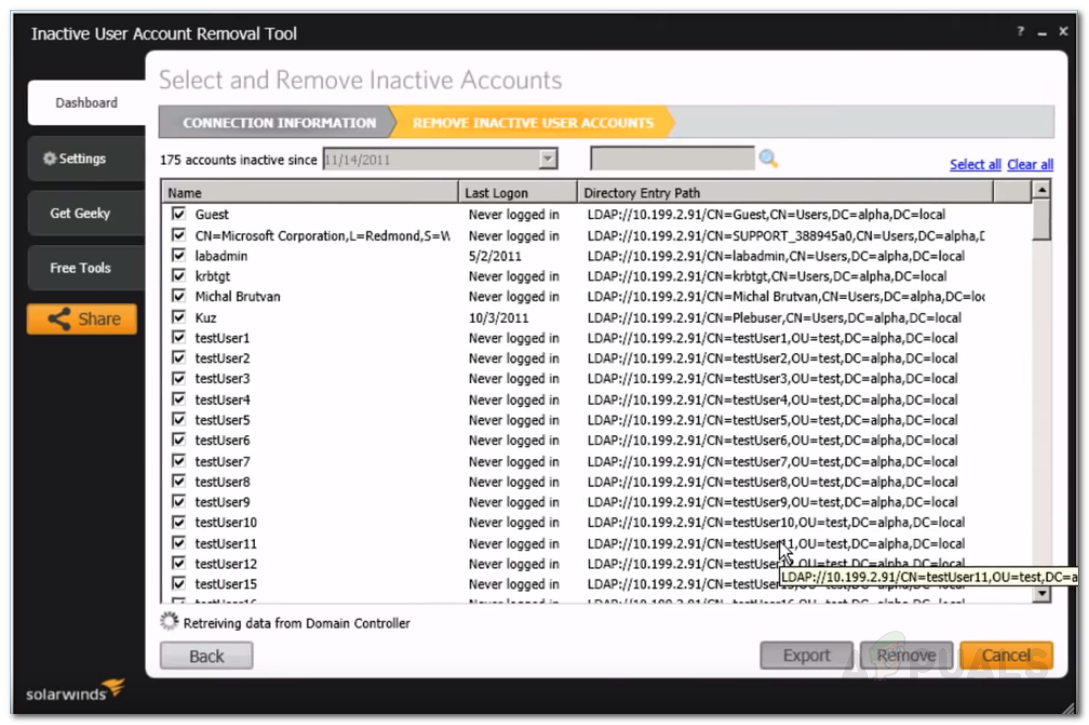
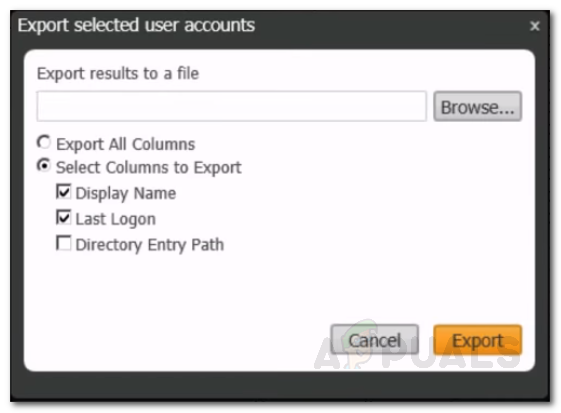
Once you have installed all of the three tools, you can start removing the obsolete users. To do so, follow the below instructions.
Using the Inactive Computer Account Removal Tool
If you want to remove inactive computer accounts, just run the Inactive Computer Account Removal Tool from the Start Menu. Then, follow the same instructions provided for the User Account Removal tool and you will be good to go.
Using the User Import Tool
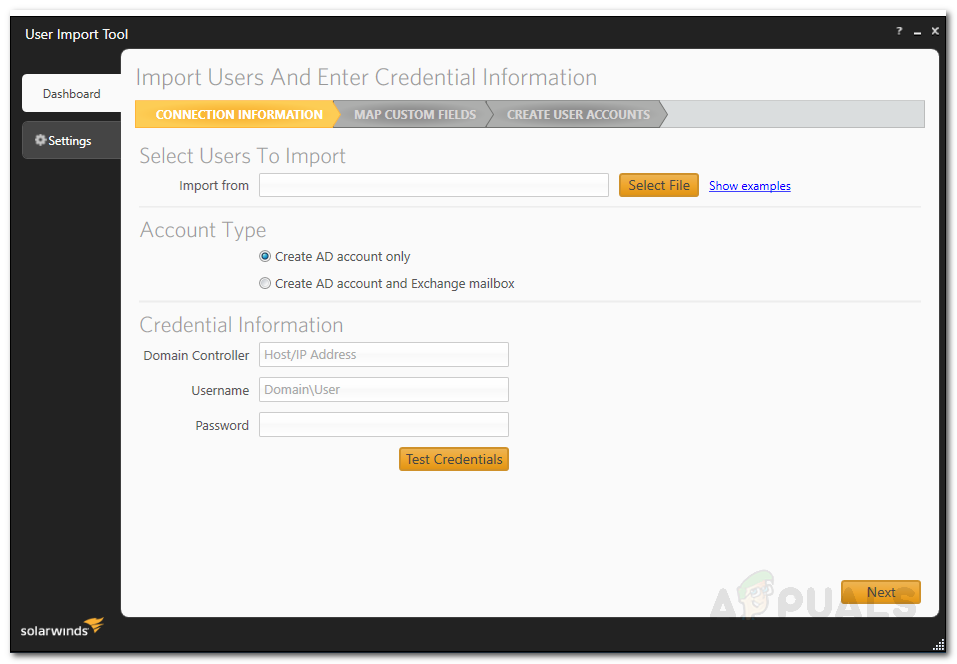
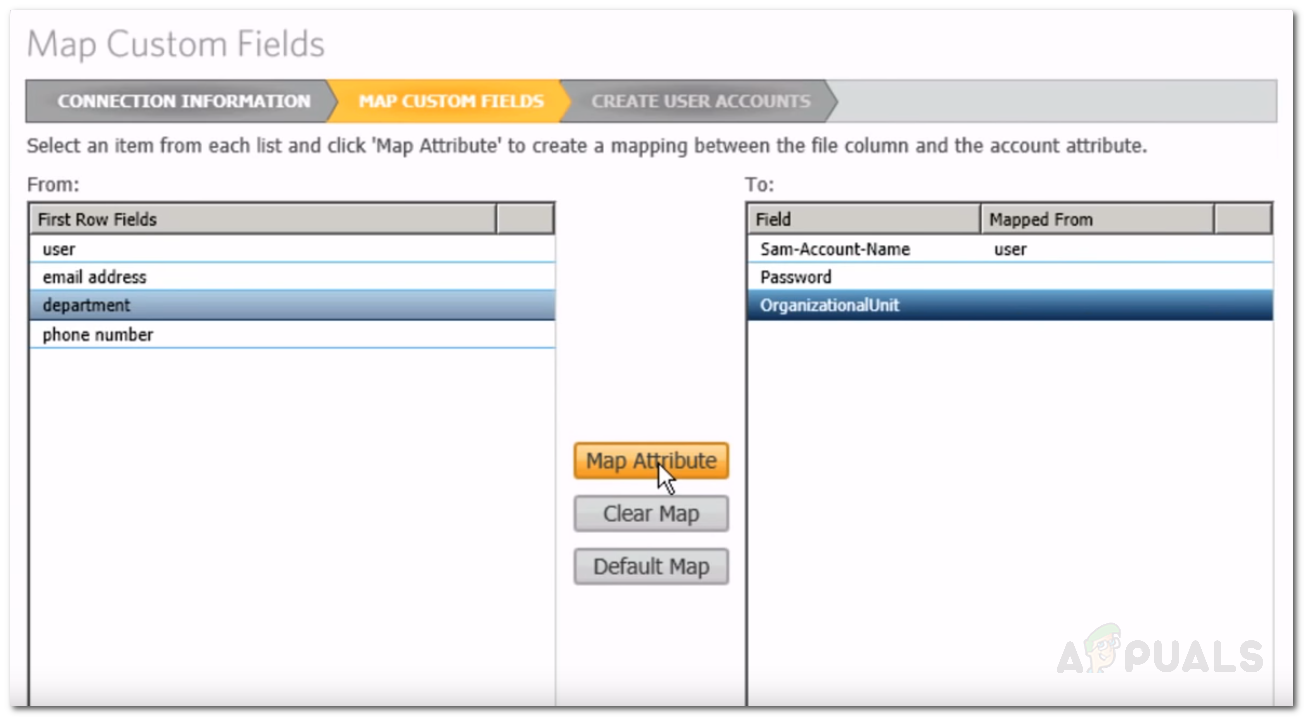
The final tool is the User Import Tool. Using this, you can add multiple users at a single time. For this purpose, you will be needing a .csv file or excel. To add in multiple users, make sure that you have entered the respective column header for each column. For example, make sure to enter the column header user first and then write down the usernames of the account you want to add under it. The same goes for the other columns. Once you have your file, follow the instructions below to import users:
How to Locate Inactive and Expiring User Accounts in Active Directory?How to Check the Action History of a User Account in Active Directory?How to Identify Recursive and Empty Groups in Active Directory using Access…Fix: The Active Directory Domain Services is currently unavailable ‘Windows 7, 8…