How To Connect All The Necessary Peripherals In Making Of A Domestic Robot?
Now, we need to gather the components required and start making the robot.
Step 1: Components Used
Step 2: Studying The Components
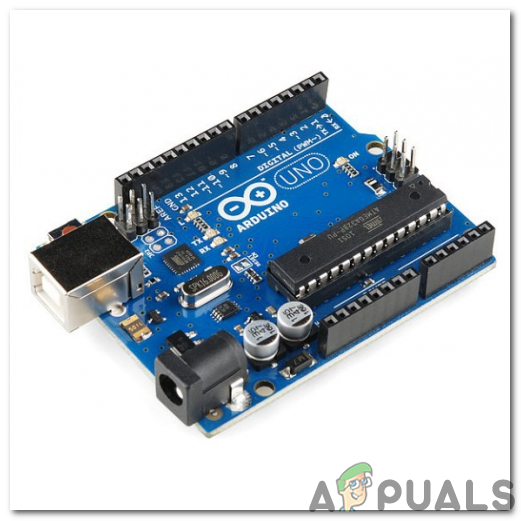
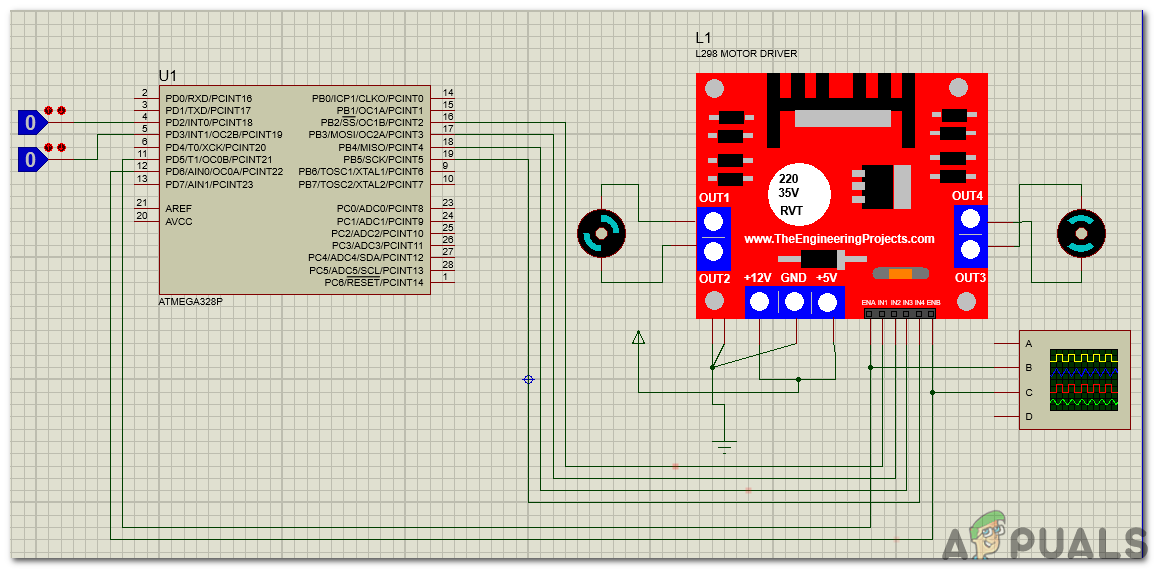
As we have already made a list of components, let us move a step ahead and go through a brief study of the working of each component. The Arduino UNO is a microcontroller board which comprises of a microchip ATMega 328P and is developed by Arduino.cc. This board has a set of digital and analog data pins that can be interfaced with other expansion boards or circuits. This board has 14 Digital pins, 6 Analog pins, and programmable with the Arduino IDE (Integrated Development Environment) via a type B USB cable. It requires 5V to power ON and a C Code to operate. L298N Motor Driver is used to operate DC Motors. The L298N is a dual H-Bridge motor driver that allows speed and direction control of two DC motors at the same time. The module can drive DC motors that have voltages between 5 and 35V, with peak current up to 2A. It depends on the voltage that is used at the motors VCC terminal. In our project, the 5V pin will be used as input as we need to connect it to a 5V power supply for the IC to work properly. The circuit diagram of the L298N motor driver with the DC motors connected is shown below for understanding the mechanism of the L298N motor driver. For the demonstration, the input is given from the Logic State instead of IR sensors.
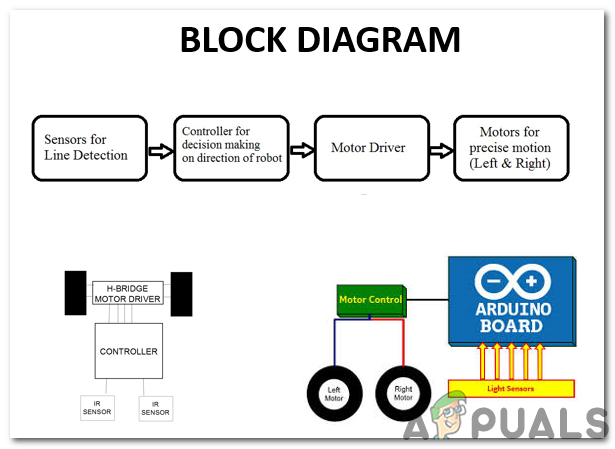
Step 3: Understanding The Block Diagram And Working Principle
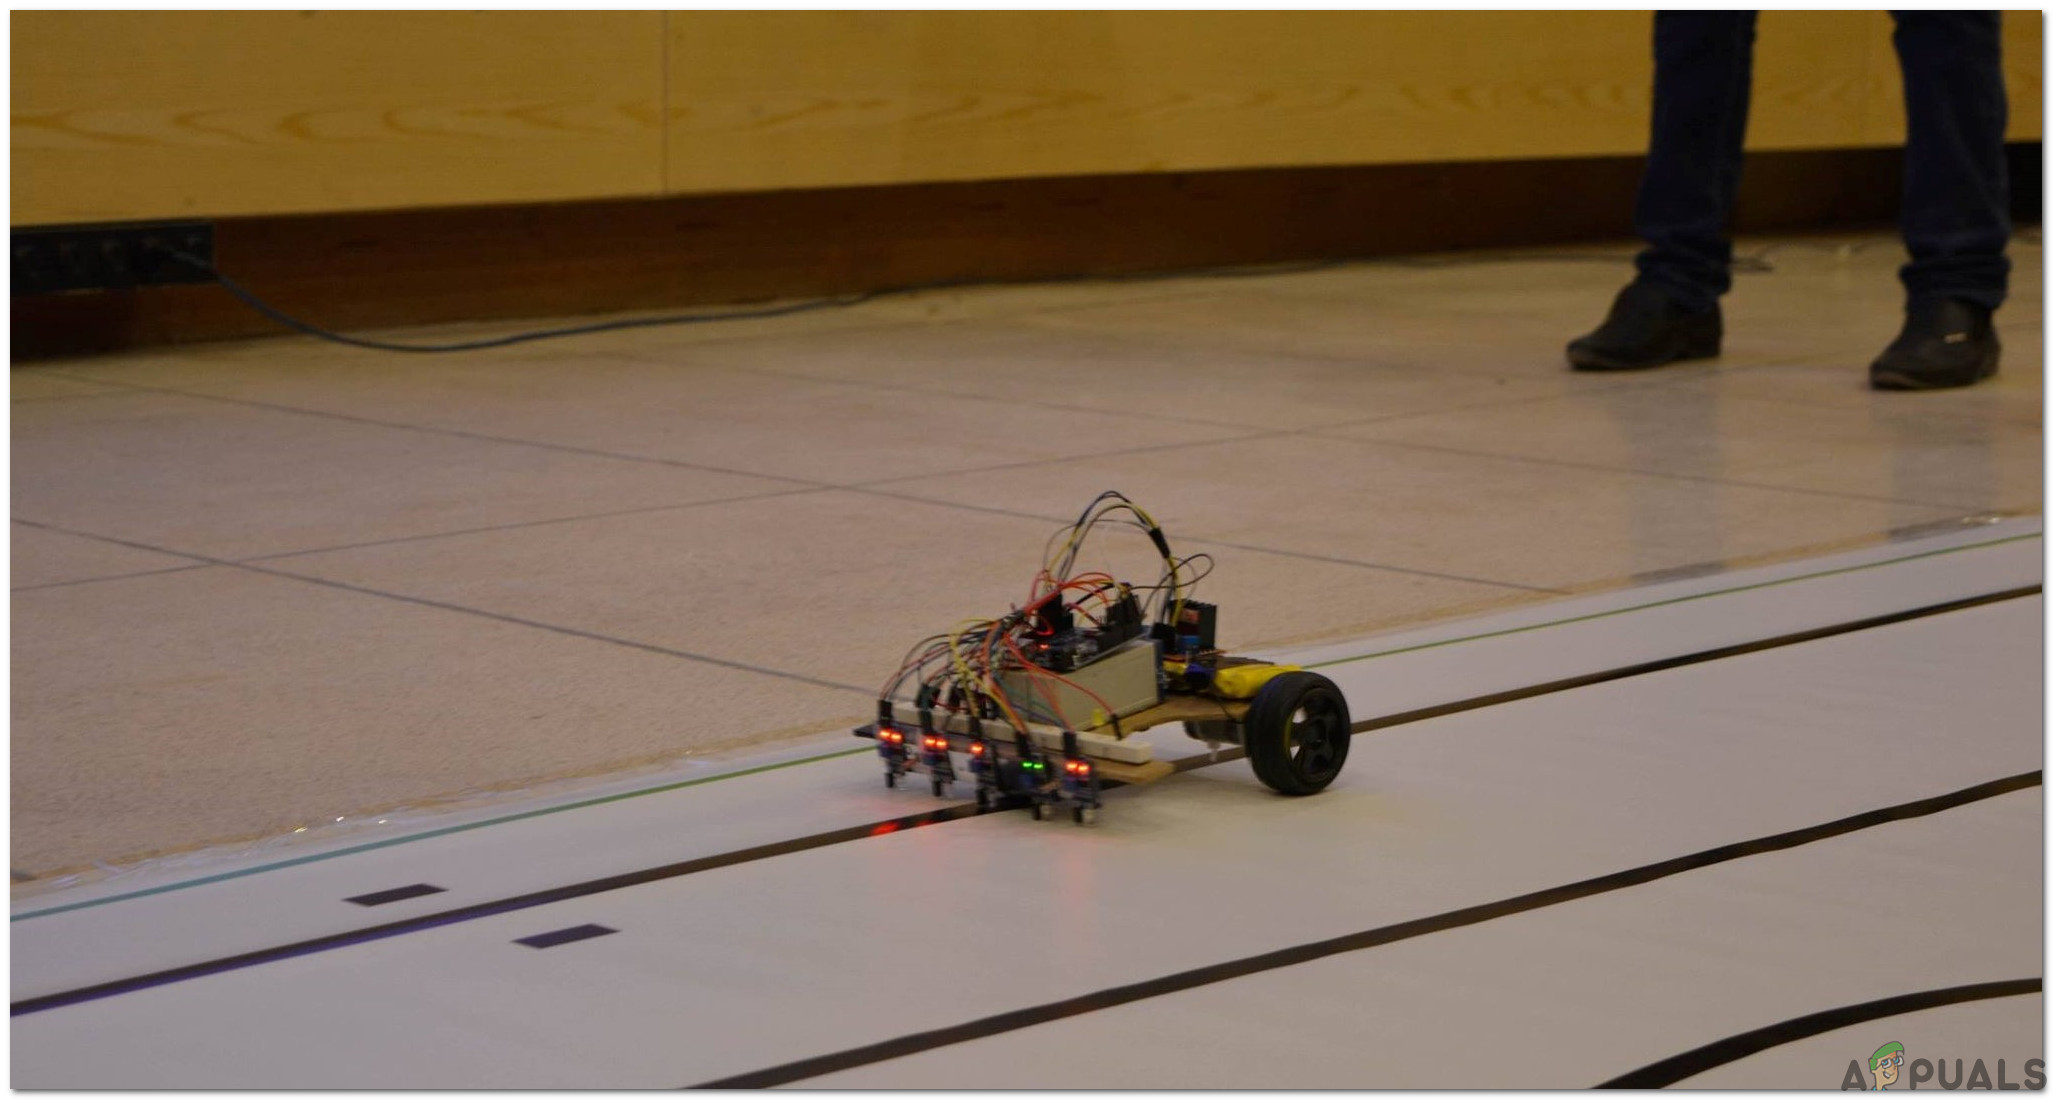
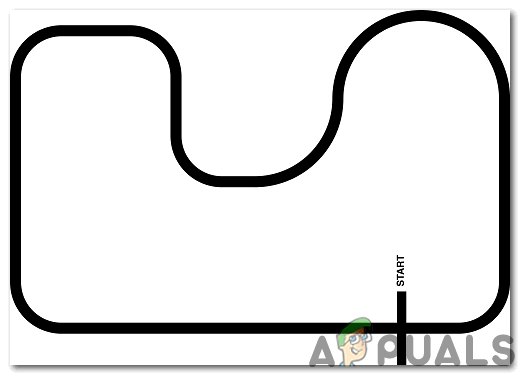
Firstly, we will go through the block diagram, understand the working principle and then move towards assembling the hardware components. The sensors that we will use are digital and they can give the output either 0 or 1. These sensors that we have purchased are giving 1 on white surfaces and 0 on the black surfaces. The sensors that we purchase give random values, sometimes they give 0 on the white surfaces and 1 on the black surfaces. We will use five sensors in this robot There are four conditions in the code for five sensors. We will make a path on the kitchen shelf using black tape and that path will end near the sink, so the robot will stop near the sink and the dishwasher will unload the plates and then the robot will move towards the path and search for the utensils again.
Step 4: Getting Started With Arduino
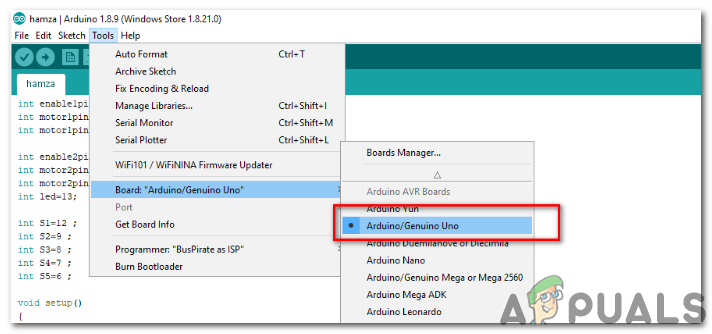
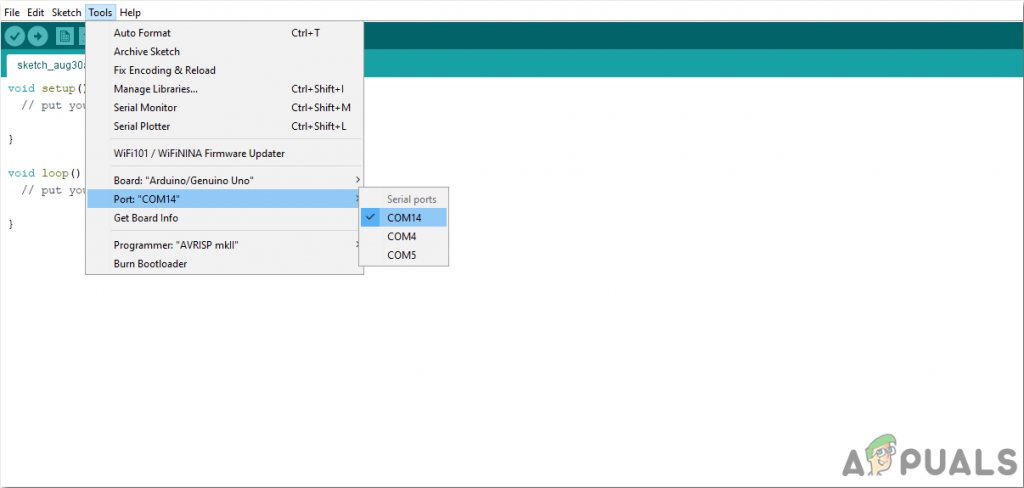
If you are not familiar with Arduino IDE before, don’t worry because below, you can see clear steps of burning code on the microcontroller board using Arduino IDE. You can download the latest version of Arduino IDE from here and follow the steps below: You can download the code from Here
Step 5: Understanding The Code
The code is very simple. It is explained briefly below:
Applications
How To Make A Smoke Alarm For Your Kitchen Using Arduino?How To Make A Floor Cleaning Robot Using Ultrasonic Sensor?How To Make Obstacle Avoiding Robot Using Arduino?Rainbow Six Siege Dokkaebi Elite Skin, New Robot-Themed Event Leaked