There are quite a few ways to get rid of an application which is installed on your computer even though some of them are related to each other. It’s definitely not impossible and it’s quite easy in most cases, except for the ones where the application is registered as harmful and dangerous for your computer.
Uninstalling WinRar (64-bit) From Windows OS
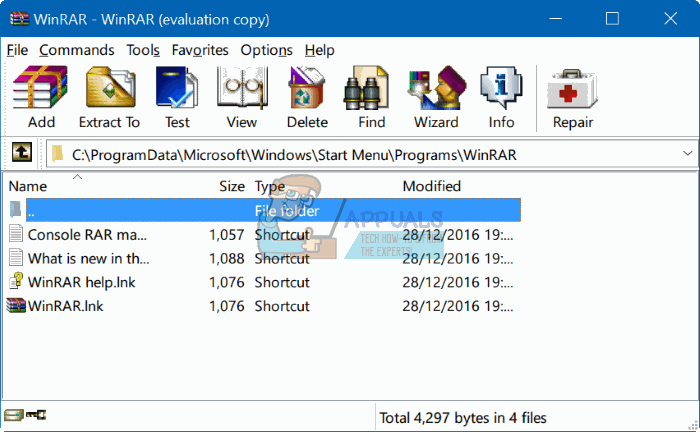
WinRAR is a trialware file archiver utility for Windows, developed by Eugene Roshal of win.rar GmbH. It can create and view archives in RAR or ZIP file formats,[4] and unpack numerous archive file formats. To enable the user to test the integrity of archives, WinRAR embeds CRC32 or BLAKE2 checksums for each file in each archive.
However, certain users reported that they were unable to get rid of this program when they wanted to clean up their PC from unused applications. There are quite a few alternatives for this process and users often don’t want WinRar to interfere with other applications working on the same process. Follow the instructions below in order to get rid of WinRar.
Solution 1: Uninstall WinRar Through Settings or Control Panel
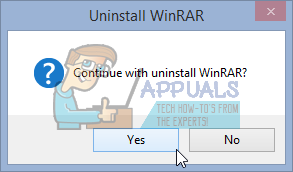
This is definitely the first method you tried yourself but let’s try this again in order to make sure we tried to uninstall it the usual way. If this method helps you deal with Kodi-related error messages, you don’t have to continue with other solutions. This is also the easiest solution for casual users.
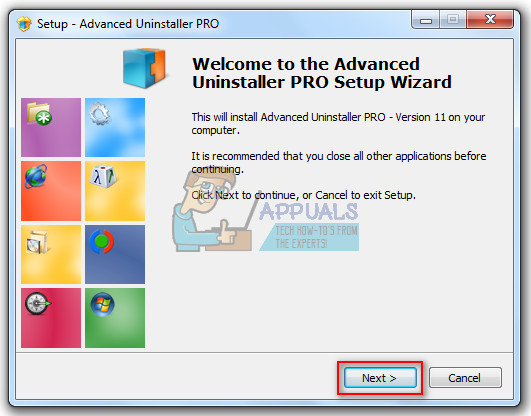
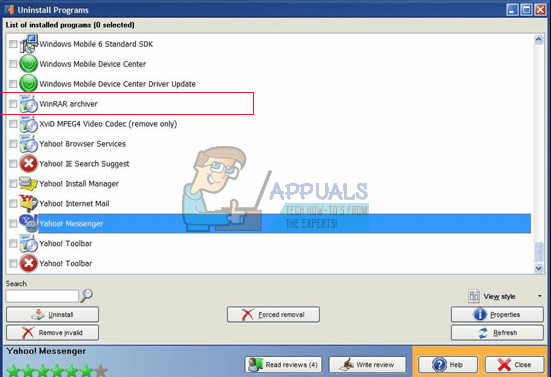
Solution 2: Using a Dedicated Tool to Uninstall WinRar
There are a lot of different uninstallers designed to replace Control Panel and Settings as they often get unresponsive and they sometimes freeze in the middle of the uninstallation process. You don’t have to use this particular uninstaller but this one was able to help people who were dealing with this problem in particular and that is exactly why we recommend it. It will also get rid of the registry entries and app data for you if you will like you are not the man for that job or if you are a casual user.
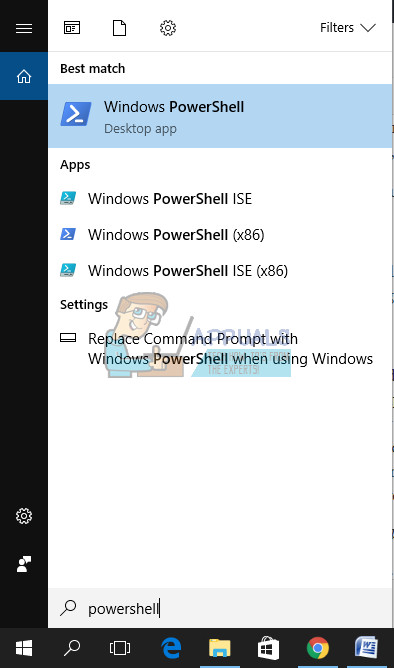
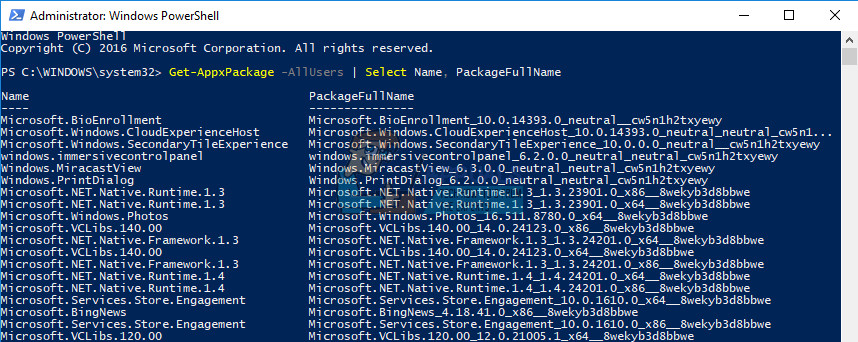
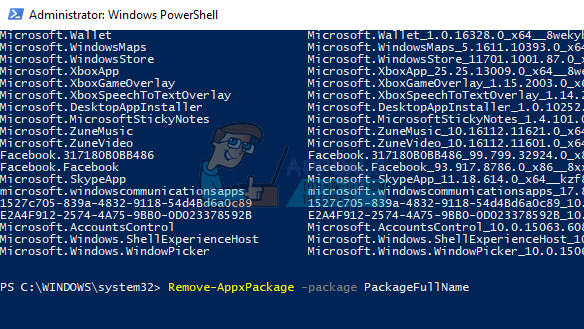
Solution 3: Using PowerShell to Get Rid of WinRar
Windows PowerShell is a powerful command-based tool used to execute different commands. It’s a powerful tool which can help you automate tasks using a command-line shell and a scripting language which was built using .NET Framework and .NET Core. It used to be exclusive to Windows but it was made open-source and now it’s available to all platforms. It’s quite similar to Command Prompt and it even replaced Command Prompt in the context menu which appears when you use the Windows Key + X key combination or when you right-click on the Start menu located at the bottom left corner of your screen. You can use PowerShell to uninstall various apps and you can even use it to delete preinstalled Windows Apps such as Photos, Video, Calculator, etc.
Solution 4: Use the Built-In Uninstaller To Uninstall WinRar
The second manual approach is very similar to the first method, but it would start the uninstall process directly via using the attached removing process in its installation folder.
Solution 5: Get Rid of Leftover Files
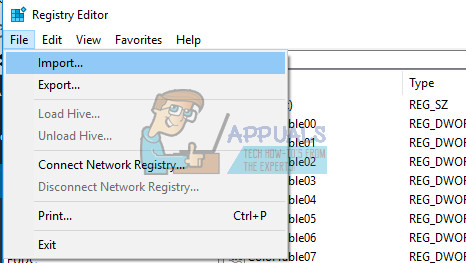
After each uninstallation, some files remain either on your computer or in your registry. If you want to get rid of WinRar completely, your will have to delete these files and registry entries as well. This solution includes deleting the leftover files after completing any of the solutions above or after completing all of them. However, since we have used several different methods, you shouldn’t be able to find many files related to WinRar. Still, it’s worth to check just in case as these leftover files may simply be the ones which are causing all of these WinRar-related errors even though WinRar is not even installed on your Computer. Navigate to following folders and delete everything related to WinRar. Be careful not to delete anything related to other software you may have installed: My Computer » C: » Program Files (x86) » Common Files » WinRar My Computer » C: » Program Files (x86) » WinRar My Computer » C: » Program Files » Common Files » Winrar My Computer » C: » Program Files » WinRAR My Computer » C: » Document and Settings » All Users » Application Data » WinRAR My Computer » C: » Documents and Settings » %USER% » Application Data »WinRAR After we have dealt with the files which remained after the uninstallation, it’s time to delete all of the unnecessary registry entries which can also cause different error messages if they are not dealt with properly. We will first backup the changes to the registry just in case.
Solution 6: Fix Your Windows Uninstaller Service
Windows operates using services and processes which are required to run in order for your PC to operate smoothly. However, users have reported that they were unable to access the Add or Remove Programs section in the Control Panel not the Settings app since there was always an error message which appeared. Follow the instructions below in order to find out just how to fix this particular issue by re-registering the Windows Installer Service.
How to Uninstall Programs on Windows 10 That Won’t UninstallHow to Use the AMD Clean Uninstall Utility to Uninstall AMD DriversHow to Uninstall Windows UpdatesHow to Uninstall Facebook Messenger on Windows 10