All that changed in Windows 10! There are several distributions of Linux available on the Microsoft Windows Store. This previous Appuals article on Kali Linux describes one such method of obtaining a specific Linux distribution in your Windows 10 environment. One of the advantages of using Linux scripts on your Windows machine is that you can make use of the powerful Linux scripting language to automate tasks, especially if you are more familiar with Linux scripting than say, Powershell, or Dos batch files. This article explains how to write a Linux “bash” script to clean up a typical Windows Desktop. If you are new to Linux you will learn the basics from this article, and creating a useful utility in the process. We will be using a basic Ubuntu Linux Terminal, (available on the Windows Store on Windows 10 machines) which allows you to use bash,k ssh, git, apt and many other Linux commands. This will need to be installed if you have not already done so. The method is explained here.
The Linux Command Line
Once you have installed Ubuntu and run it you will get a command line window, similar to the following. This will give you a bash Linux, command line:
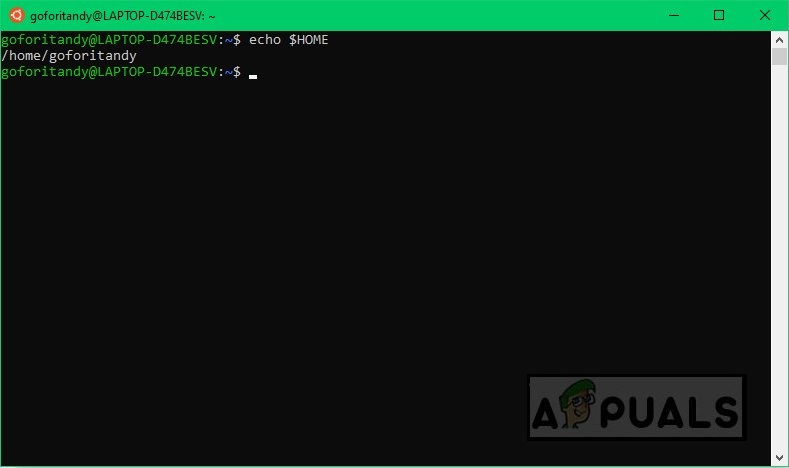
We shall now write our script. You can edit the file with any editor, including a Windows editor such as notepad, or a Linux editor such as vi if you are confident of using it. When you open the Ubuntu terminal, your location will be your home directory, in the Ubuntu workspace. This can be ascertained by entering the command at the command prompt: and it will output your home directory as shown in the following screenshot. Linux format, uses forward slashes representing directories, such as “/”.
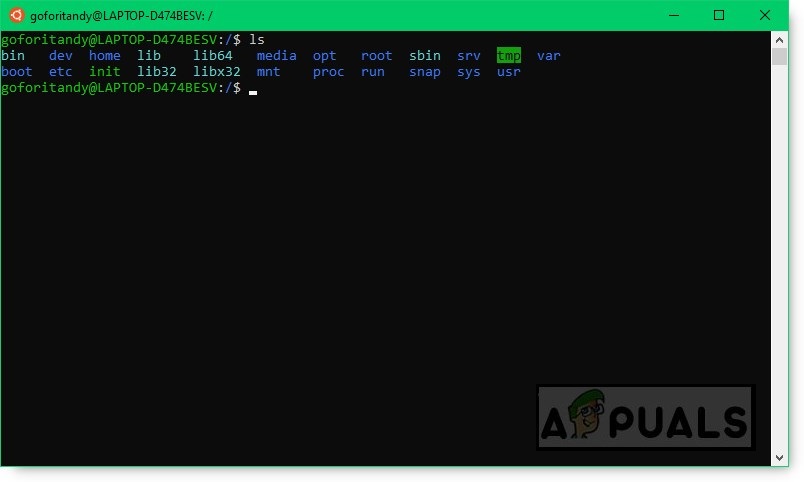
For convenience, we will place the script in the home directory. The next step is to find out the location of your desktop, as it is known as a Linux path. We will need this in order to perform actions on the files in the correct directory. In the terminal type “cd /”. This takes you to the root area of your Ubuntu environment. Then type “ls” This lists all the directories out in Linux. You will see something like this in the Linux terminal:
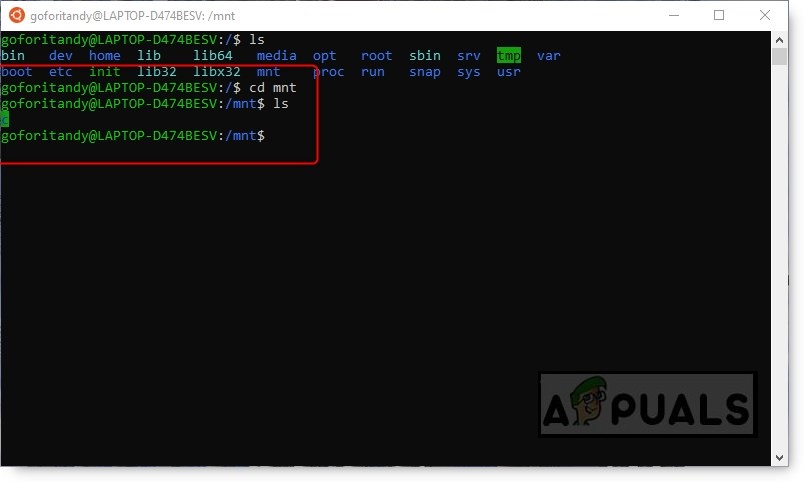
We need to find your user desktop. Assuming this is on the C drive, change into the “mnt” directory. This is where the windows drives will be identified like so:
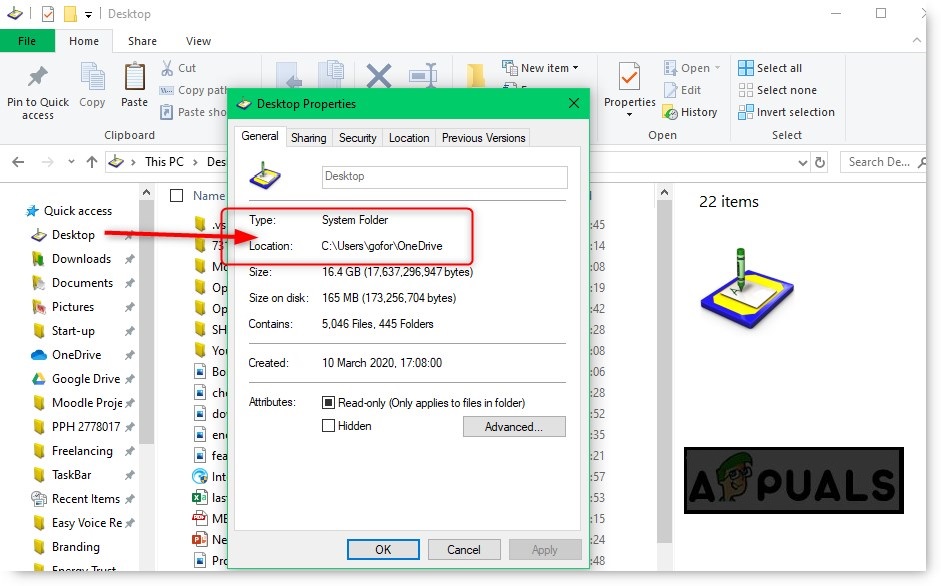
You then need to know which directory your desktop resides. You can usually find this in windows by “right clicking” on the desktop icon like so from the “Quick access” list in File Explorer. Your desktop directory location will be shown:
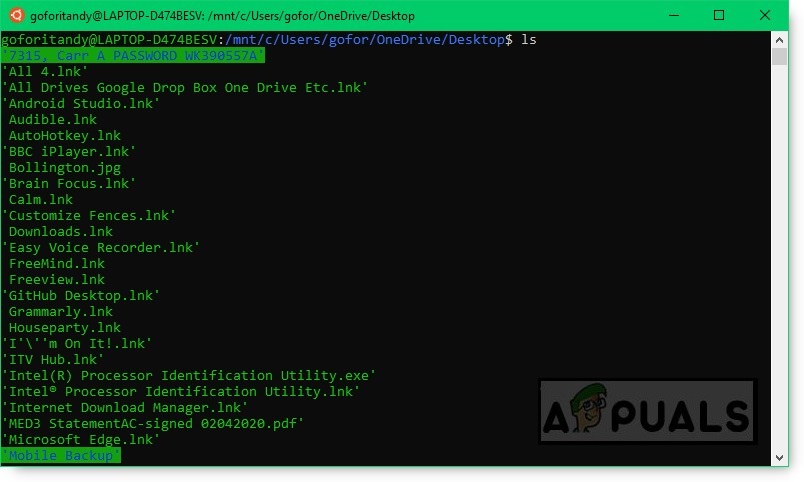
From this, you can change into your directory using Linux in the terminal: Therefore, in this example, you type in the terminal, remembering that backslashes in Windows are equivalent to forward slashes in Linux. In my case, the path needed in the “change directory” command is: Then you can list all the files on your desktop by using “ls”: If it’s anything like my desktop you will get a long list of files like so:
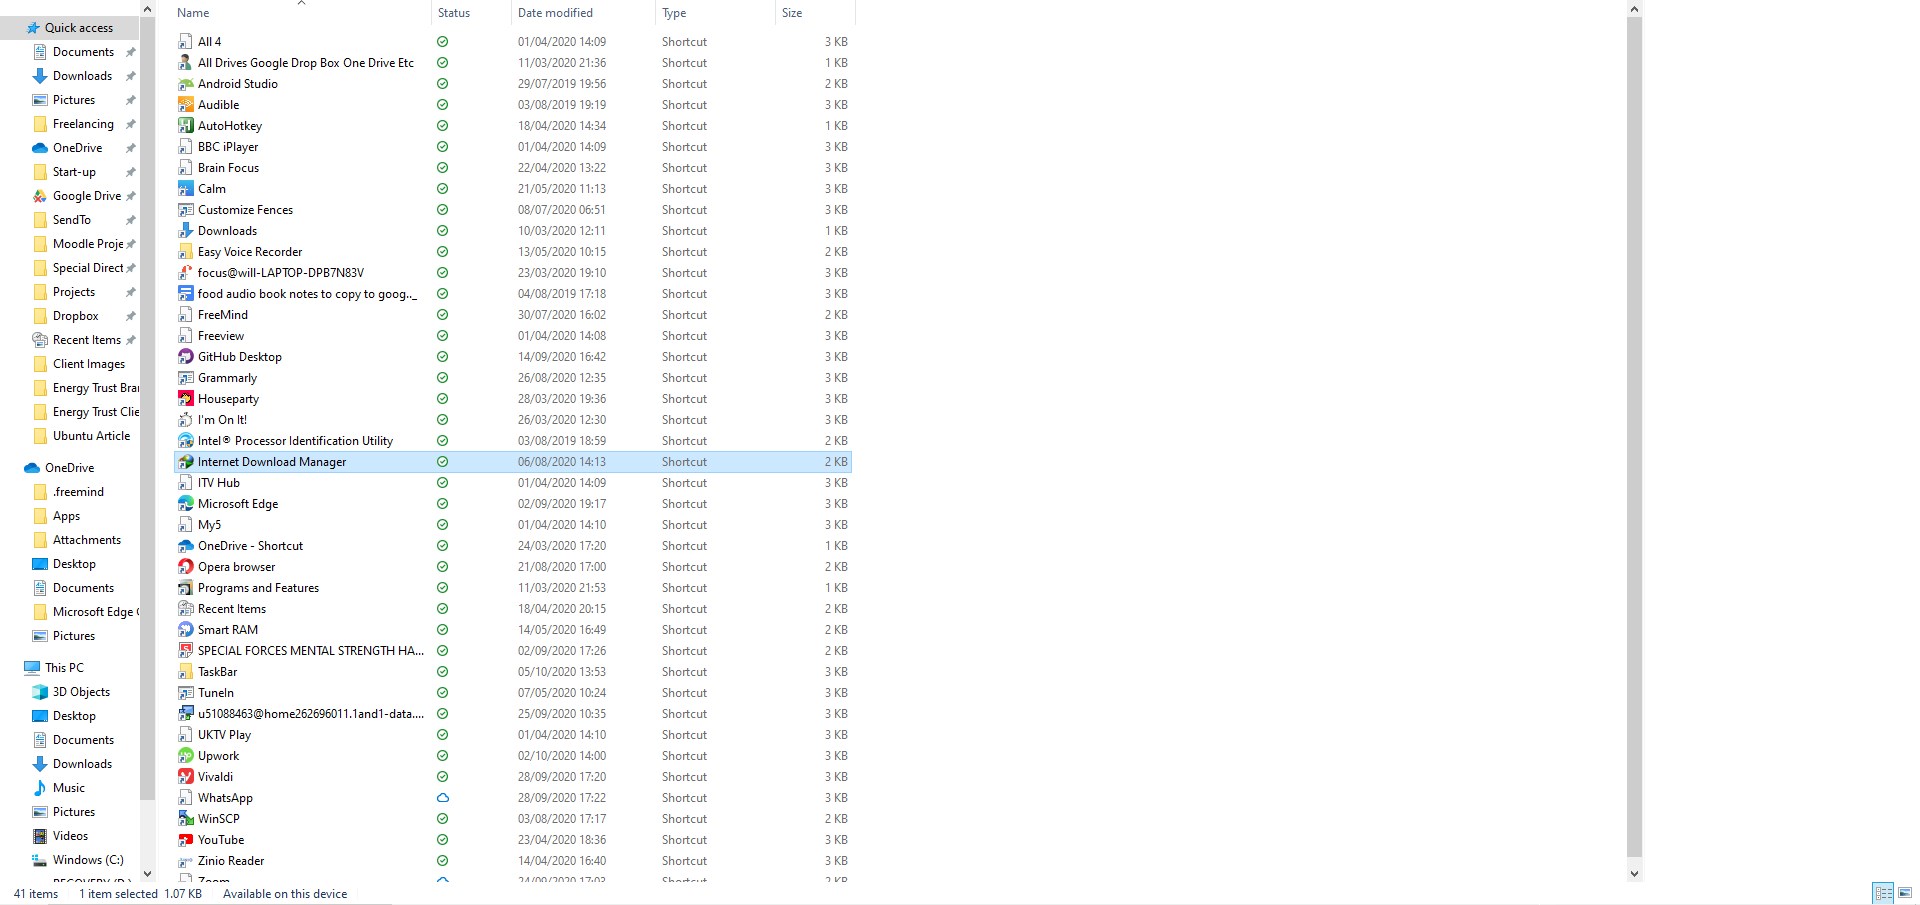
You can see how messy my desktop looks in Windows here:
There were more icons on my other 2 monitors, so we need to classify and organise these files! The script provided will take each file type, and place them into a relevantly named folder on the desktop. So, for example, shortcut files, these will be *.lnk files, so we will move them into a folder called “SHORTCUTS”.Likewise, image files, such as .jpg, .png, .bmp, .svg will be moved into a folder called “IMAGES”.Documents and Office documents, such as word files i.e. .docx, .pdf, .xls, will be put in a folder called “OFFICEDOCS”. So, when the script is run, all the documents will be available in an organised manner, in the relevant directory, created for that file category. This will unclutter the desktop and make your desktop files more organised. You can create as many folder types and define the file criteria as you wish. The files need not be organised by just file type, you can create category folders as you wish, such as “HRFILES” and “PROJECTFILES”. In this example, we will organise the files by their file type.
Creating a Category and File List
In order to use this application, we will need 2 files:
A) A list of categories and file types to go into those categories held in a comma-delimited CSV file. Each category name will be the name of the directory the files will be placed in on the desktop. You can create the CSV file with any preferred editor. In this example, we will be using notepad.B) A Linux script which will read the category file and process the required tidy function.To create a file in the current directory in the terminal type:
notepad cleanup.csv
As the file will not exist at this stage, it will request that you create a new file, so just hit “Yes”.
We will now enter the following details, in the format “category,filetype1,filetype2,filetype3,…,etc” 1 line for each category thus:
Therefore, for the SHORTCUTS folder, all the *.lnk files will be moved to that folder. For the IMAGES folder, all files with .jpg,.png and .svg will be moved to the IMAGES folder. Finally, we move all .txt,.docx,.doc and *.pdf files to the DOCUMENTS folder. In this way, we are organising the files into the correct directories.
Once we have created the CSV file, we are ready to write the script. We will call the script, cleanup.sh. By the way, this script will have minimal validation, so you must make sure the CSV file is in the correct format, or it will not work! All we will do in this script is to check that files and folders exist, as a minimal check.
You can edit the script in the terminal if you know Unix type editors, such as vi, or you can simply use notepad:
The action of the script is to set the name of the CSV file we are reading in the script, and the location of the desktop we want to clean up. We will set variables to the cleanup CSV file, and the desktop location. In my case, this is as follows. You will need to replace the desktop location for your own. Please note, that anything between “<” and “>” is a placeholder where you need to input your specific information.
So. the first 2 lines in the script are:
The full script can be seen below. Please read the comments if you wish to understand the commands, and if you are not sure of a command, try “man
Make the cleanup script executable and run it
To run the script from the home command line, you will need to make it executable with the following command: To run the script, you will need to type the following, as it is in the current directory. Here is how my desktop looked before and after the script is run. You can see that the folders containing the moved files have now been created, and the desktop is much less cluttered: Before: After: and the SHORTCUTS directory, with all the shortcuts having moved from the desktop.
The Full Desktop Tidy Linux Script for Windows
Please note the comments prefixed by “#” in the script, as they explain how the script works. # Set variables for the location of the local desktop or any directory you wish to clean up, and, the name of the CSV file.
Test to see if the cleanup csv file exists, by using a linux “test” command and the flag “-f” for file existence. # If the file does not exist, output an error message and then quit the script.
Now convert the CSV if it has been saved in dos format to Unix format by removing carriage return characters.# Save the output to a temporary file, then rename the temporary file back to the original name.
Now, go through the CSV file line by line, and store the name of the first argument, which is the# category/directory name, upon which, all remaining arguments are the file types which will be # placed into these directories.
How to Use AutoHotKey ScriptsHow to Use the xmessage App Inside of Shell ScriptsBatch Scripts on Windows 10: Making Life EasierFix: Execution of scripts is disabled on this system