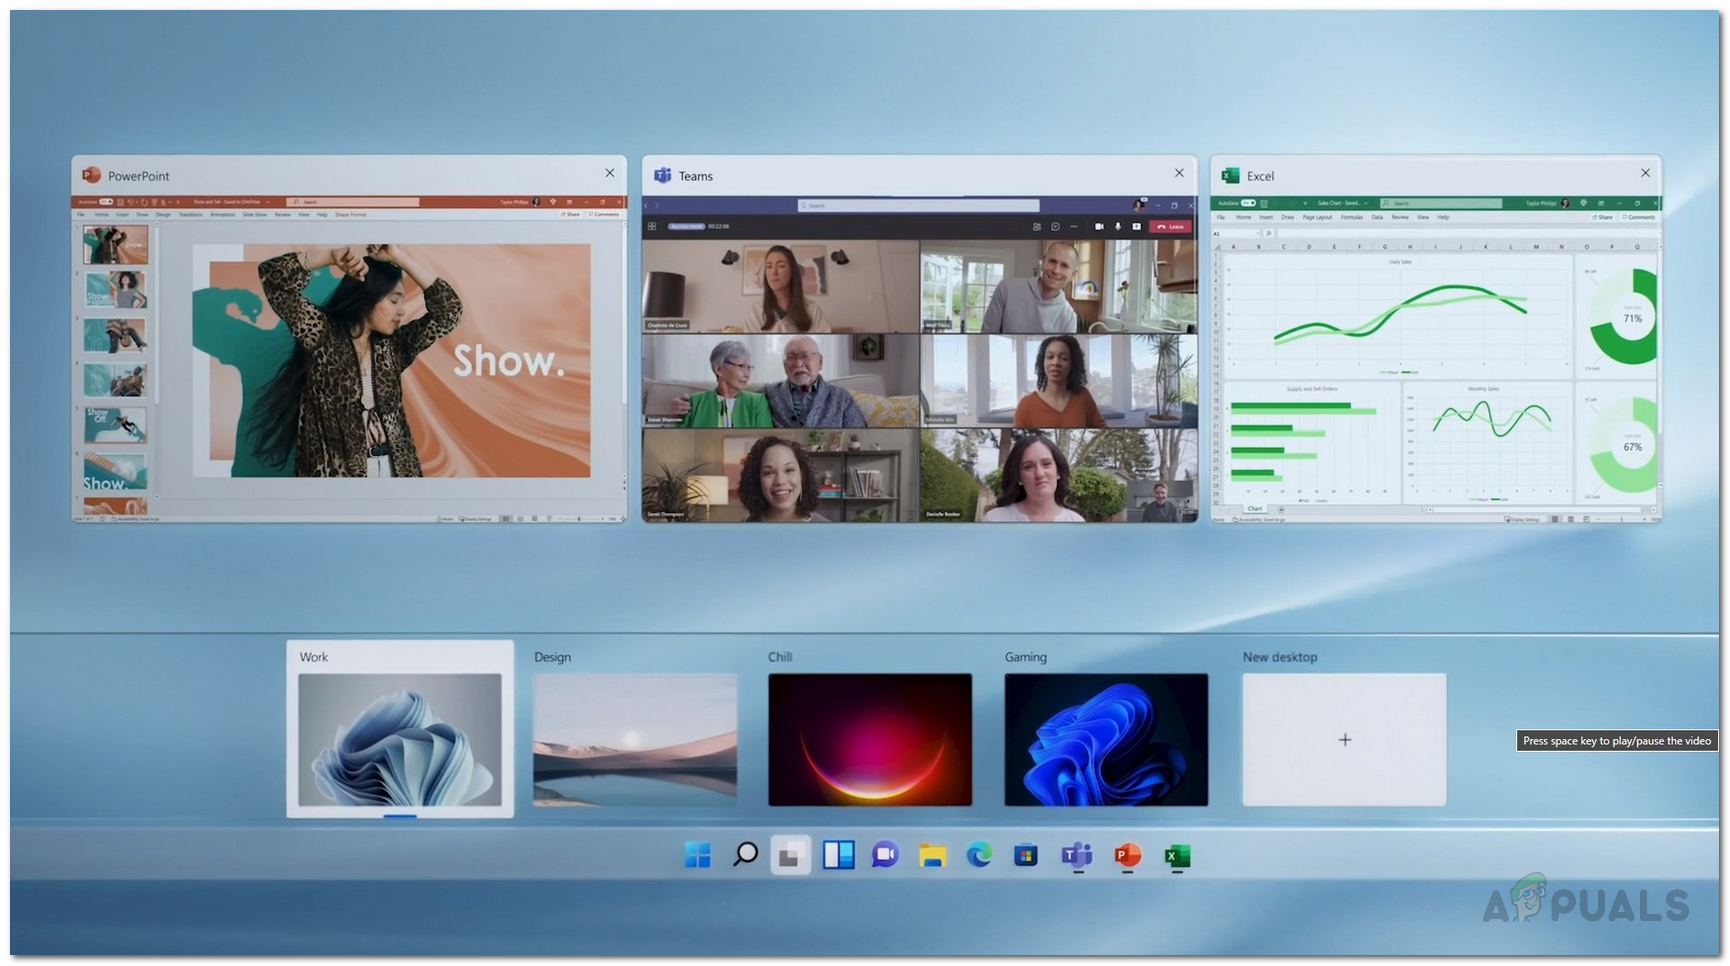
The main idea behind Virtual Desktops is the fact that you will be able to separate different workspaces. This means that you can have multiple desktops running in the background where you can have work related stuff on one desktop while your more personal and entertainment stuff can be on another – separated for the sake of cluttering. This is especially great for people that are restricted to a single monitor as it allows you to have a clutter-free setup and gives you more control over organizing your activities. In this article, we will be taking you through the process of creating Virtual Desktops in Windows 11 and showing you how you can manage or use multiple desktops on your Windows 11 machine. So, without further ado, let us get started.
Create a Virtual Desktop
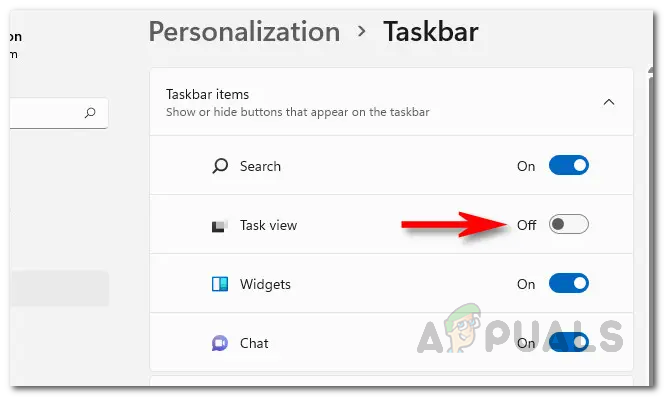
The first thing that you need to know is, of course, how to create a Virtual Desktop. This can be achieved through the Task View button on your taskbar which looks like two squares. If you don’t see it, then that means that you have turned it off and will need to enable it. To enable the Task View button, press the Windows key + I to open up the Settings window. In the settings window, make your way to Personalization > Taskbar and make sure Task View is turned on. Click on the Task View button and it will show you all the virtual desktops that you have running right now. You can also, alternatively, use the keyboard shortcut i.e. Windows key + Tab to switch to the Task View. To create a new desktop, click on the New desktop option. A new desktop will be created for you that will be empty and all your previous programs and apps will be running on the previous desktop.
View Your Desktops
Once you have started creating multiple desktops on Windows 11, you can easily view them whenever you want should you choose to switch between them. This can be done either via the shortcut keys i.e. Windows key + Tab or you can simply click the Task View button on your taskbar.
Rename Your Virtual Desktops
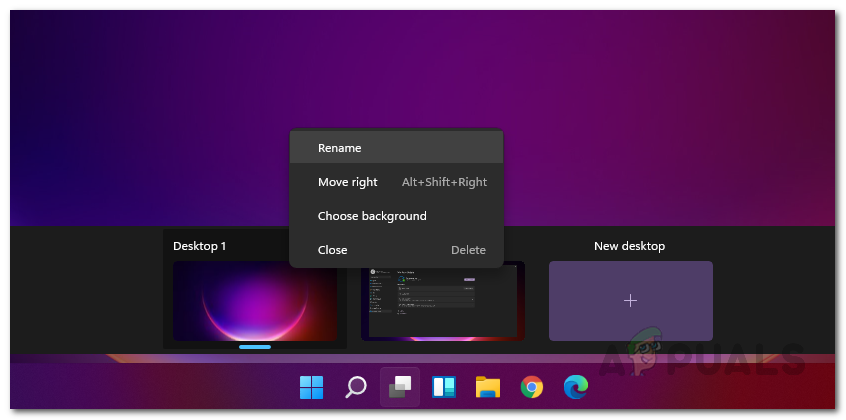
Windows 11 allows you to rename your virtual desktops as you want so you can easily keep track of them and be easily able to switch to the right desktop if you have multiple desktops running. To rename your virtual desktops, follow the instructions down below:
Change Order of Virtual Desktops
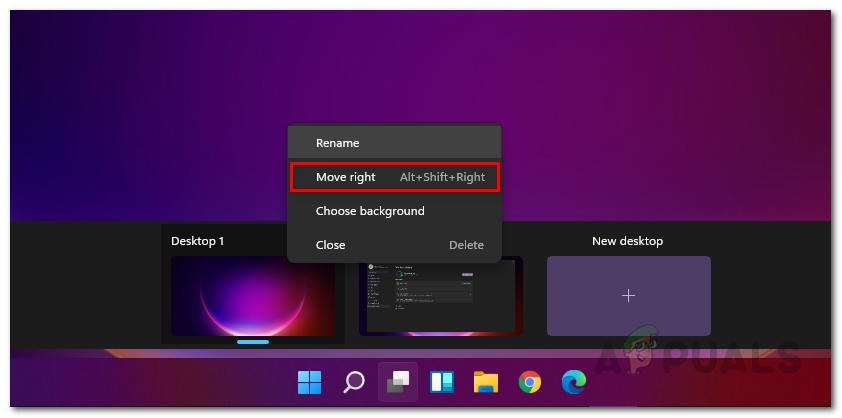
In addition to renaming your virtual desktops, you are also able to change the order of your virtual desktops. This gives you the ability of organizing your virtual desktops and keeping everything on track. If you have multiple desktops running, it may become hard to differentiate between them, so this is one way you can solve the issue. Additionally, you can also change the background photos but that’s something we will go through down below. This can be achieved through some easy keyboard shortcuts. First of all, open up the Task View by pressing Windows key + Tab. Now, to switch between the virtual desktops, use the Windows + Ctrl + Left/Right Arrow shortcut key. Once you have your required virtual desktop chosen, you can move it left or right by using the Alt + Shift + Left/Right Arrow keys. You can also make use of the drag and drop feature. Instead of using the shortcut keys, in the Task View, click on a virtual desktop and drag it to your desired position. Dragging and dropping the virtual desktops in this case definitely seems like the easier approach here.
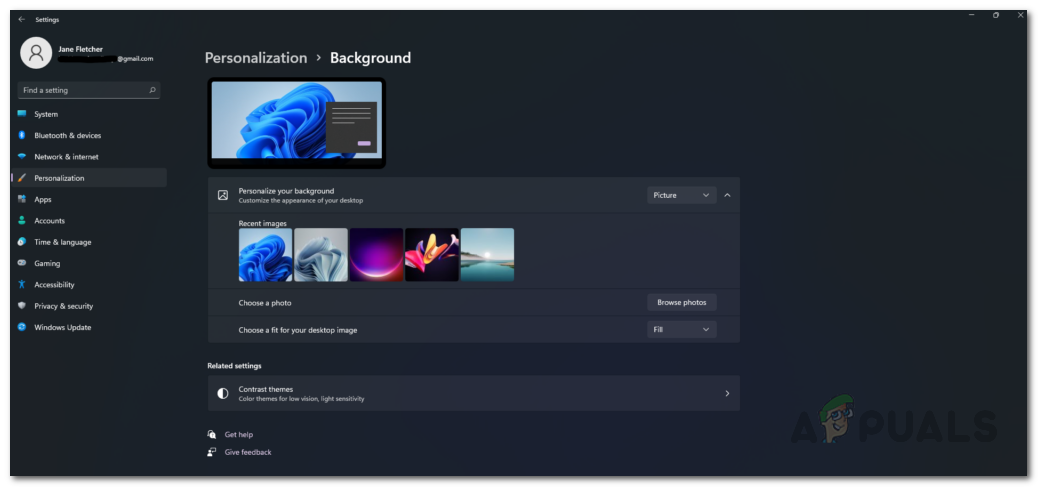
Change Virtual Desktops Backgrounds
Finally, to make the experience even better and cluster-free even when you have multiple desktops running, Windows 11 lets you change the background of each of the virtual desktops that you are running. This makes it even easier to be able to quickly spot the correct desktop that you want to switch to and thus, is super helpful as it leads to efficient multitasking. To change the backgrounds of your virtual desktops, follow the instructions down below:
Move Apps Between Virtual Desktops
Another great functionality of the virtual desktops is how easy it is to drag apps to a different desktop. The idea is pretty simple, if you have an app open and you wish to move it to a different desktop, you can do so pretty easily. This means you don’t have to close the app in one of the virtual desktops and then open it somewhere, but rather the solution is a simple drag and drop. Therefore, just open up the Task View so that you are able to see all of your virtual desktops. There, just drag and drop the apps that you want to move from your current desktop to a different desktop. It is important to note that if you close a desktop that has apps running, they will be automatically removed from one desktop to the other.