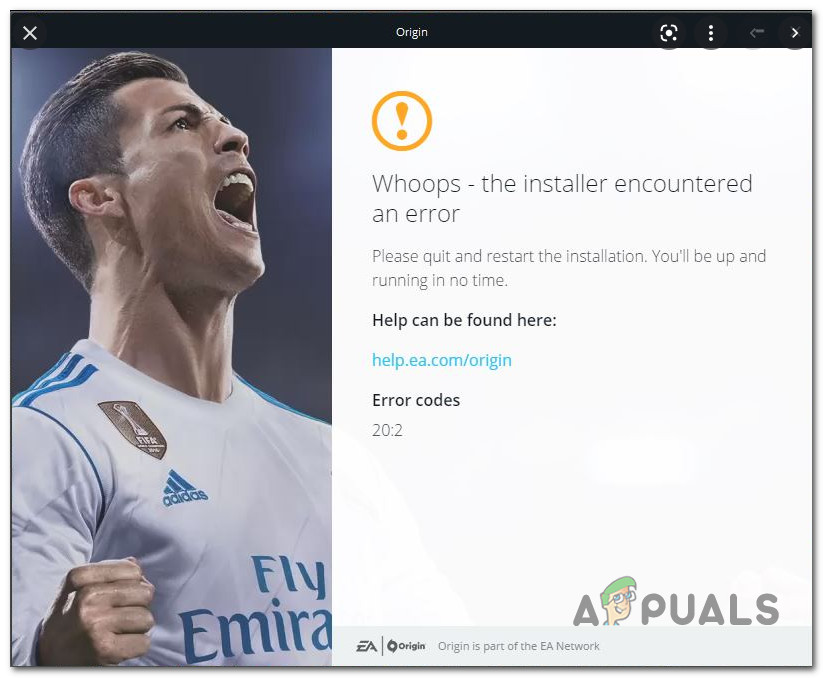
But upon following the error instructions, nothing has changed as the same error code returns promptly. This problem is confirmed to occur on Windows 7, Windows 8.1, Windows 10, and Windows 11. Upon investigating this issue thoroughly, we actually discovered that there are several different underlying scenarios that might ultimately be responsible for this particular error code. Here’s a short list of scenarios where you can expect to encounter this type of error: Now that we went over every potential cause of this error, let’s move over to the actual fixes. Follow the methods below to troubleshoot and fix the Error Code 20:2 Origin issue.
Run the origin installer with admin rights
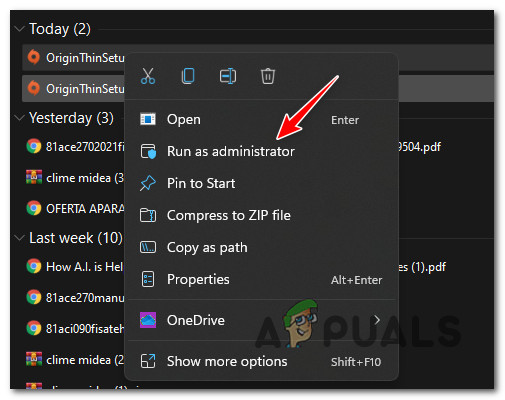
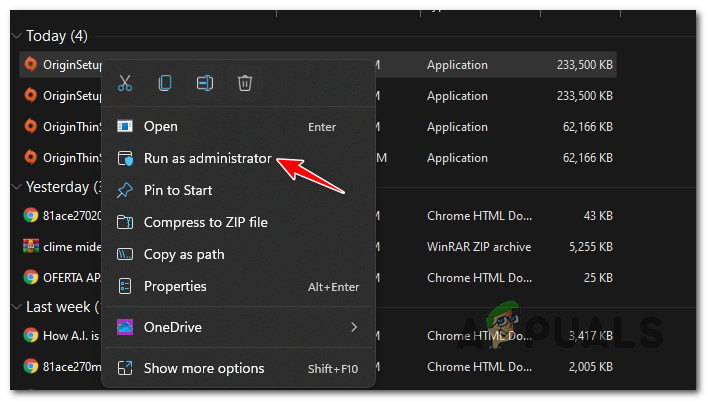
Before you try any of the other fixes below, you should start this troubleshooting guide by ensuring that the Origin installer has admin rights. This is mainly an issue with Windows 10 users that are using aggressive User Account Control (UAC) settings. If your operating system denies admin rights to the Origin installer, you can expect the installation to fail with the 20:2 error code. Follow the instructions below to download the latest Origin installer version and run it with admin rights: If the installation of Origin fails with the same 20:2 error, move down to the next potential fix below.
Free up enough disk space
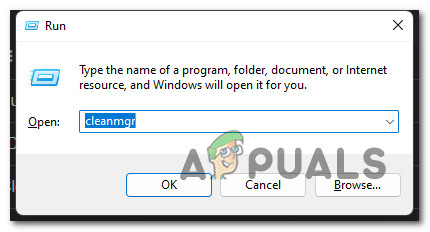
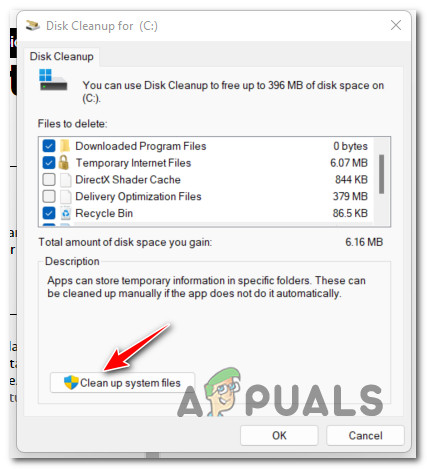
When troubleshooting this particular issue, you should start by making sure you have sufficient disk space on the system partition. Note: Even if you plan on installing the game on a secondary partition, Origin will refuse to install if your system partition drive is filled to the brim. Other affected users are recommending at least 10 GB of free space, but our recommendation is to keep always keep a buffer of at least 30 GB of free space on your system partition (most likely the C: drive) at all times. When it comes to freeing up space, you can either do it manually or automatically (via the Windows Cleanup Utility). We recommended the automated approach since it’s much easier and will save you from mistakenly deleting files that you shouldn’t delete. If you have large games or applications that you’re no longer using installed on the Windows partition, start by uninstalling those first. But if that’s not enough, follow the instructions below for a step by step guide on using the Disk Cleanup utility to free up system space: If you still end up seeing the 20:2 error code during the installation of the Origin game launcher, move down to the next potential fix.
Install Origin in Safe Mode with Networking
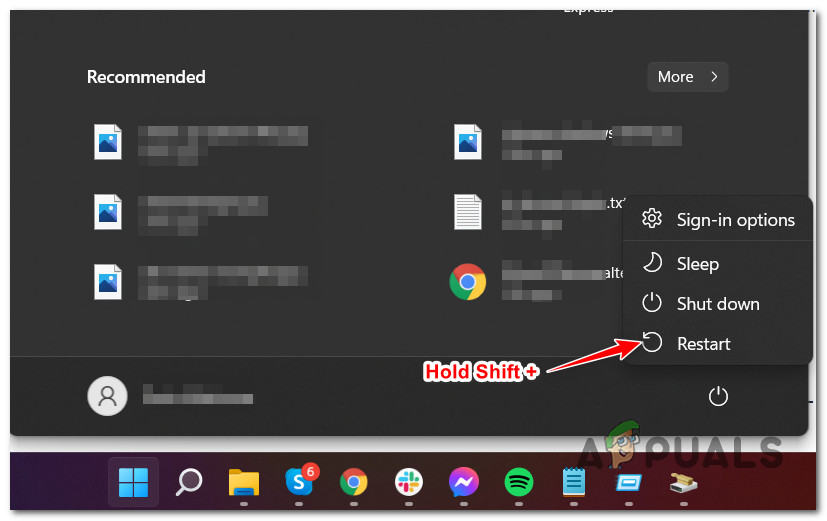
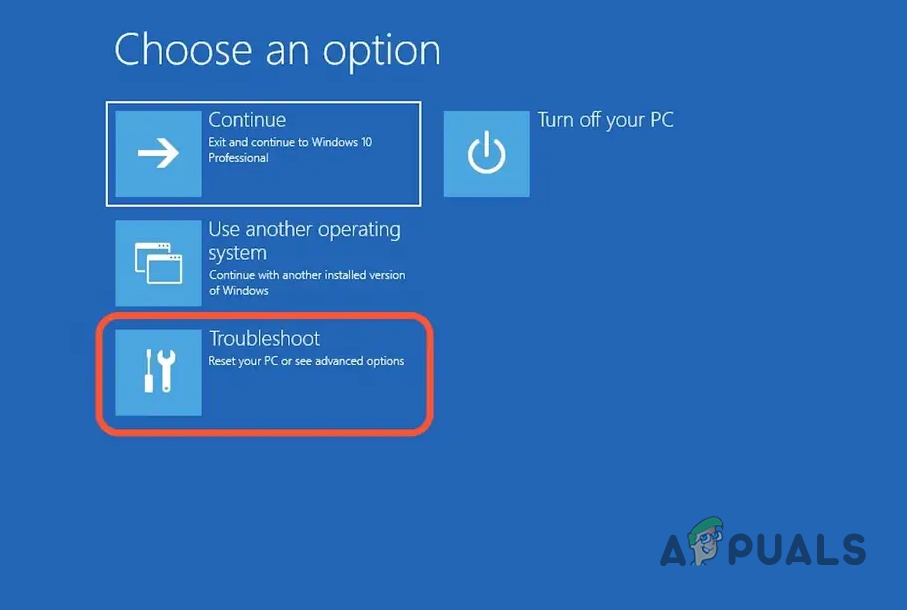
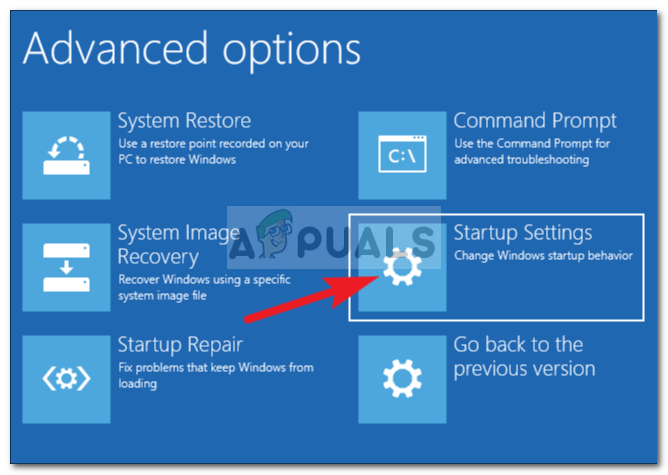
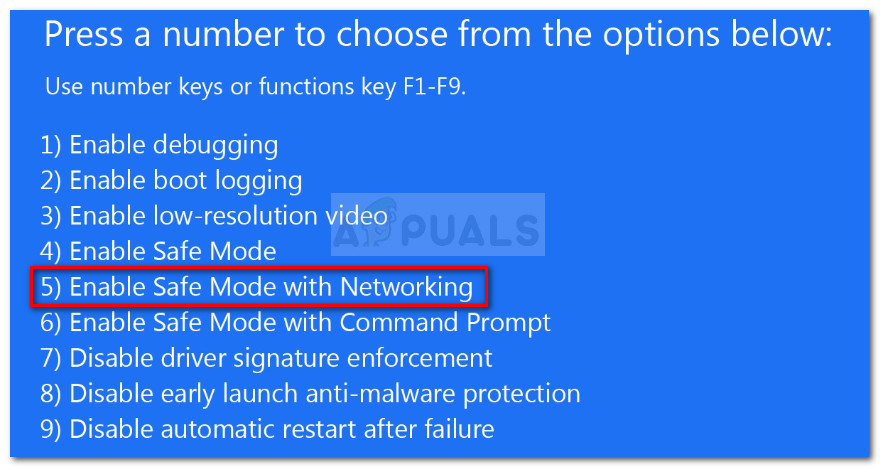
As it turns out, there are a lot of different 3rd party processes that might interfere with the installation of Origin, especially if you’re using Windows 11. You can bypass most of these scenarios by forcing your PC to boot in Safe Mode with Networking. Info: Booting in safe mode will force your system to boot up with only the bare minimum startup items, and processes that are necessary for your operating system. This will ensure that nothing is conflicting with the Origin installation. Follow the instructions below for a step-by-step guide on installing Origin after booting in Safe Mode with Networking: Note: The instructions below will work on every recent Windows version including Windows 7, Windows 8.1, Windows 10, and Windows 11. If the installation from Safe Mode results in the same 20:2 error code, move down to the next potential fix below.
Disable or uninstall 3rd party antivirus/firewall (if applicable)
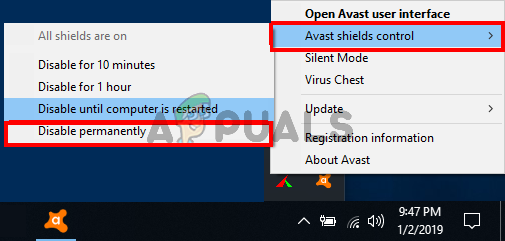
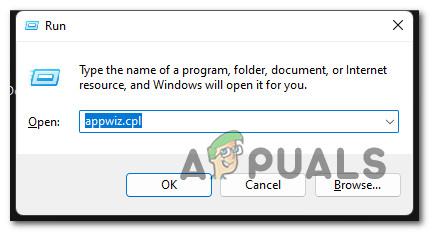
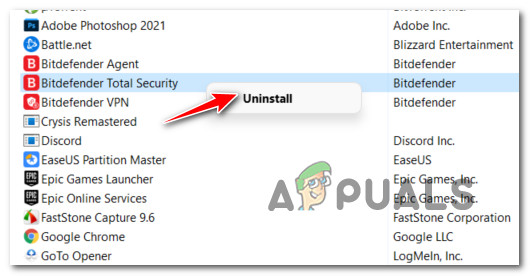
Another fairly popular potential culprit that might contribute to the apparition of the 20:2 error when installing Origin is an overprotective antivirus or firewall suite. This problem is mostly reported with security suites that have a firewall component attached to them. In most cases, the 3rd party firewall ends up blocking the connection between your PC and the Origin servers. In certain situations (if you’re using an Antivirus without a firewall component), you should be able to avoid this type of conflict by temporarily disabling the real-time protection. You can do this by accessing the Settings menu of your AV or by right-clicking on the taskbar icon and disabling the active shields. If this is not applicable in your case or you’re using a 3rd party security suite with a firewall component, chances are the same security rules that are blocking Origin’s installation will remain in place even with the active shields disabled. In this case, the only option to eliminate the conflict is to temporarily uninstall the overprotective security suite (until after you manage to install Origin). Follow the instructions below for steps on doing this: If the problem is still not fixed, move down to the next potential fix below.
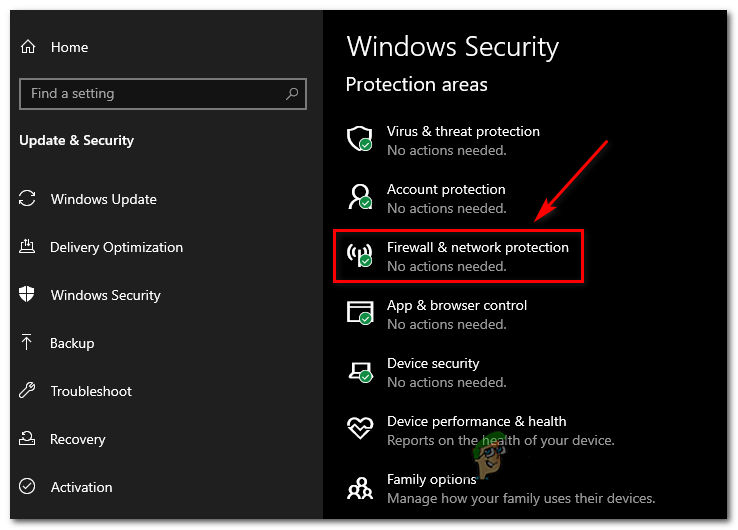
Temporarily Disable Windows Defender and Windows Firewall (if applicable)
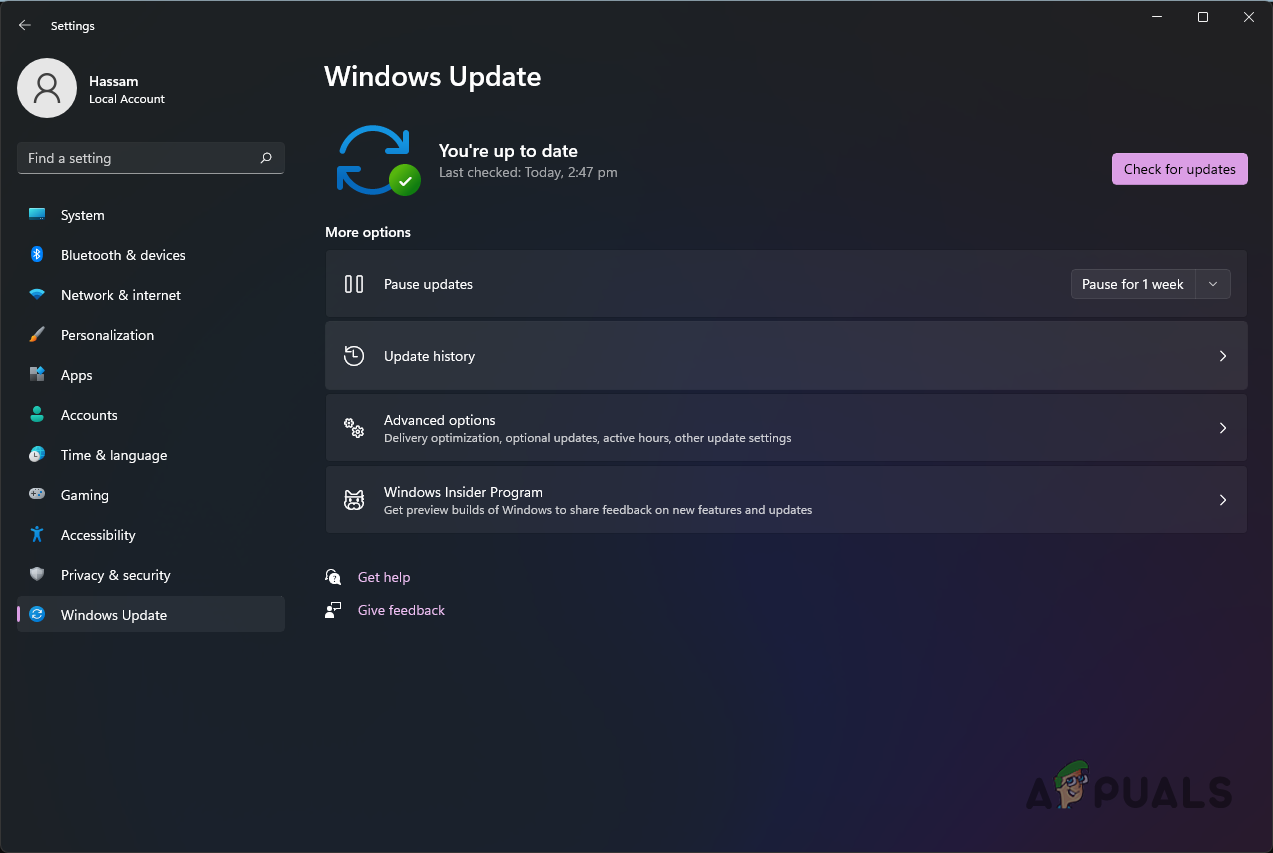
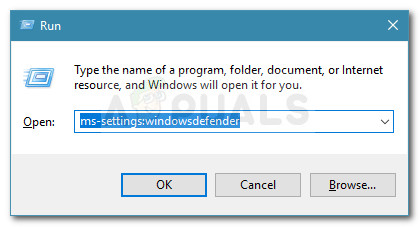
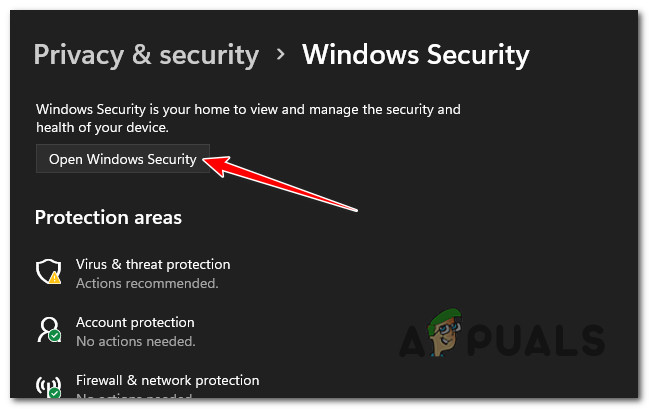
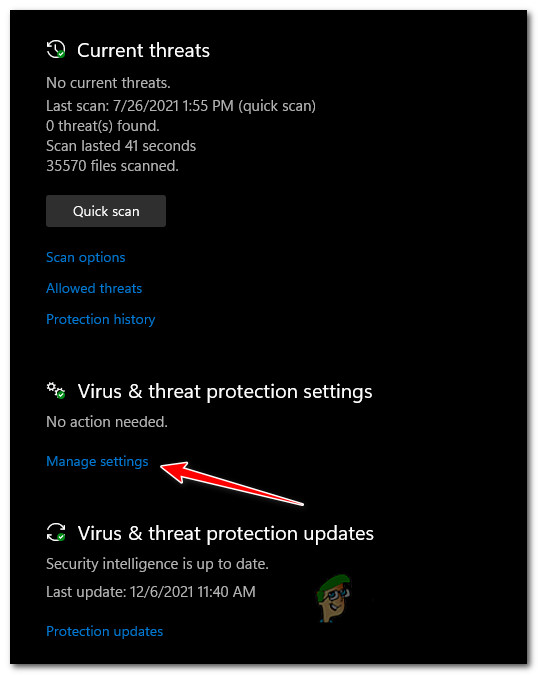
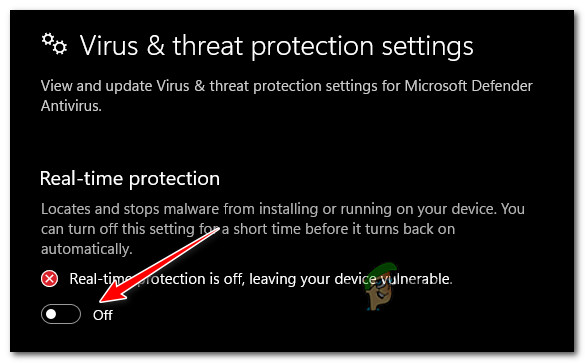
If you’re using Windows Security (Windows Defender + Windows Firewall) and you choose not to update the security signatures (for whatever reason), chances are your active security suite will treat Origin as a potential security threat. In this case, the easiest solution would be to simply install every Virus Signature update via Windows Update. If this is not an option (you can’t update the virus signatures for whatever reason), the only solution to eliminate this type of interference is to disable the real-time protection of the Windows Firewall:
Clear Origin’s cache from the previous installation
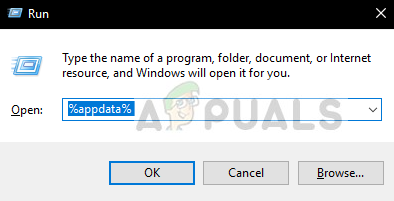
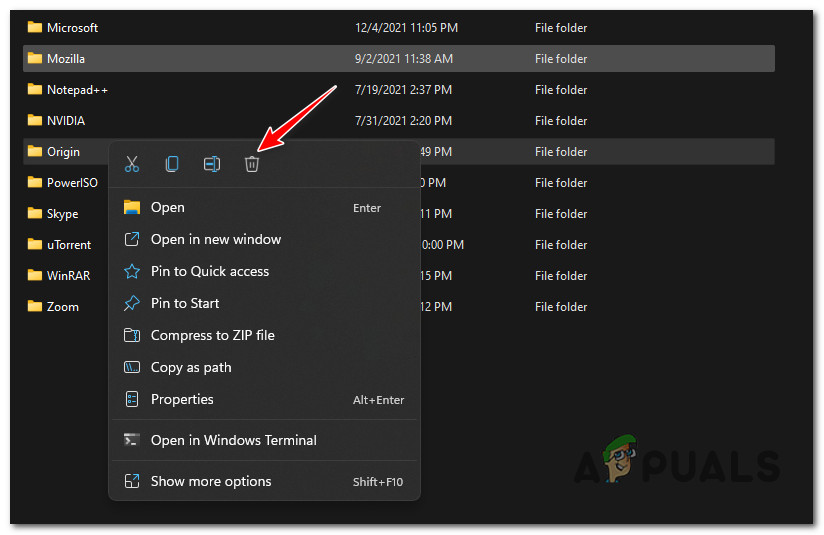
If you had Origin installed on this PC and you get the error 20:2 now when attempting to reinstall the client, chances are you’re experiencing this problem due to some remnant files left behind by the previous installation. In the vast majority of instances that we’ve researched, this type of problem will originate from the cache folder of Origin (located inside AppData). Several affected users that we’re also dealing with this problem have confirmed that the issue was finally fixed once they accessed the AppData folder and straight-up deleted the Origin cache folder. Upon doing this and running the setup once again, the installation was completed successfully. Follow the instructions below for specific instructions on how to do this: If the problem is still not fixed, move down to the next potential fix below.
Install via the Non Thin Client Origin Installer
If you’ve come this far without a viable fix, you should also troubleshoot against a potential unpacking issue. This problem seems to only affect the more lightweight Origin installation clients. Several affected users have reported that they managed to bypass the 20:2 error completely by installing Origin via the non-thin client installer. Note: This version of the origin installer is a larger file that doesn’t need to be unpacked by Windows Installer when you install it. Follow the instructions below to install the Origin launcher via the non-thin client installer:
Uninstall conflicting VPN software (if applicable)
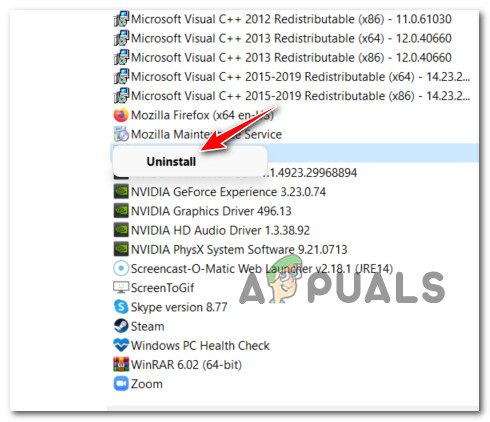
If you’re using VPN software, a tunneling app, or a ping booster, it’s very likely that the Origin installer is rejecting the connection since it detects a filtered connection. Unfortunately for you (if this scenario is applicable), there is no proper fix for this scenario. All you can do if you’re affected by this issue is to temporarily uninstall the conflicting VPN software, install Origin, then reinstall the Origin launcher once again (to avoid the 20:2) error. This is not an ideal fix, but it’s a method that a lot of affected users have found to be effective. Follow the instructions below to uninstall the conflicting VPN software:
Origin Adds The Surge 2 & The Sinking City To Its Origin Access Premier…Fix: Unable to install Origin Code 10.0 on Windows 10Fix: Origin won’t open or respond after launchHow to Fix Origin won’t go Online on Windows?