I highly recommend people to carry out repairs themselves as it keeps them busy and creates additional skills that can be utilized to help your family members, neighbors, and elders. BUT before you begin; check if your iPhone is charging and if not, make sure that it’s the fault with the dock connector and not with the USB cable or the charger. You can connect your phone with a different USB cable to a computer or another USB adapter to check. Once you’ve confirmed this; proceed with the steps below:
Steps to replace iPhone 5/5s/5c Charging Port or Dock Connector
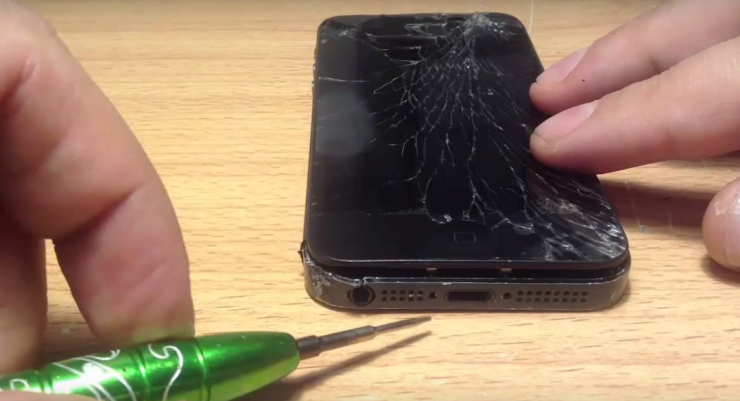
a) Use the pentalobe screw driver to open the screws from the bottom of the phone.
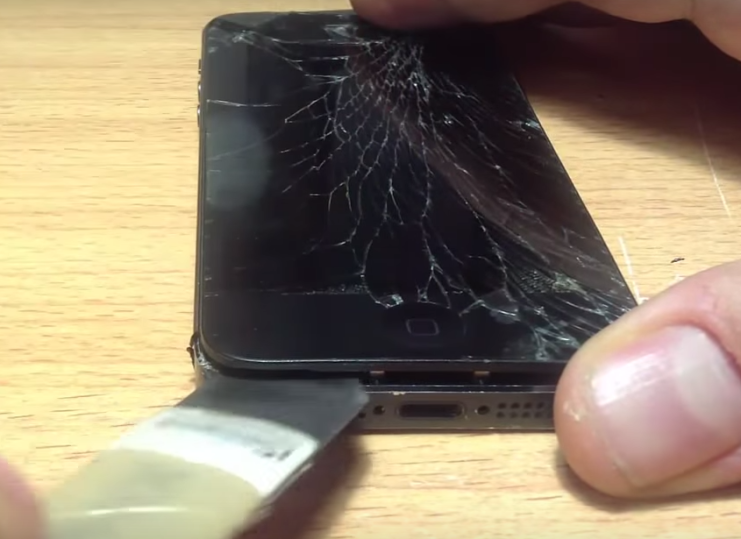
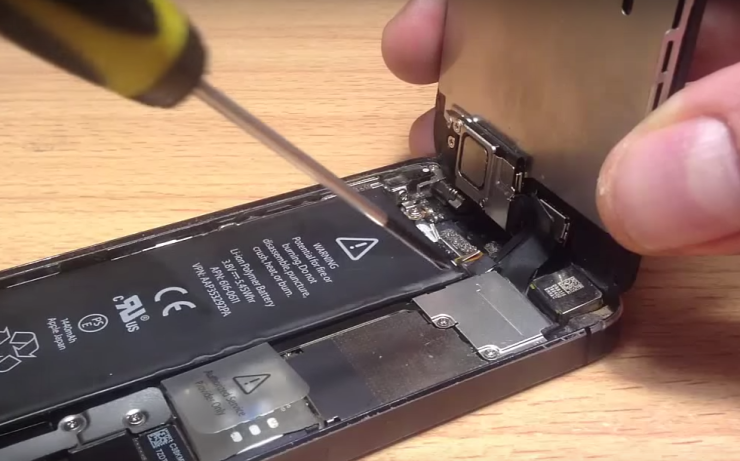
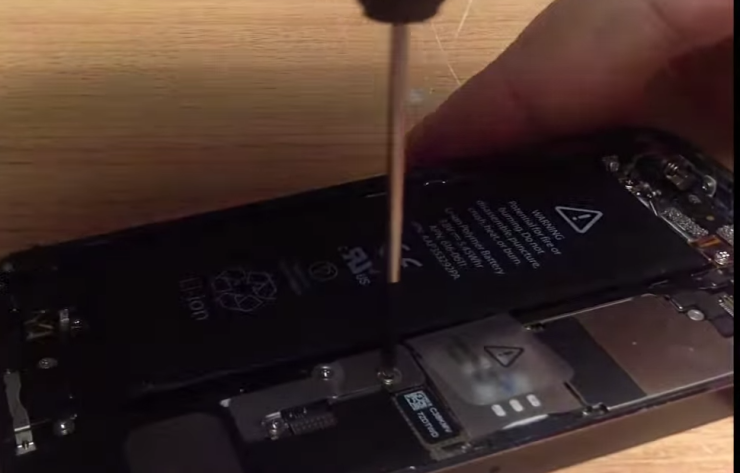
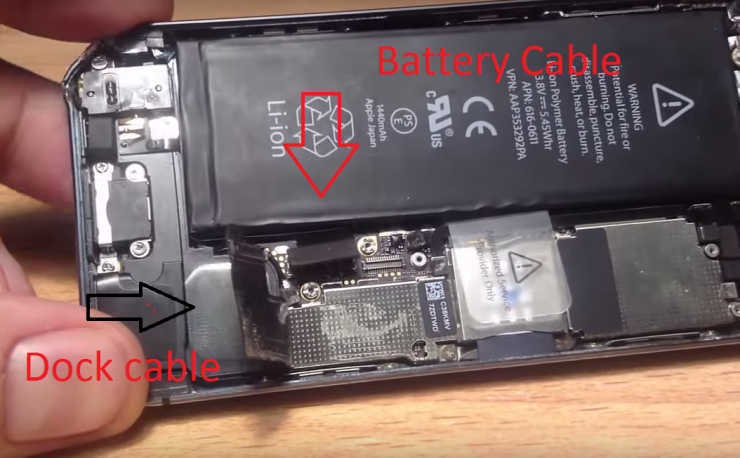
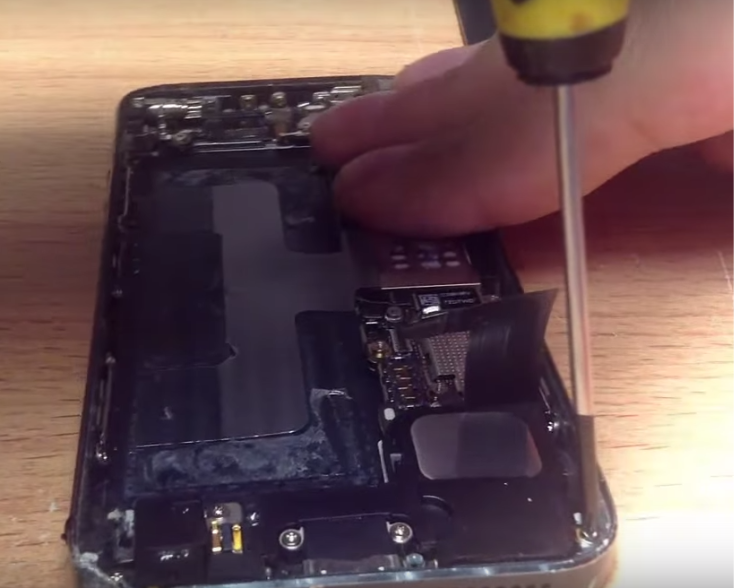
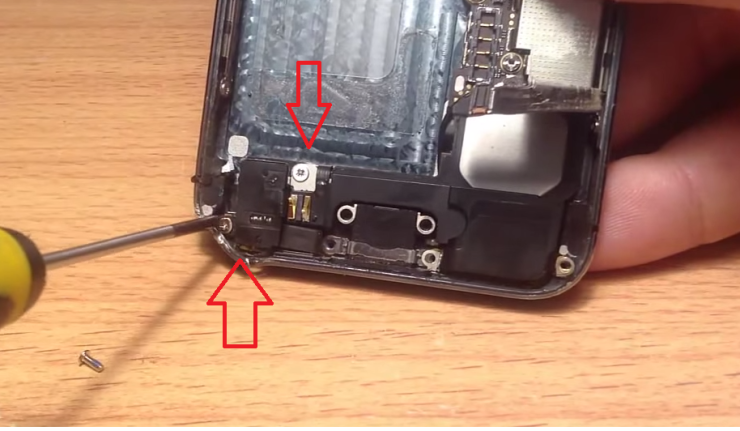
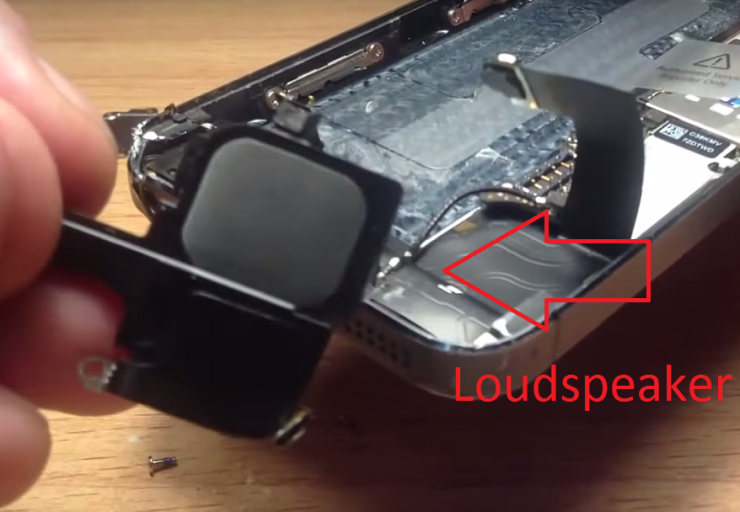
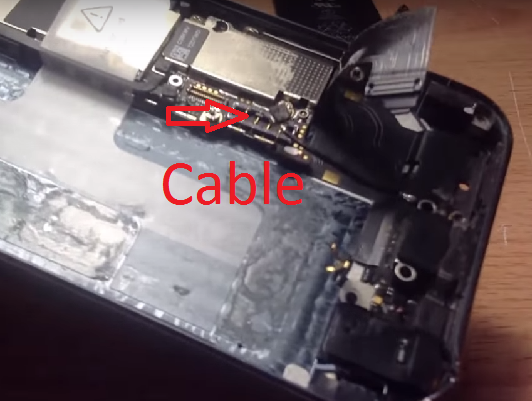
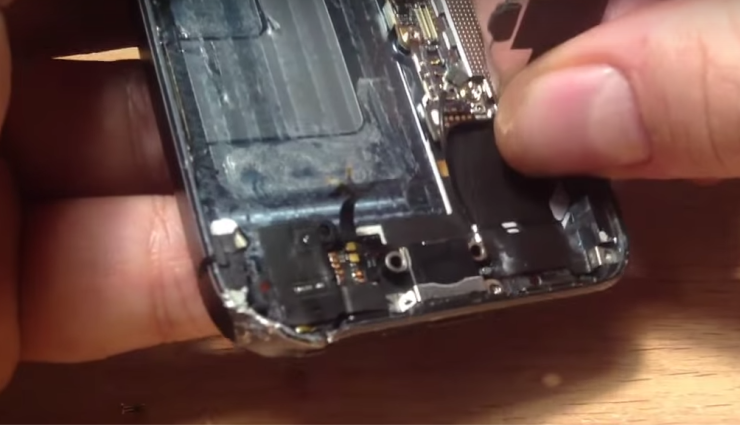
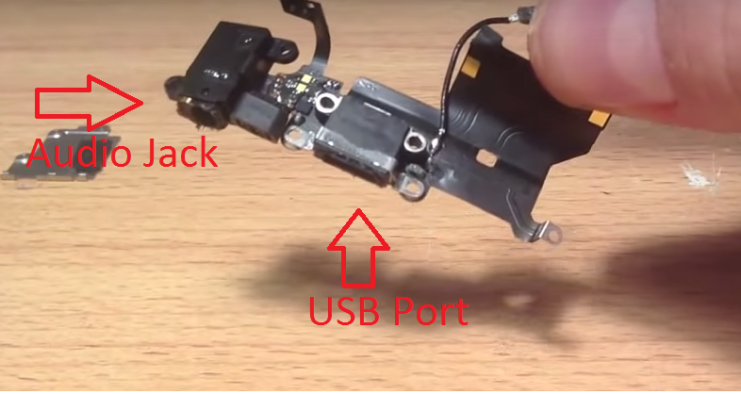
b) Upon loosing up the screws, in between the screen and the actual frame insert something sharp and pull up to remove the screen from the frame. c) Don’t use force or else the cables attaching your motherboard and the screen will be damaged. To remove the cables, there is a small metal frame on top of the cables, loose the screws to release. d) Now put a sharp knife below the cable or pry tool and gently pop it out one by one, there will be a total of three cables. Pop them out. After removing the cables, put the screen aside, you don’t have to deal with your screen anymore. e) Now your work is at the southern part of the device, remove the screws off the metal plate at bottom right of your device. f) Next up, you will see two cables one attaching to the dock connector and the other one connecting to the battery. Put something sharp or pry tool between the cables and gently disconnect them one by one. g) Now you can pull out your battery to make some room or just leave it like that, it doesn’t matter. Now take out the screws from the bottom of the phone one-by-one. h) When you reach the last two screws, this is where it gets tricky. The last two screws are sitting upon a cable connecting your audio jack. Gently remove them. i) After unscrewing, the cable will pop out on its own, if not then it is stuck like a sticker at top of the audio cable, use tweezers to pull it out. j) Next up, you have to disconnect the actual loudspeaker. Loudspeaker goes a bit under the logic board. So, gently lift it up a bit and jiggle it out. Now put your loudspeaker aside. k) Now that you have removed the speaker. There is a small cable besides the dock-cable. Use hands or tweezers to pull it out. l) Now move over, you have to disassemble the dock connector from the device. Grab the dock-connector cable and peel it off. In case it is stuck use a blow dryer with some heat it will automatically pop out. m) Now you have successfully taken out the dock-connector, the USB port and the audio jack is connected together on the dock connector. n) Next step, you have to replace the dock connector. Now you can replace the dock connector; the steps are simple and you need to do it in the reverse. Go through the steps again to see how you unscrewed-then re-screw!
How to Perform a Port Scan on your Network using Port ScannerFix: “Liquid Detected In Lightning Connector” Error on iPhone?Fix: Roomba Charging Error 5 (Charging System isn’t Working Correctly)How to Fix Nintendo Switch Dock not Working
