Here is how to sort it out.
Method 1: Copy the OLD Library
Power your PC on. After it boots don’t open any other programs or folders. Open the original iTunes folder (should be in My Music) and copy the contents (all of them). Go back to the Music folder, and create a new folder called iTunes 2. Paste the contents of the library in this folder. Press and hold the shift key and then double click on the iTunes program to launch it. Do not let go of the shift key, even as the iTunes interface prepares to come on. On the window that appears, you will be asked to either create a library or choose one. Select “choose”. On the browser, navigate to the place where your library file is located (usually at “C:\Users<User>\Music\iTunes\iTunes Library.itl”) and click on it, this should be from the new iTunes folder you created. Click OK. That’s it! You can now enjoy your iTunes.
Method 2: Exporting files
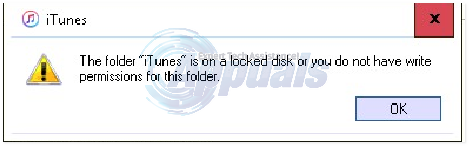
In the computer system there are certain folders meant only to be accessed by administrators. When you encounter the error “The folder “iTunes” is on a locked disk or you do not have write permission for this folder” take a moment and do a mini-checklist. Your system settings may just have been tampered with. First, ensure that you have properly and completely installed the iTunes software on your PC. If you are uncertain about this, it would be a good idea to uninstall and then install a fresh copy of iTunes software. If the first installation was ok, there is no need for a reinstallation process. Next, right click on the iTunes program installer and with your cursor select “Run as Administrator”. Follow all the prompts correctly while you factor in your personal preferences (such as destination folders, desktop shortcuts, etc.). Make sure that the installation completes successfully and if need be; restart your computer. If at this point you still cannot play iTunes music files and keep getting the “The folder “iTunes” is on a locked disk or you do not have write permission for this folder” error, keenly try out the following steps. Export the “iTunes 4 (or the one with a number) Music Library” and “iTunes Music Library.xml” folder and file from your Music/iTunes folder to the computer desktop. Delete the original items from the folder so that you are left only with a folder called “iTunes Music”. Now deploy iTunes. When the window opens, you will realize that it is empty. Without any other action, exit iTunes. You will notice that by itself it has created fresh empty “iTunes 4 Music Library” and “iTunes Music Library.xml” files. Delete the newly created files and lift the ones that you had earlier exported to the desktop back into your Music/iTunes folder. Start iTunes once again. Now everything runs smoothly. If by rare chance the “The folder “iTunes” is on a locked disk or you do not have write permission for this folder” error/warning still appears that would be the time to contact the Apple team for further analysis and help.
Method 3: Changing Ownership & Permission
WARNING: While this method has worked for the majority of users with a similar issue, it has also failed to eradicate the problem in some cases. There is also another simple process that clears the above problem, though its success is hugely dependent on many factors. Needless to say, it is not 100% foolproof but it has worked for some cases. If iTunes had previously been working ok and then suddenly out of the blue you got the warning “The folder “iTunes” is on a locked disk or you do not have write permission for this folder”, try changing ownership of the iTunes folder in Music/iTunes and then reassigning permissions. Changing ownership helps to gain overall rights and privileges to files and folders. To change the ownership of the iTunes folder, right click on it. Choose “Properties” and then navigate to the tab labeled “Security”. On the same window, move downwards and click on the button “Advanced”. Now move to the “Owner” tab and click on the “edit” button. A dialogue will appear and then select “New Owner”, which should be your username. Click OK. At this point, you have created new ownership of the iTunes folder. Now all you need to do is change permissions. Yet again on the iTunes folder under Music/iTunes, right click and go to properties. On the security tab, click on “edit”. Select the newly created owner profile. Among the checkboxes that appear, tick the “Full Control” checkbox. The rest of the checkboxes will automatically get checked as well. Click ok and close the window. Repeat this method for any iTunes folder or file that is not located in the folder you just assigned ownership and permission.
Method 4: Adding iTunes as Exception to Windows Defender
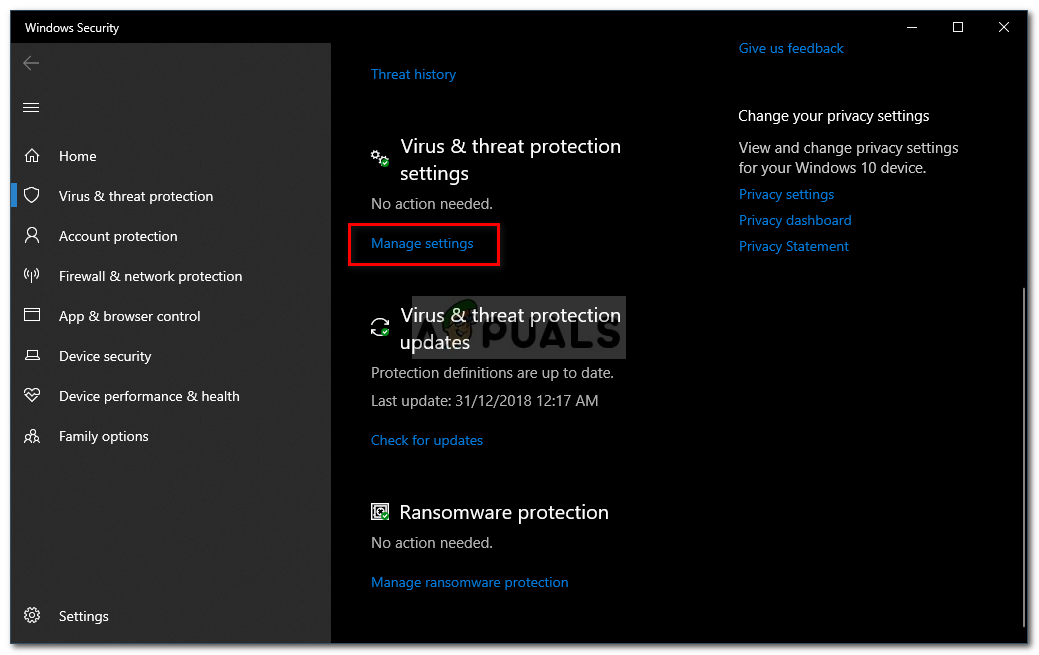
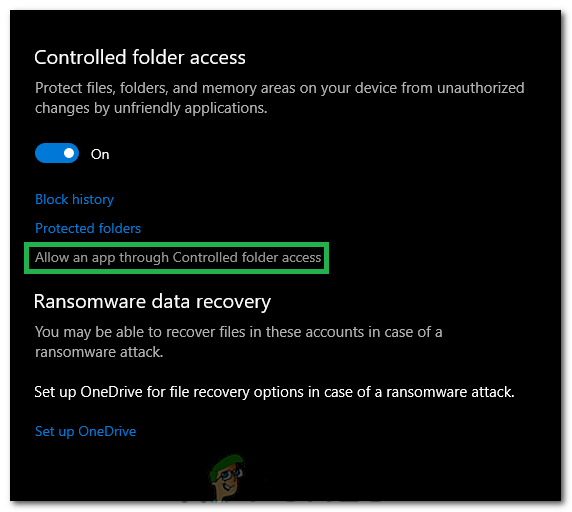
In some cases, the Windows Defender might be preventing the user from being able to run iTunes properly. Therefore, in this step, we will be adding it as an exception. In order to do that:
Fix: You don’t currently have permission to access this folderHow to Fix ‘The Application-Specific Permission Settings do not Grant Local…Fix: You do not have Permission to View this Object’s Security PropertiesFix: You might not have Permission to Use this Network Resource