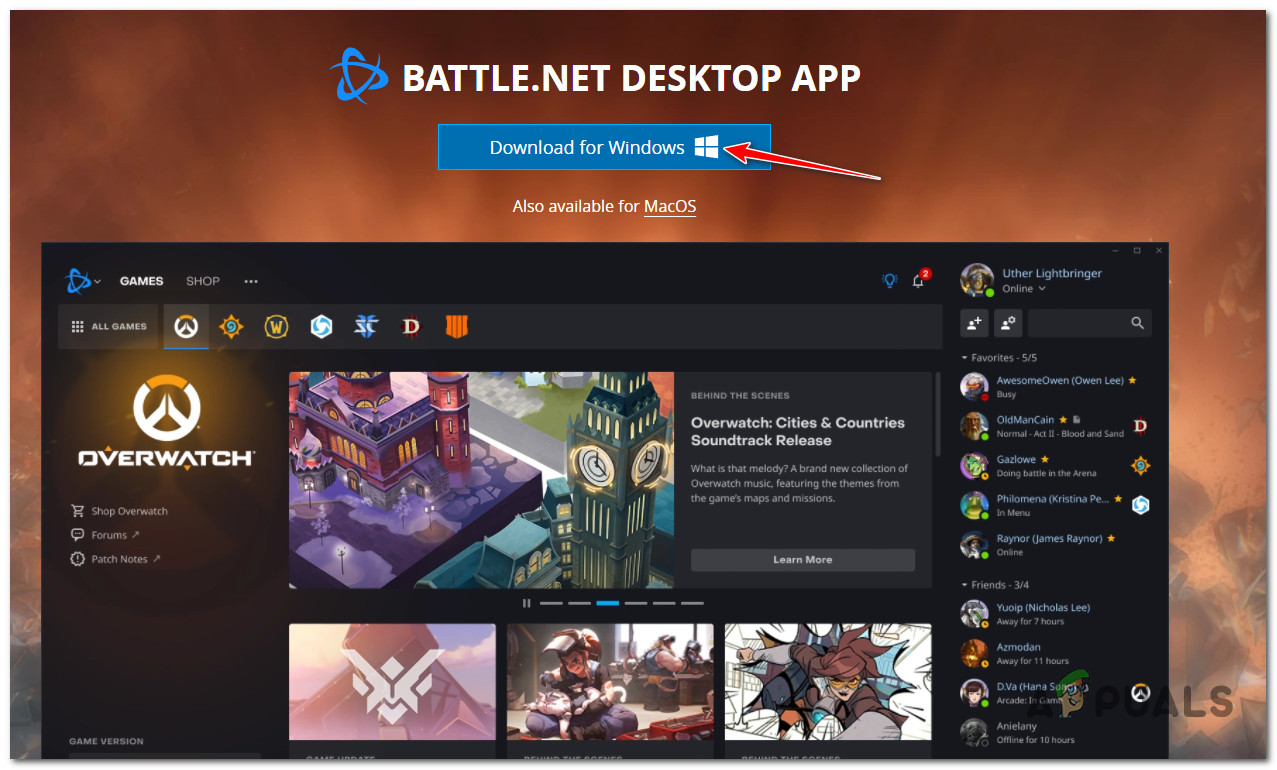
The installer freezes like this and every attempt at redoing the installation ends with the same result. This problem is much more frequent on Windows 10 and Windows 11, but it’s also reported on Windows 7. We’ve investigated this issue and we discovered several different underlying causes that are most likely responsible for this problem: Now that we went over every potential cause that might prevent it from installing the game launcher client from Blizzard (Battle.Net0), let’s get to the actual fixing part.
1. Re-do the installation in Clean Boot Mode
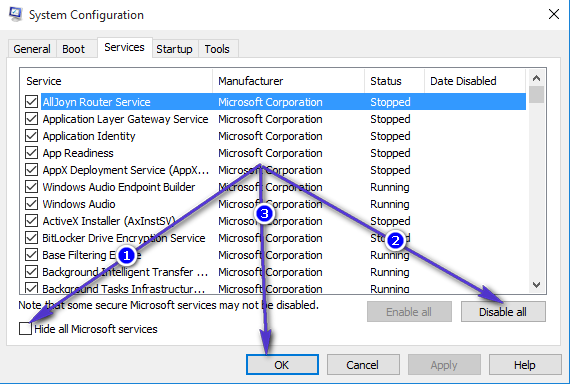
Antivirus suites are not the only 3rd party programs that might ultimately be responsible for your PC’s inability to install Battle.Net. Certain system optimizing tools and even optical burning software are all potential types of programs that might cause this issue. But since there are a lot of potential culprits that might be responsible for this problem, the best course of action would be to go for a clean boot procedure. A clean boot operation will force your Windows to boot up without any type of 3rd party interference (only required startup services and processes will be permitted to run). If the problem no longer occurs while you run your PC in a clean boot state, it’s clear that a 3rd party item caused the installation problem with Blizzard’s launcher. On the other hand, if achieving a clean boot state doesn’t fix the issue, move down to the next potential fix below.
2. Delete the Battle.Net and Blizzard Entertainment folder
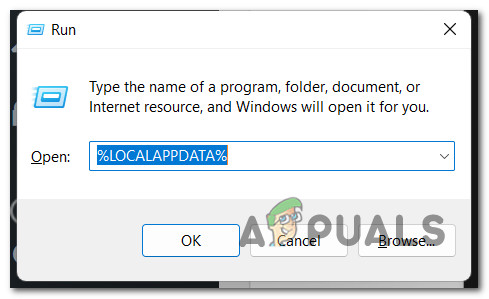
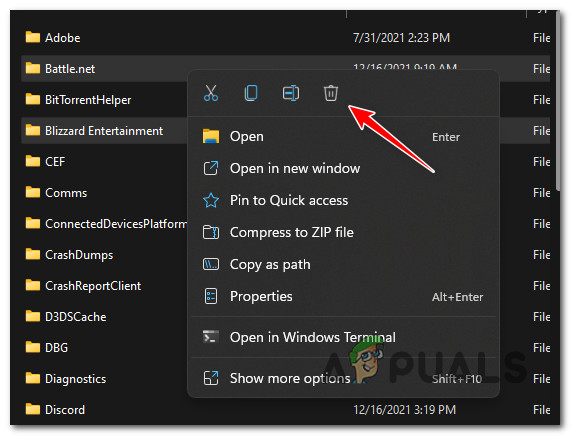
If you previously had the Battle.net launcher installed and you get this error while attempting to install it again, chances are the new installation is being blocked by some remnant files. In case this scenario is applicable, chances are the problem is being caused by a temporary file that is located in one of the various cache folders that Battle.Net uses. Other users that we’re also dealing with this issue have managed to get the issue fixed by accessing the %LOCALAPPDATA% folder and deleting the Battle.net and Blizzard Entertainment folder. If you’re looking for specific instructions on how to do this, here’s what you need to do: If you’re still unable to install Battle.net, move down to the next potential fix below.
3. Reset the WMI Repository
If the first two methods have proven to be ineffective in your case, the next thing you should investigate is a potential interference caused by a repository belonging to the WMI (Windows Management Instrumentation) component. This operation can be deployed from an elevated Command Prompt window and will successfully clear the cache data belonging to this component. Follow the instructions below to reset the WMI Repository on your Windows PC: Note: The steps below will work on every recent Windows version including Windows 7, Windows 8.1, Windows 10, and Windows 11. If the same problem is still occurring, move down to the next method below.
4. Disable Antivirus during installation
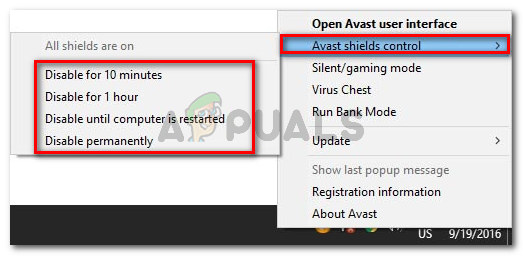
Under certain circumstances, you can also expect to see this error if the Blizzard install agent is unable to obtain admin access because your AV suite ends up blocking the data transfer. If you’re using a 3rd party suite and you’re certain that the application you’re trying to open or install doesn’t pose a security threat, you should be able to resolve the issue by disabling the real-time protection prior to double-clicking on the Battle.net installer and retrying the installation. Important: The steps of doing so will be different depending on the 3rd party suite you’re using, but most antivirus programs will allow you to disable the real-time protection from the taskbar menu. Once you manage to disable the real-time protection, reboot your PC and re-do the installation once again. If the problem is still ongoing, you should also try uninstalling the security suite if you’re using a 3rd party solution. Try uninstalling the security program and remove any remnant files that might still enforce the same security rules. In case the same problem is still occurring, move down to the next potential fix below.
5. Power Cycle Router
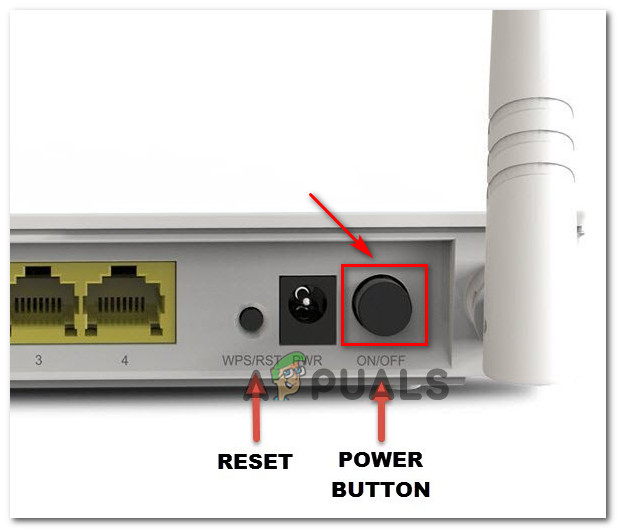
As it’s been confirmed by several Battle.net users, this problem can also be caused by a scenario in which inconsistent DNS and IP data are preventing the installation from taking place. Most affected users that have dealt with this problem have reported that the issue was fixed and they were finally able to install Batlle.net after they rebooted their router or after they performed a router reset. To keep things easy, start simple with a simple reboot. This operation will refresh the IP and DNS that are being used by the PC without overriding any custom settings that you previously established. To perform a simple router reset, simply turn your router off, disconnect it from the power outlet and wait for at least 30 seconds in order to ensure that the power capacitors are completely drained. Next, plug your router back in, wait for Internet access to be re-established and see if you are now able to install the game launcher from Blizzard. If that doesn’t work, the next step is a router reset. You can do this by pressing and holding the dedicated button on the back for at least 10 seconds or until you see the front LEDs flashing at the same time. IMPORTANT: This operation might reset some custom settings that you previously established including custom router login credentials or forwarded ports. In case you tried restarting and resetting your router but you’re still unable to install Battle.net, move down to the next potential fix below.
6. Create a new Administrator account
According to some users that we’re unable to install Battle.net on their Windows 10 or Windows 11 computer, this issue can also be related to a corrupted administrator account that you’re using when starting the installation. As it turns out, you should be able to avoid this problem completely by creating a new administrator account and signing in to it prior to re-trying the installation. Note: This issue is way more common on computers where the admin account was migrated from an older Windows version. When it comes to creating a new account, you have two options:
Create the account from the GUI menu of Windows (only works for Windows 10 and Windows 11)Create the account from an elevated CMD prompt (works on every Windows version)
Depending on your preferred way of getting things done under Windows, follow one of the sub-guides below to create a new administrator account and retry the installation of Battle.net from the newly created account.
Create a new admin account via the Settings app
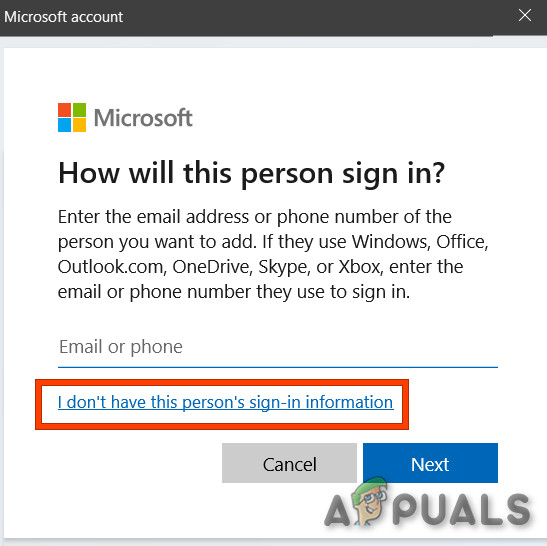
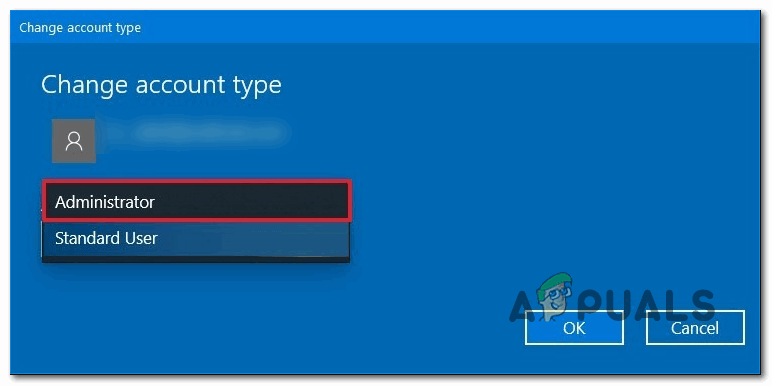
If you’re on Windows 10 or Windows 11, you will be able to create a new admin account directly from the Settings app (by going to the Family & Other users tab). Follow the instructions below:
Create a new admin account from an elevated CMD prompt
If you’re using an older Windows version, you won’t be able to create an administrator account from the Settings menu. In this case, the easiest way to get it done is from an elevated Command Prompt. Here’s how to do this: If the same issue is still ongoing even after you successfully created a new administrator account, move down to the next potential fix below.
7. Disable Proxy or VPN Client
Another cause that might end up blocking communications between your Windows end-user version and the Battle.net download servers is a proxy or VPN client. In the majority of cases, this problem was either created by a VPN client or a Proxy server that was configured natively on Windows. In this case, you should be able to fix the issue by uninstalling your VPN client or by disabling the Proxy server (depending on the scenario that is applicable). We created two separate guides to accommodate both scenarios, so feel free to follow whichever one applies to you.
Disable a Proxy server
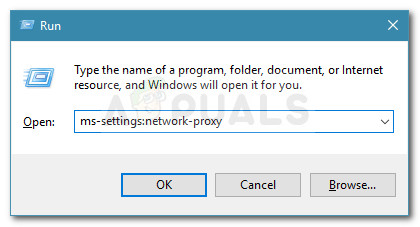
If you have previously set up a Proxy server natively, you can easily disable it by accessing the Proxy tab of the Settings menu. Here’s how to do it:
Disable a VPN server
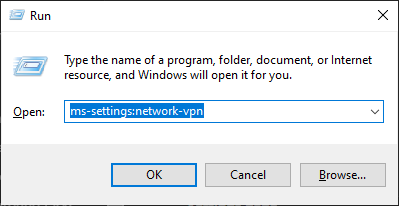
Disabling a VPN service on a Windows computer depends if you configured it natively or with a standalone application. If you’re using a standalone application, all you need to do is access the VPN interface and terminate the connection. On the other hand, if you’ve set up your VPN using the built-in feature, follow the instructions below to disable it: Once the VPN suite is disabled, attempt to do the Blizzard installation once again and see if the problem is now fixed. If the problem is still not resolved, move down to the next potential fix below.
8. Reset the TCP/IP Log
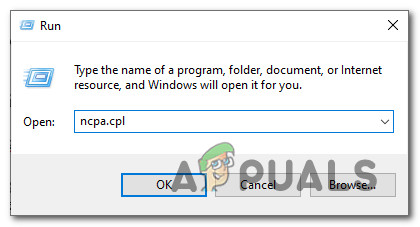
As it turns out, this particular issue can also be rooted in a TCPIP or DHCP parameter that is forcing the Wi-Fi adapter to terminate the connection abruptly. This problem is much more likely if you recently switch Internet providers. If you’re facing this particular issue, you can resolve it swiftly by using an elevated Command Prompt to deploy a ‘netsh int IP reset‘ command. Note: This CMD command will automatically reset the contents of the following registry keys which will reset the TCPIP and DHCP: According to other users that have successfully used this method, the Wi-Fi connection finally became stable after the CMD command was processed and the connection was reset. Follow the steps below to reset the TCPIP and DHCP parameters on Windows 11 via an elevated Command Prompt: If the same problem persists, try the next method below.
9. Perform a DNS Flush
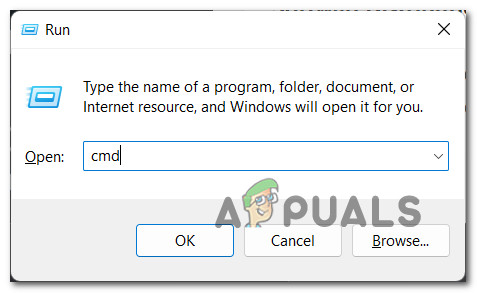
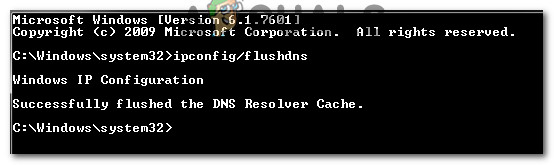
Another probable cause that might prompt your PC to terminate the data exchange with Battle.net install agent is an inconsistency facilitated by the DNS (Domain Name System) that is currently in use. If there’s a problem with how your network adapter reacts to the in-use DNS, you might notice these ‘download restrictions’ because the communications between the active network adapter and the ISP are terminated. In this case, you should be able to fix this problem by flushing your current DNS from an elevated CMD prompt – this operation will end up clearing the currently stored DNS information. Follow the instructions below to perform a DNS flush from an elevated Command Prompt window: If the problem is still not fixed, move down to the next potential fix below.
10. Switch the DNS to Google’s Range
If none of the fixes above have worked for you, the next thing you should troubleshoot is the DNS that is currently being used by your network connection. Tier 3 ISPs might cause this problem after inhibiting your ability to exchange information rapidly as it’s required by certain game launchers (including Battle.net) due to the assignment of a bad DNS range. In this case, one way to get around the issue is to transition from the default DNS servers to the equivalents provided by Google. In case you’re looking for specific instructions on how to do this, follow the instructions below: If you’re still unable to install Blizzard software even after making the switch to a different DNS, move down to the next potential fix below.
11. Perform a network Reset from Windows Settings
A network inconsistency caused by inconsistent TCP or IP data that’s affecting the stability of your Internet connection and might affect Blizzard’s install agent. If this scenario is applicable and the problem is caused by temporary network data, you should be able to fix the problem by performing a Winsock reset. Here’s what you need to do to perform a Winsock Reset on your computer: If you’re still unable to install the game launcher from Blizzard, move down to the final potential fix below.
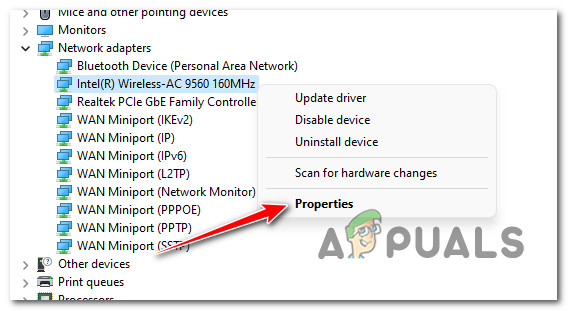
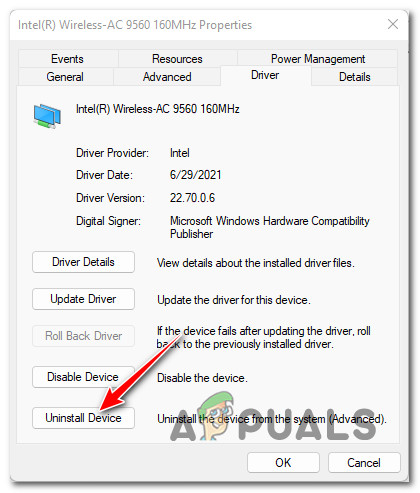
12. Reset Network adapter driver
If you’ve come this far without a viable fix, you should think about uninstalling your current network adapter driver. Especially if you’re experiencing similar issues with other applications outside of Blizzard’s ecosystem. This fix will be effective in those situations where you’ve recently upgraded to Windows 11 and the old network adapter driver ended up being migrated instead of installing a fully compatible driver for Windows 11. In this case, you’ll need to use Device Manager to completely uninstall the active network adapter driver and restart your PC. By doing this, you will force Windows 11 to detect that it’s missing a key driver and install a generic equivalent (one that’s fully compatible) the next time you boot up your computer. For step by step instructions on how to do this, follow the instructions below:
Can’t Log In to Battle.net App? Try these FixesCan you get a Refund on Blizzard Battle.net?How to Fix ‘Battle.net Error #2’ with Blizzard GamesFix: Battle.net Issues Can’t Download Data or Install Game Files